Featured Topics

Landscape lighting for Japanese-inspired gardens
Landscape lighting for a Japanese-inspired garden should feel like a quiet extension of the landscape, not a display of hardware. Stone, water, clipped shrubs and open space already provide the composition; light works best when it reveals texture, creates depth and leaves some areas in shadow.
Australian conditions make careful product choice important: Sydney’s coastal salt can corrode fittings, Melbourne’s cloud and rain can leave solar panels undercharged, and Brisbane’s summer storms can test exposed installations. Winter daylight is shorter across the southern states, while summer heat can shorten battery performance. A mixture of solar accents, low-voltage LEDs and carefully specified mains lights is usually more reliable than relying on one power type everywhere.
Plan around darkness and visual layers
Walk the garden after dusk before buying anything. Note where existing light reaches, where tree canopies will shade solar panels, where people actually walk and which views matter from the house. This simple survey prevents a common mistake: illuminating every surface until the garden loses its sense of calm.
Build the scheme around three visual layers: a dark foreground, a softly visible middle distance and one or two illuminated destinations. A stone lantern, maple or water feature can act as the brightest point, while shrubs and fencing remain understated. The outdoor lighting galleries at Meredith LBL offer a useful starting point for comparing scale and placement.
Keep fixtures visually recessive wherever possible. Concealing a light behind a rock or planting reduces glare, preserves the illusion of natural moonlight and lets texture do the work. It also makes a compact garden feel larger, because the eye reads the unlit space as depth rather than emptiness.
Create moonlight, shadow and depth
“Moonlighting” is a valuable technique here: mount a low-output, warm-white LED uplighter near the base of a tree and aim it into the canopy. Light striking leaves and branches creates moving shadows without making the source visible. Aim for roughly 2200–2700K and a high colour-rendering index so bark, gravel and foliage retain their natural colour.
Use side light rather than frontal light. A narrow beam across a lantern, bamboo screen or weathered timber reveals relief and age, while a beam pointed straight at the object can flatten it. The design advice for brighten a dark garden is especially helpful when a small planting feels lost after sunset.
Accent lighting should be selective. One well-placed uplighter can establish a focal point; five overlapping ones usually create visual noise and make the garden look more like a display than a retreat. Keep brightness low, hide cabling and experiment with one fixture at a time.
Light the path without flattening it
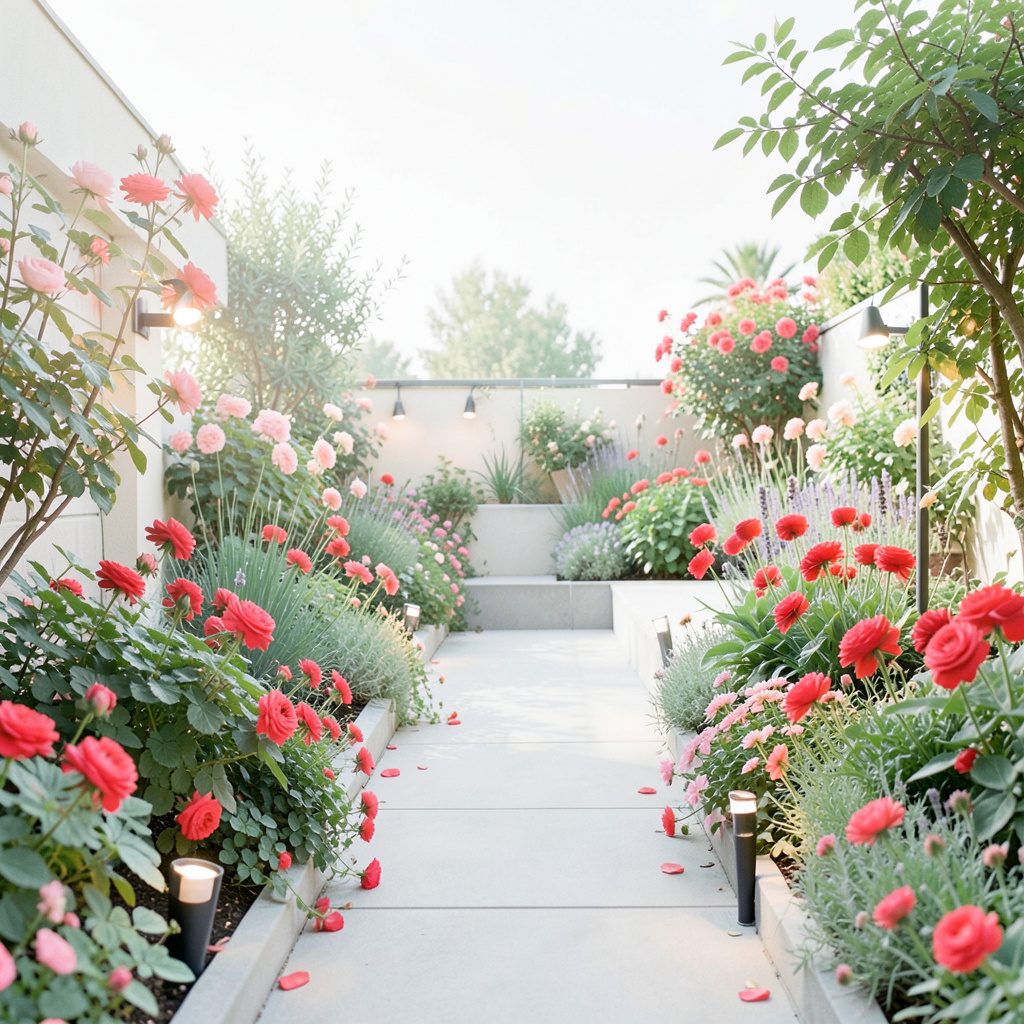
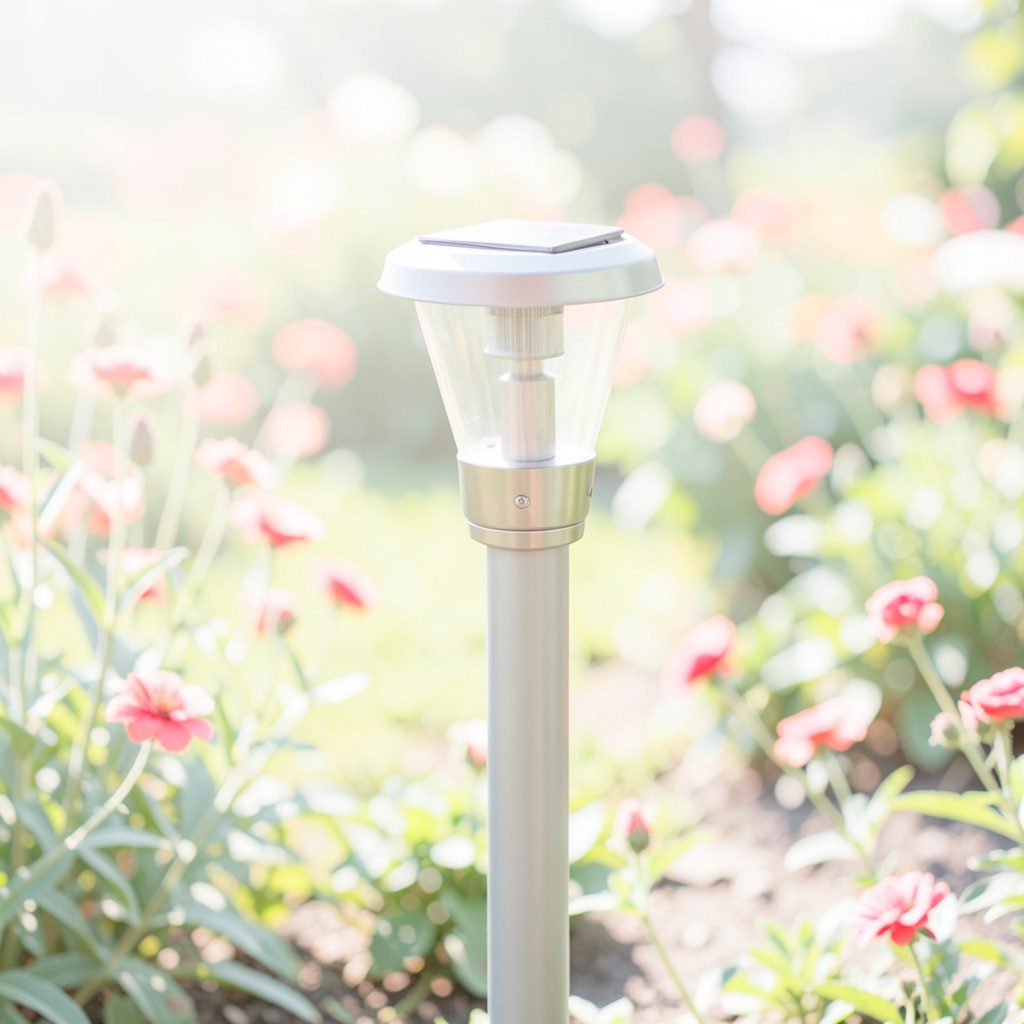
Path lighting should answer two questions: where is the route, and what should be noticed beside it? Small solar disk lights can edge gravel, trace stepping stones or mark the transition from lawn to terrace. Place them on one side of a path where possible, with enough separation to create rhythm rather than a continuous runway.
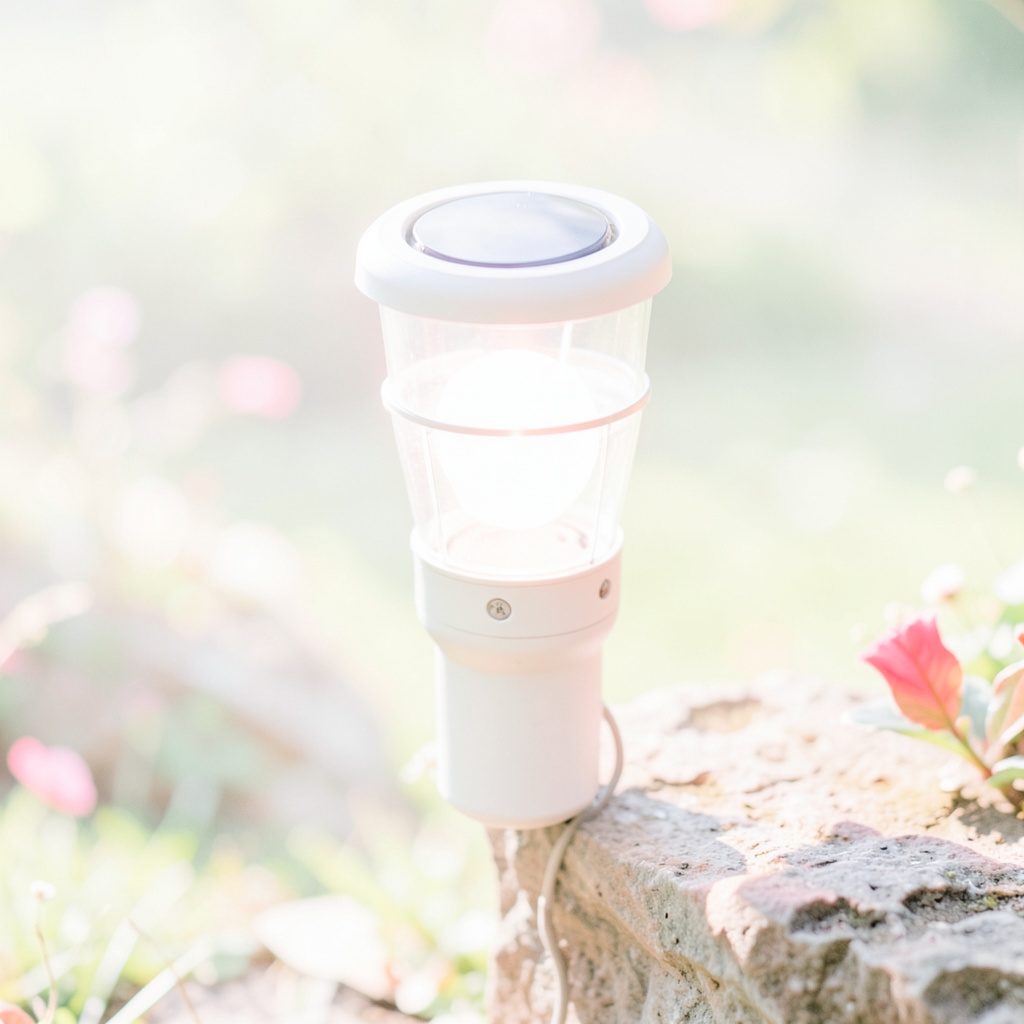
An explanation of InnoGear solar disk lights is useful for comparing panel size, charging time and seasonal output. Give solar fixtures several hours of direct sun; a panel under a dense maple may work in midsummer yet disappoint in winter. In cloudy Melbourne or during Brisbane’s wet season, use solar lights as decorative markers and install low-voltage mains LEDs on essential routes.
For steps, entrances and narrow paths, consistency matters more than maximum brightness. Low bollards, recessed step lights or shielded wall lights should reveal the surface without shining into nearby windows. A modest amount of low-level lighting can improve nighttime visibility, but it should not be presented as a substitute for a purpose-designed security system.
Accent water, stone and living structure
Water needs a different approach from planting. Conceal a suitable outdoor-rated light behind a stone or at the rear of a basin, then aim it across the surface to reveal ripples. Keep the source out of direct sight, check the manufacturer’s ingress rating and have any mains connection assessed by a licensed electrician using an RCD-protected circuit.
Stone lanterns work best with gentle, low-level light that reveals the opening and casting form without washing out the carving. For bamboo, place a shielded uplighter above eye level or below a dense clump; either position can emphasise the stems while avoiding harsh stripes. A handcrafted element should carry its own texture, an approach echoed by work such as the Purple Stitch Project.
Living features require restraint. Narrow beams can pick out red maple leaves or the pale bark of a birch, but intense LED output can scorch foliage. Use modern LEDs, keep the fitting cool and select a beam that highlights one feature rather than the entire canopy.
Choose fixtures and plan for Australian conditions
Prepare the route before selecting electrical parts. Mark buried services, keep low-voltage cable away from irrigation lines and avoid root zones. Where soil is compacted or stony, the aeration principles in this rocky-soil cultivation guide explain how a broadfork can open a planting strip without turning the soil, although hand tools still demand care around stones and roots.
Fixture families worth comparing
- Philips warm-white LED bollards suit restrained paths; compare their output, beam spread and available accessories rather than choosing by wattage alone.
- InnoGear solar disk lights suit remote beds and informal edges, provided their seasonal charging performance matches the location.
- Compact LED uplighters can reveal a tree, lantern or sculptural shrub from a concealed position.
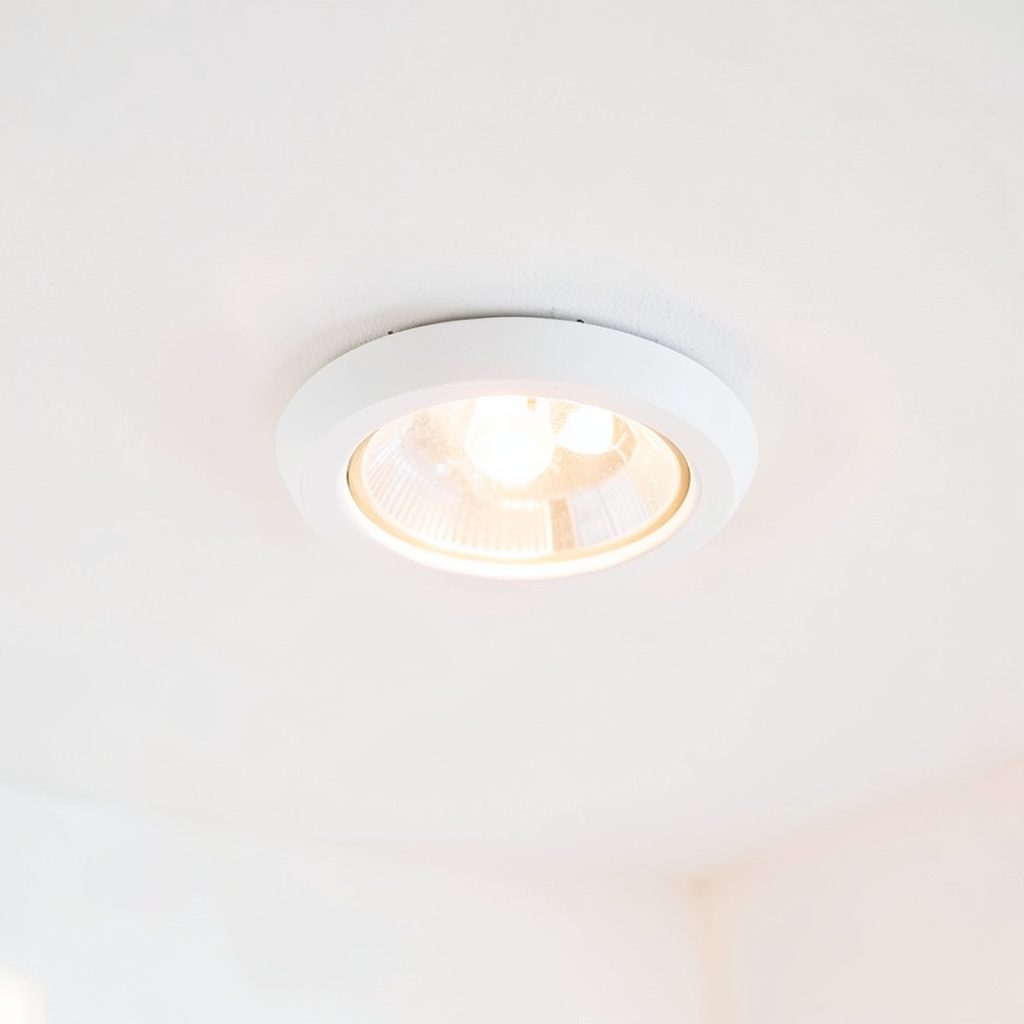
- Recessed step lights work well on decks, but check drainage, glare and whether the lens remains visible when seated.
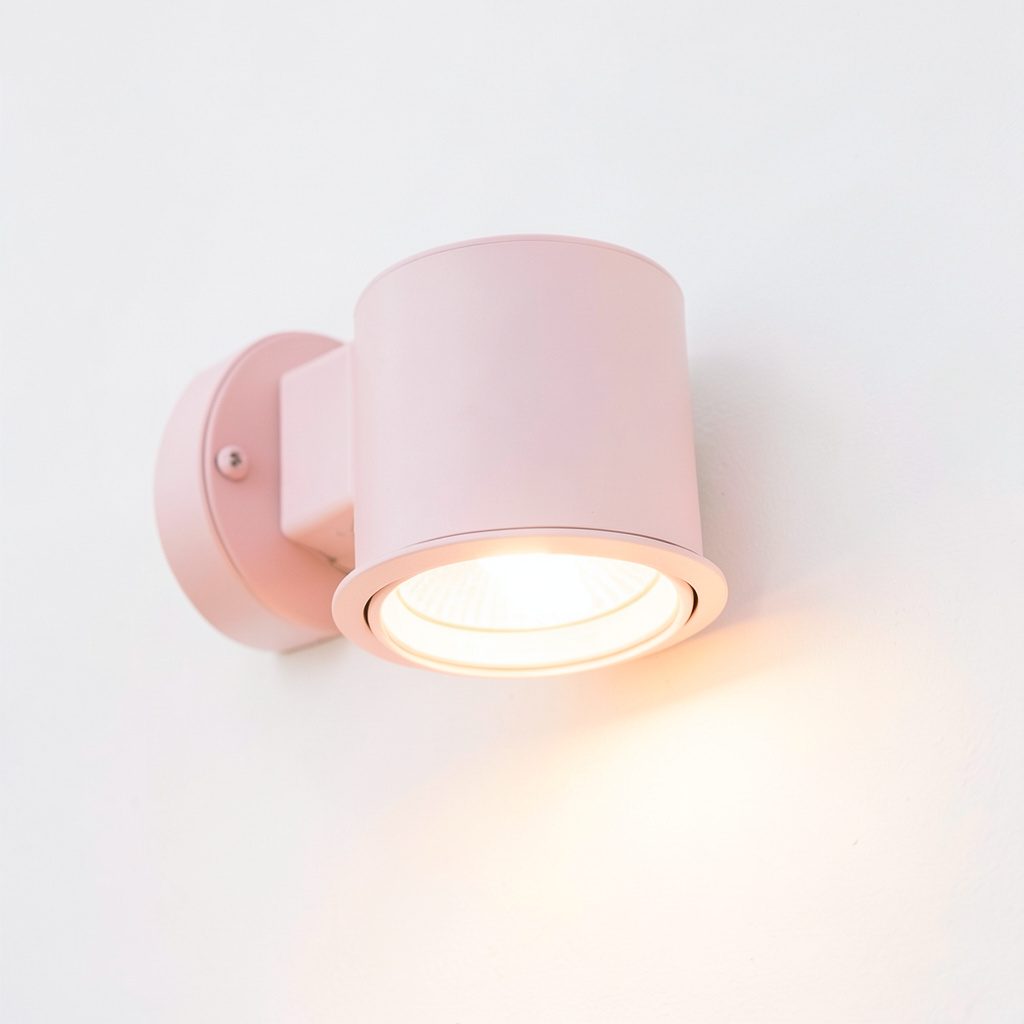
- Outdoor wall washers can soften a fence or tea house; choose a narrow beam and a warm colour temperature.
Compare the specifications and current Australian stock at Home Depot or Amazon Australia, checking local warranty terms and the voltage, connector and transformer requirements. Product appearance in a showroom cannot show how a beam behaves among real foliage.
Placement and specification checks
- Keep most path lights low enough to guide without blocking views across a lawn.
- Position solar panels where they receive direct sun and are not buried under leaf litter.
- Select an appropriate IP rating for exposure, with extra protection where fixtures sit near soil or spray.
- Size cable runs and voltage-drop-protected transformers for the installed load, not just the lamp count.
- Use Australian-rated, RCD-protected electrical equipment and arrange licensed electrical work where mains power is involved.
The final comparison is practical rather than visual. Check whether panels can be cleaned without a ladder, whether drivers are replaceable and whether the layout can be divided into zones so a damaged light does not affect the entire garden.
Keep the scheme simple and maintainable
Control is what keeps the scheme calm. A photocell or timer should switch the lights at dusk, while separate circuits or smart switches allow the tree and path to operate independently. Warm white throughout is usually more coherent than changing colours, and brief evening use is gentler on both neighbours and nocturnal wildlife.
Plan for maintenance from the beginning. Leave access to panels and drivers, clean lenses as dust accumulates, trim plants that block beams and inspect fittings after storms or salty coastal weather. Solar products are especially dependent on unobstructed panels, and batteries may need replacing sooner than the housing.
A good scheme also has a clear hierarchy: a visible route, one framed focal point, a few sculptural accents and plenty of shadow between them. The practical takeaway is to begin with one short evening circuit, light only its key tree, stone and destination, then add another layer after watching how the shadows settle.