Featured Topics

Landscape Lighting for Hillside Terraces and Retaining Walls
Hillside terraces turn elevation into a layered outdoor room, but every new level creates a different lighting problem. Stairs need visibility without becoming a runway, retaining walls need depth rather than glare, and planting should be allowed to cast natural shadows. A well-planned scheme makes all three elements feel connected while remaining useful after sunset.
A lighting scheme for sloped terraces and retaining walls works best when it follows the journey through the garden. Mark the route first, reveal the architecture second, and use restrained accents to connect trees, stonework and water. Warm-white LEDs suit most Australian homes, especially where brick, sandstone and native foliage are prominent.
Outdoor fittings must also cope with conditions that are often harsher than those inside a living room. Summer heat tests seals and finishes, heavy rain can saturate poorly placed junctions, and coastal salt attacks metal. Specify exterior-rated fixtures with suitable ingress protection rather than judging them by appearance alone.
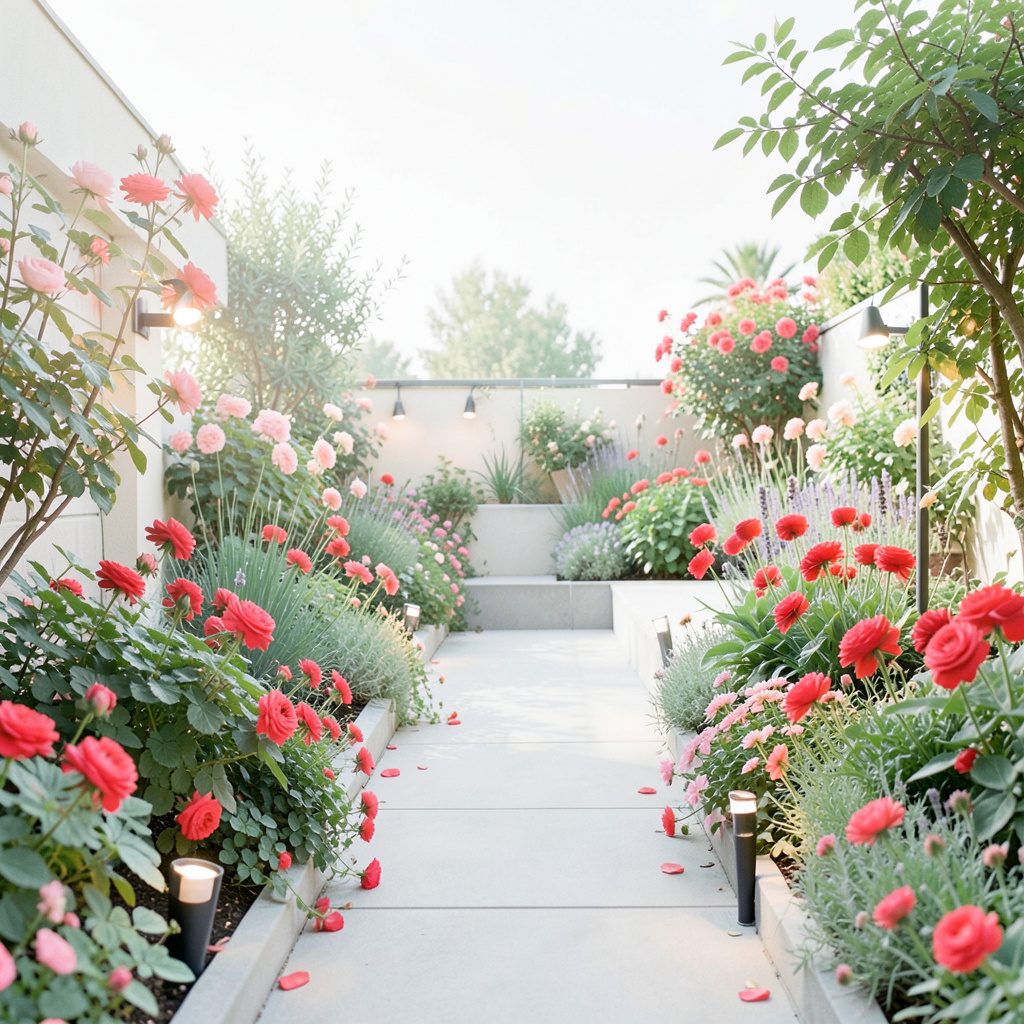
Good design can be surprisingly subtle: a narrow line of light beneath a handrail, a soft wash across a wall, or a few low markers among grasses. The aim is safe movement and a more legible garden at night, not a display that overwhelms the terrace or competes with the sky.
Read the slope before choosing fixtures
Walk the site at dusk and from the main room, then note where the grade changes, where people pause and which surfaces reflect light. In Sydney, sandstone walls can throw pale glare toward a deck; in Melbourne, wet winter paving produces stronger reflections; and in Brisbane, dense planting can trap humidity around fittings.
Perth’s dry heat and strong ultraviolet exposure make durable finishes especially important, while Canberra and Adelaide frosts can be harder on some exposed fittings than the mild coastal climate suggests. Record those local conditions before choosing products, because the same wall may require different placement, spacing and beam control in each city.
Create a layered lighting scheme
Use three layers: guidance, architectural definition and decorative accents. Stair and path lights handle guidance; wall washers or narrow-beam uplighters reveal texture; low-voltage markers and thoughtfully shielded fittings add atmosphere. Keeping each layer separate makes it easier to dim, repair or adjust the terrace without replacing the whole system.
Begin with the route, working upward from the lowest level. Warm white at roughly 2200K–2700K usually blends with timber and stone, while 3000K can suit contemporary metal and pale masonry. Select fittings with good colour rendering so brick, foliage and textured walls retain their natural colour rather than turning flat or excessively yellow.
Light stairs and narrow pathways
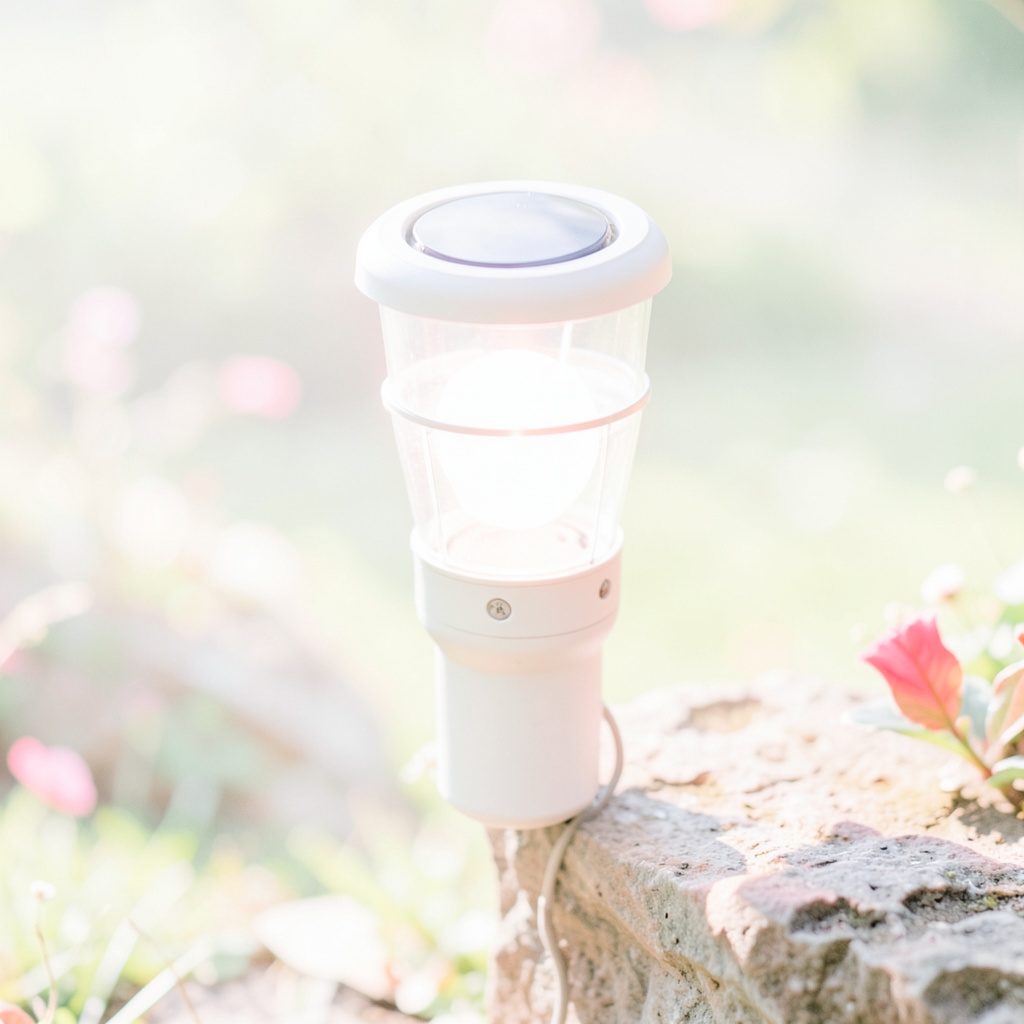
Stairs demand precise, downward-facing light rather than broad illumination. Place compact fixtures beside risers, under handrails or within wall joints so the tread edge is visible without shining into neighbouring windows. For a simple retrofit, this explanation of solar step lighting shows how individual units can follow a run without exposed cable.
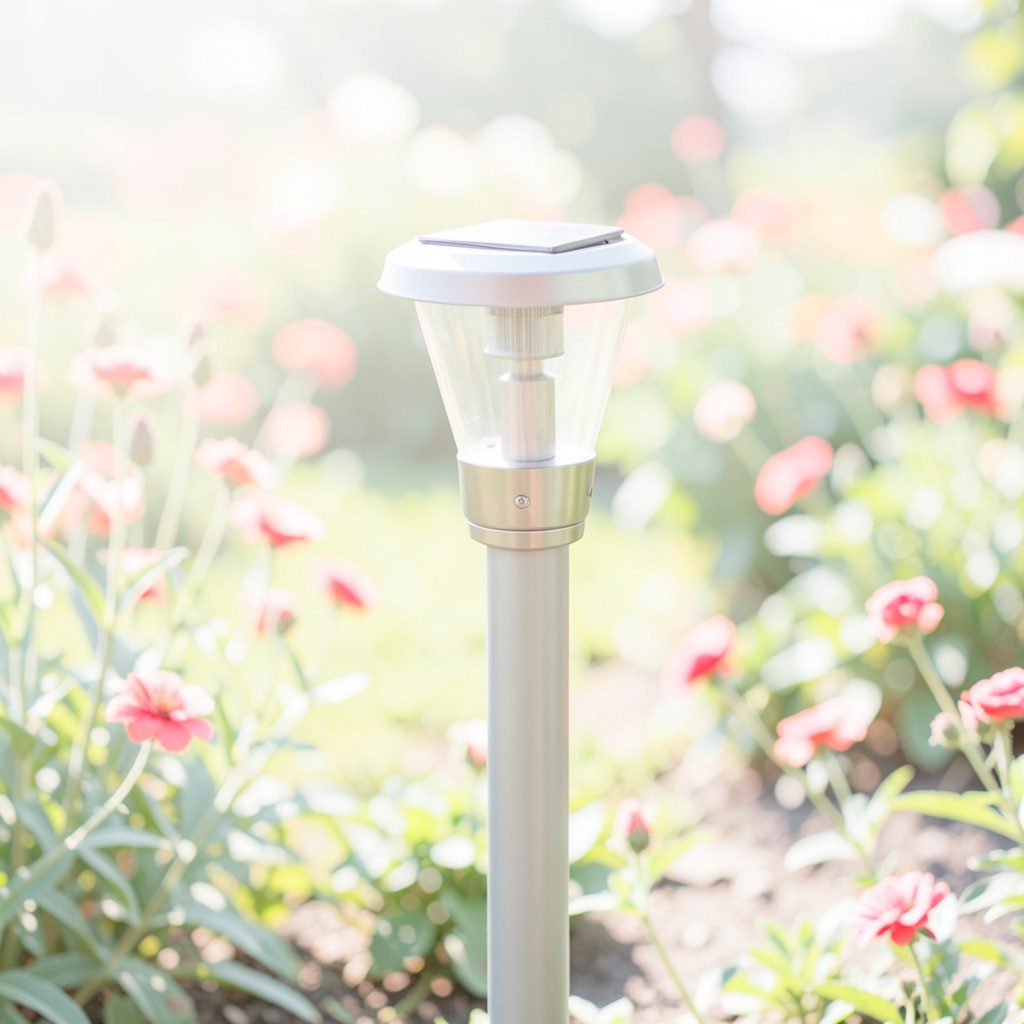
Solar units are useful on remote terraces, but panel orientation matters. In Australia, north-facing positions generally receive stronger winter output, while high summer temperatures can reduce battery performance. Choose weather-rated models with replaceable batteries, check the stated lamp colour and runtime, and keep panels clear of eucalyptus leaves. Mains-fed LED stairs remain more consistent where reliable wiring is already available.
Turn retaining walls into depth
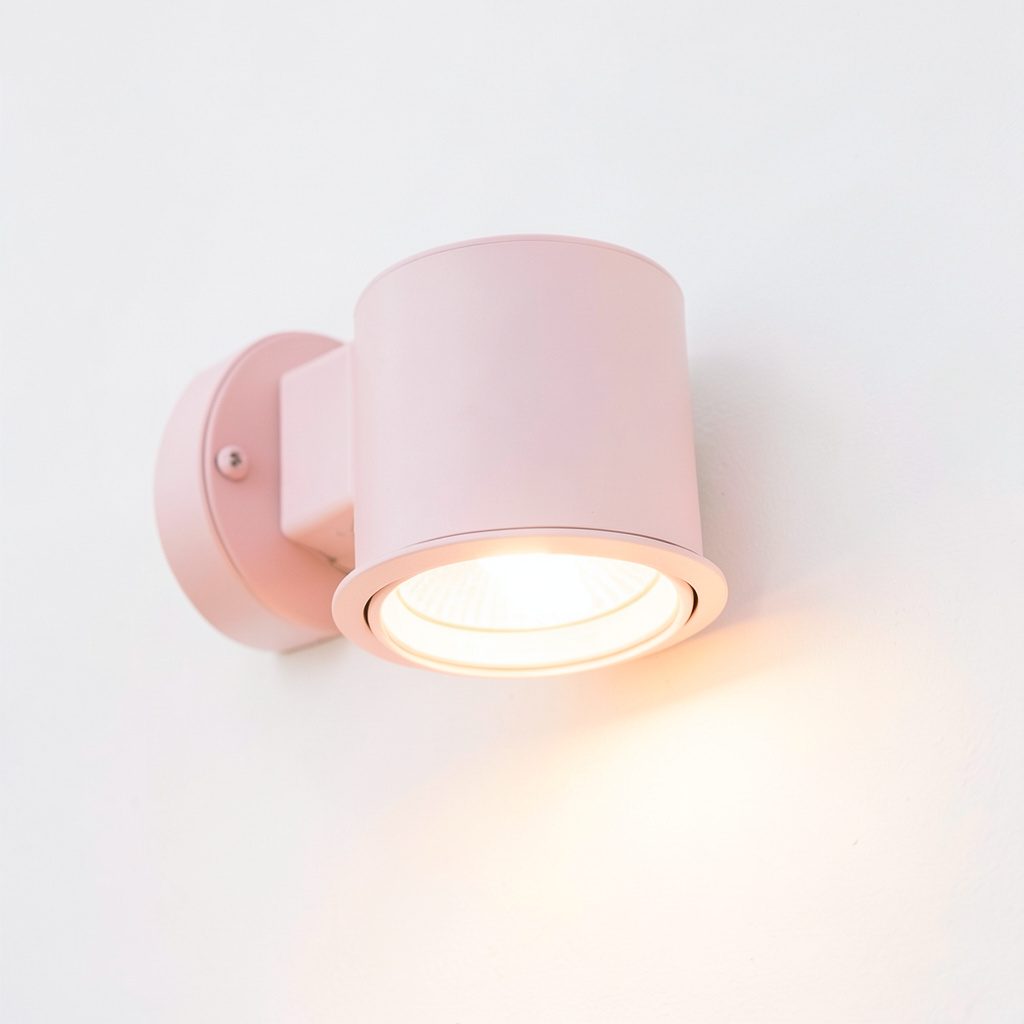
Retaining walls should read as planes that catch light, not bright boxes. A wall washer can reveal stone courses, while a tightly shielded uplighter can pick out the upper coping. For crisp terraces, the modern geometric lighting approach is helpful: repeat consistent shapes and let the shadow gaps become part of the composition.
Keep beams narrow enough to avoid glare from the adjoining path, and position fixtures beyond the edge of dense shrubs so leaves are not scorched visually. On pale concrete, reduce output and increase spacing; on dark basalt or timber, a gentle grazing angle can reveal texture. Coastal installations should also use corrosion-resistant fixings and fittings.
Make planting the finishing layer
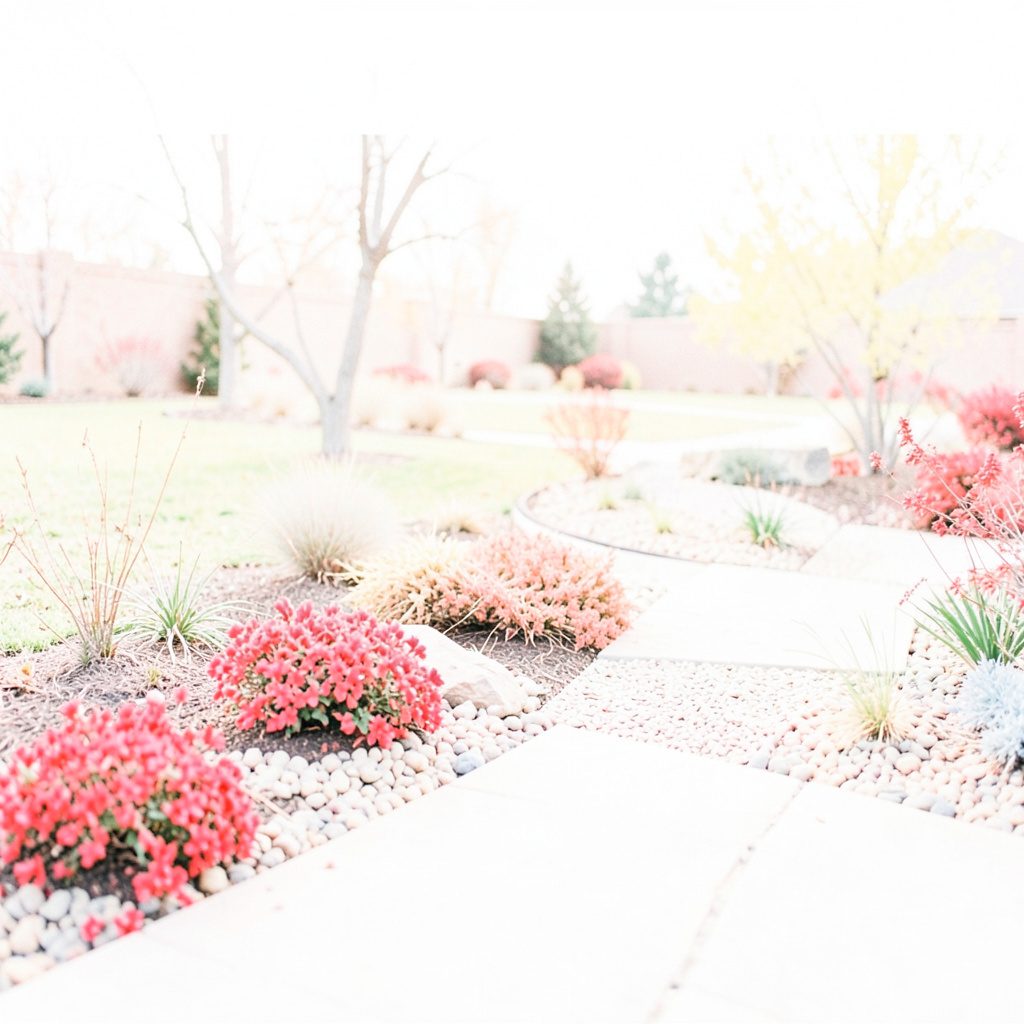
Plants soften the hard edges, but they also change what a wall or path looks like by season. A shielded uplighter aimed into a tree can create a moving canopy, while low markers can reveal grasses without lighting every leaf. For Australian natives such as lomandra, kangaroo paw or dwarf bottlebrush, choose warm output and test the beam at several growth stages.
Where access is tight, a broadfork and tiller comparison can help protect established roots when preparing a narrow bed for low planting. Broadforks are often kinder to soil structure and existing plants than powered rotary tillers, which matters on a terrace where erosion and subsidence are already concerns. Install lights after the root zone has settled, not through newly disturbed soil.
Plan cable, power and weather protection
Most successful terrace systems combine low-voltage LED fittings with a correctly sized transformer or driver. Run cable in conduit, provide drainage paths and use joints and glands rated for outdoor exposure. On a long hillside run, check voltage drop at the furthest point instead of relying only on the transformer’s label.
Australian electrical safety rules make qualified advice important for mains work, and residual-current protection should be considered throughout. Fittings marked for outdoor use still need suitable ingress protection: IP65 is a common benchmark for exposed fixtures, while submerged lights require a higher rating. A licensed electrician should verify circuits, earthing and controls rather than relying on visual inspection alone.
Choose products for local conditions and budgets
Philips and InnoGear are familiar options for integrated LED, solar and security-style fixtures, but the label matters more than the badge. Look first at Australian stockists such as Bunnings and Amazon.com.au, compare lumen output, beam angle, colour temperature, ingress rating and warranty, and check that replacement parts or batteries can be sourced locally.
A sensible budget concentrates spending on the main route and focal walls, then adds solar accents where mains cabling would be disruptive. Outdoor-rated extensions may suit occasional events, but permanent installations are safer and more reliable when properly designed. Avoid buying by wattage alone: a focused 3-watt wall light can outperform a broad 10-watt flood for both appearance and energy use.
Before buying a smart fitting, confirm the hub works with the home’s platform and that dimming does not reduce guidance below the level needed on stairs. Product photographs can exaggerate brightness, so compare lumen output, beam angle and measured runtime rather than relying on a feature list. The publication’s author profile also provides background on the outdoor-design perspective behind these recommendations.
Across the site, the most effective plan starts with clear movement, then adds controlled views of walls, planting and level changes. Solder, path, wall and canopy lights should form distinct layers rather than one bright wash, with shielding and beam direction doing as much work as output. The principle to remember is to design the night journey around the garden’s levels and choose fittings for the actual Australian climate. When those choices align, the terrace feels richer and remains easy to navigate without looking over-lit.