Featured Topics

Solar Step Lights on Wooden Stairs: A Practical Installation Guide
Wooden staircases are common across Australian homes, from the merbau steps leading up to a Hills District deck in Sydney to spotted gum treads wrapping around a Byron Bay holiday house. They look beautiful in daylight, but once the sun drops they quickly become a tripping hazard. Solar step lights fix that neatly: no cabling, automatic activation, and a warm glow that flatters timber rather than overpowers the garden.
Timber behaves differently from brick or concrete. It expands and contracts with humidity, holds screws differently in Treated Pine compared with Blackbutt, and can split if a hole is drilled too close to an edge. Pick the right fixture and mount it correctly and it will last a decade; rush the job and it can wobble loose after the first Canberra frost.
Australia adds its own quirks. UV on a north-facing deck, salt spray along the Mornington Peninsula or Perth's coastal suburbs, and storms racing through Brisbane in November all change how a small solar light performs. A handful of decisions about IP rating, battery type, and panel angle will keep the lights glowing through every season.
This guide covers the whole process, from choosing fixtures stocked at Bunnings, Beacon Lighting, or through retailers such as Amazon, to drilling pilot holes and tuning panels for winter performance. The job is a weekend project for most homeowners and asks for nothing more than a cordless drill, stainless screws, and a tape measure.
Picking Solar Step Lights Suited to Australian Timber
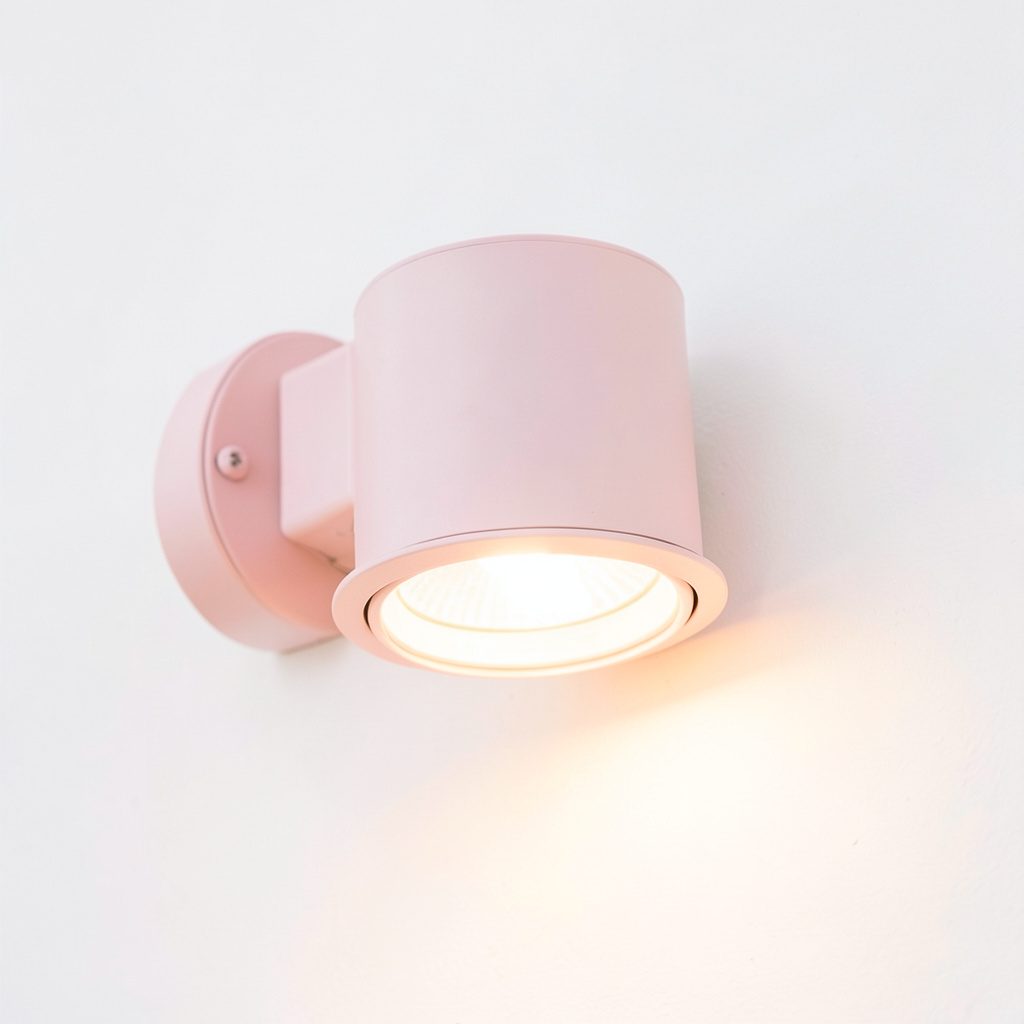
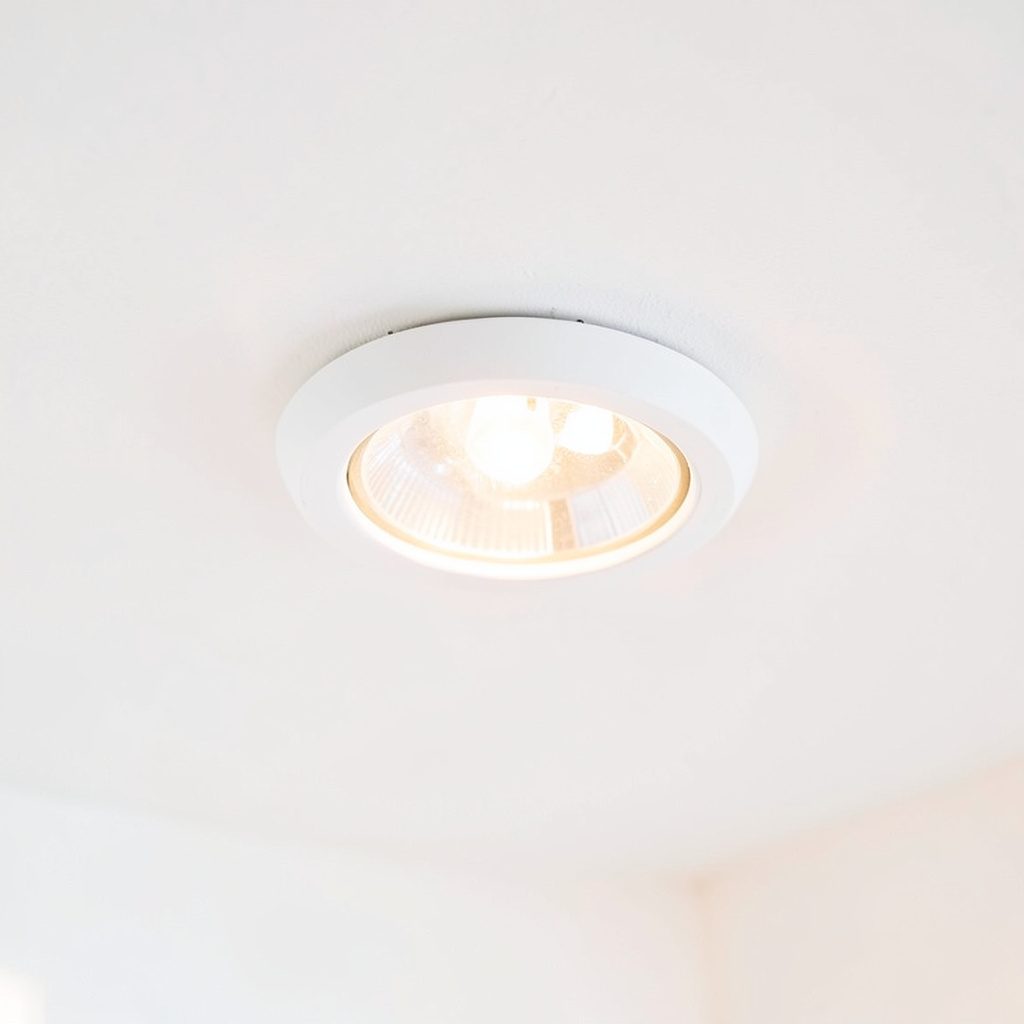
Step lights come in two broad styles: recessed fixtures that sit flush in a riser or tread, and surface-mounted units that perch on top. Flush models look refined but sit closer to foot level, while surface lights throw more spill across the tread and read more safely on flights narrower than 240mm.
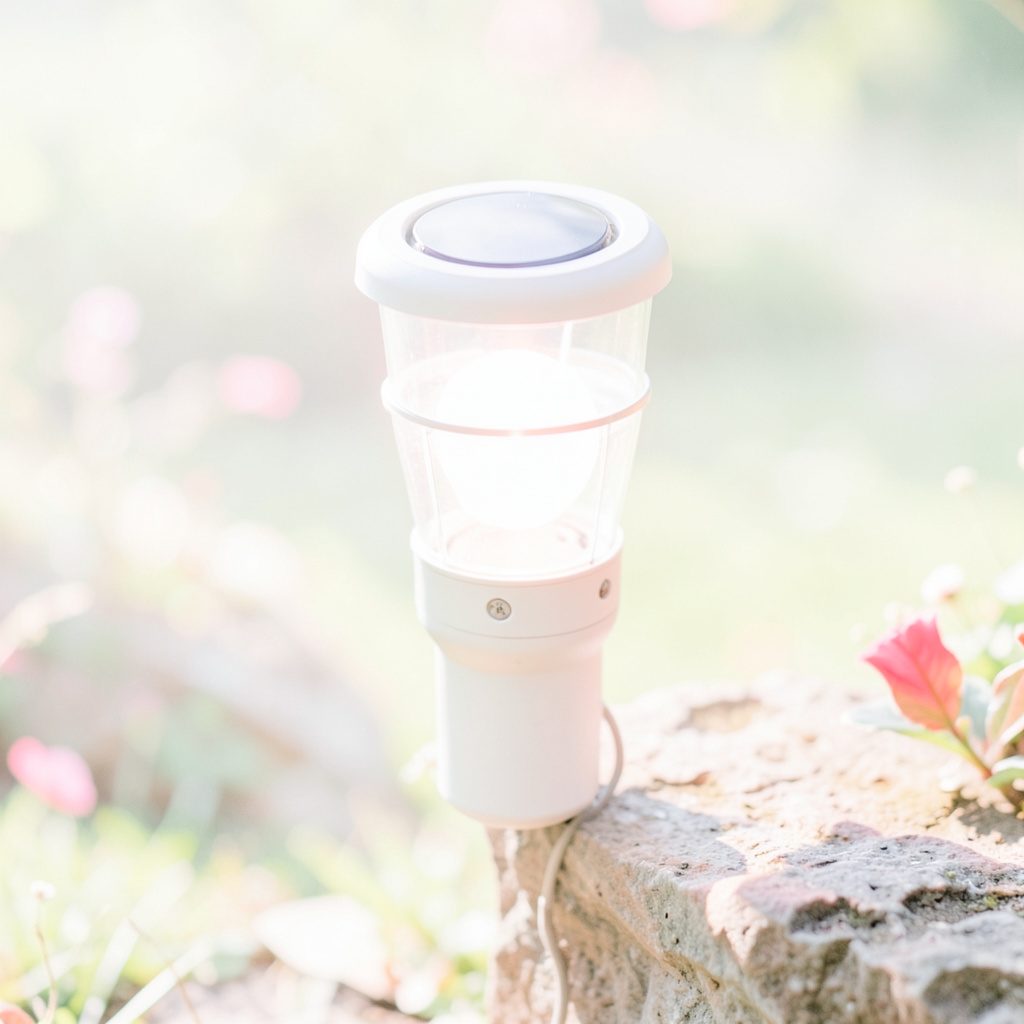
Two labels matter before buying. The IP rating controls how well the housing resists water and dust; IP65 or higher is sensible for anywhere rain splashes the stairs, particularly on south-facing verandahs in Melbourne. The panel should be mono- or polycrystalline with a replaceable battery — cheap nickel-cadmium cells die fast under the Aussie sun, while NiMH or lithium cells keep going through a second winter.
Colour temperature is worth thinking about. Warm white in the 2700–3000K range flatters timber, echoing the honey tones of tallowwood and the deep reds of jarrah decking. Cool white reads clinical and draws attention to the fittings. Reputable ranges from Philips, InnoGear, and Bunnings' garden lighting shelves usually offer the choice.
Mapping the Staircase Before You Drill
Run a tape along the flight and mark each tread where a light will sit. One fixture per step, centred on the tread, is the conventional rule. On treads wider than 1000mm, run a second light to avoid a dark stripe down the middle. Walk down the stairs at night with a torch and note any spot where a tread edge disappears from view — those are the priority positions.
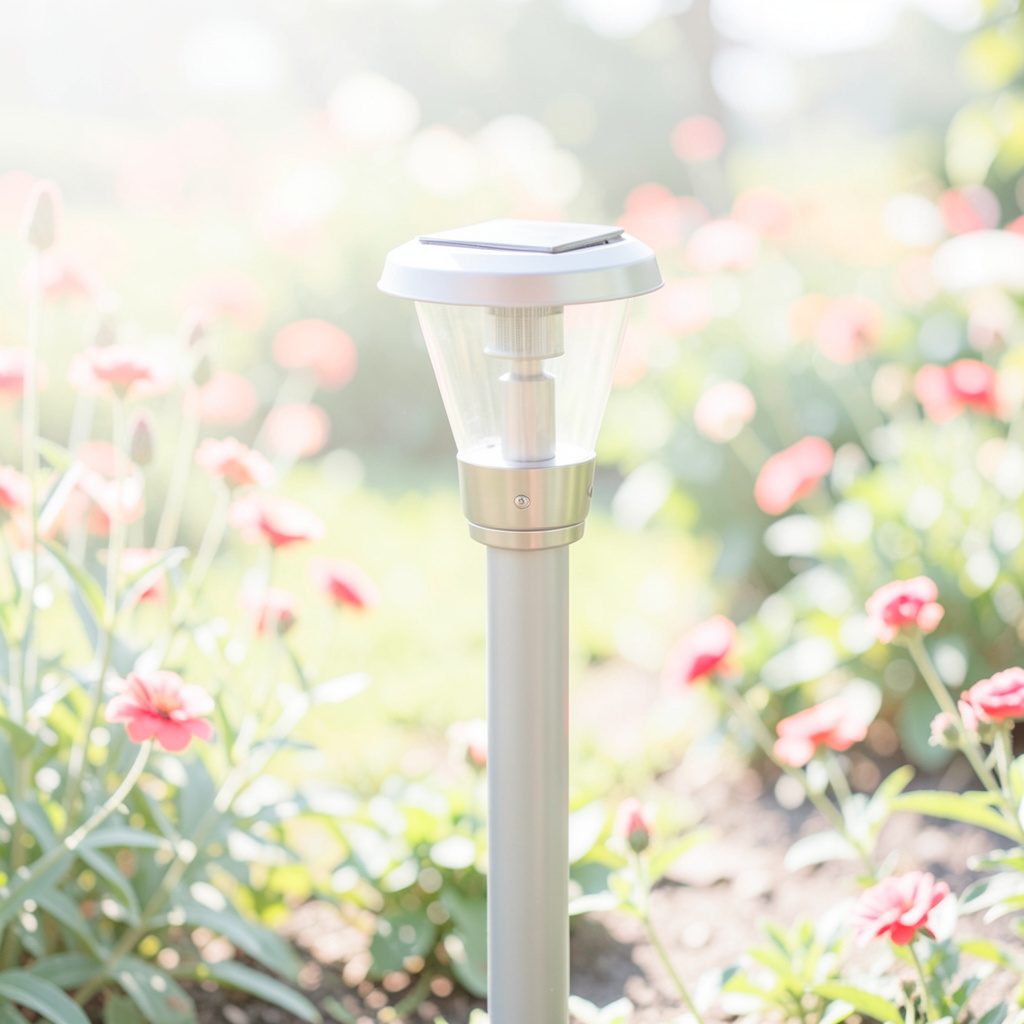
Decide on a panel location at the same time. Most step lights have a small panel on the housing, which works on a north-facing flight but struggles on shaded stairs under a landing. Split-design lights place the panel on a separate stake or riser bracket a short distance away, connected by a thin lead. The layout sketch should show both positions so the cable never stretches across a walkway.
Sketch the surrounding plants too. A young jacaranda in Sydney's eastern suburbs throws heavy shade by midsummer, and that shadow shifts through the year. Note where shadows fall in June as well as December — winter shadows are usually the worst case for charging.
Mounting and Wiring the Fixtures
Pre-drill every fixing hole. Hardwood treads like merbau or spotted gum will split if a screw is driven straight in, and even pine benefits from a clearance hole matched to the screw thread. Stainless-steel screws prevent the rust streaks that disfigure timber within a season near the coast. For flush lights, a spade or hole saw sized to the fixture body gives the cleanest cut.
Mount each unit so its panel faces true north wherever possible. Even a few degrees off-axis reduces charging on the shorter winter days in Adelaide or Hobart. Surface lights typically come with a backing plate fixed to the riser, while recessed models press into the drilled hole and clip on a backing ring. Conceal connecting leads along the underside of the nosing or inside a shadow gap so they don't catch on shoes.
Before tightening everything, switch each light on and off to confirm the dusk sensor responds, then seal the perimeter of any recessed unit with a bead of exterior-grade silicone. That single step prevents water creeping behind the housing and fogging the lens — the most common failure noted in Brisbane's summer storms. Further reading on compatible fixtures and mounting hardware can be found in the lighting recommendations gathered on our sister collection.
Tuning Solar Performance Across the Seasons
Solar panels hate shade, grime, and bad angles more than anything else. A quick wipe with a damp cloth every six weeks clears pollen, bird droppings, and the sticky residue left by lerps on gum trees. If a light starts to dim after the first year, the first check is the panel surface, not the battery.
Winter cuts charging hours sharply. From mid-May to mid-July in Hobart or Launceston, solar input can halve compared with January. A light that runs eight hours in summer might manage three on a cloudy winter night, and that is normal. Shift any borderline panel to a spot catching late-morning or early-afternoon sun to stretch runtime without moving the light itself.
Keeping the staircase clear of overgrowth also matters. A single fern arching over a tread is enough to halve the day's charge, and trimming the surrounding lawn speeds up the rest of the weekend's chores. Readers with tight shed space around terraces in Fremantle or Newtown often appreciate this look at electric mowers built to fold flat when storage is tight.
Habits That Keep Stairs and Step Lights Looking Their Best
- Drill pilot holes with a clearance slightly wider than the screw thread, especially in hardwoods like merbau and spotted gum, to prevent splitting during seasonal movement.
- Pick fixtures rated IP65 or higher for any stair exposed to rain splash, and reseal the perimeter of recessed units with exterior-grade silicone every couple of years.
- Wipe solar panels gently every six weeks to clear pollen, dust, and the sugary residue left by psyllids and aphids on nearby plants.
- Aim panels at true north where possible and check shadow patterns in June rather than relying on summer light.
- Keep a spare set of NiMH or lithium batteries on hand; replaceable cells extend a fixture's life well past the typical 12-month warranty.
For more context on the suburban lighting work behind this guide, the about the author page covers projects spanning inner-Sydney terraces through to Adelaide Hills courtyards.
A well-lit flight that is level and properly sealed will host a thousand summer barbecues without bother, and keep working long after cheaper fittings have faded into the dusk. The smartest first move is to mark every position with painter's tape, confirm each panel catches midday sun in June rather than January, and only then pick up the drill.