
Featured Topics


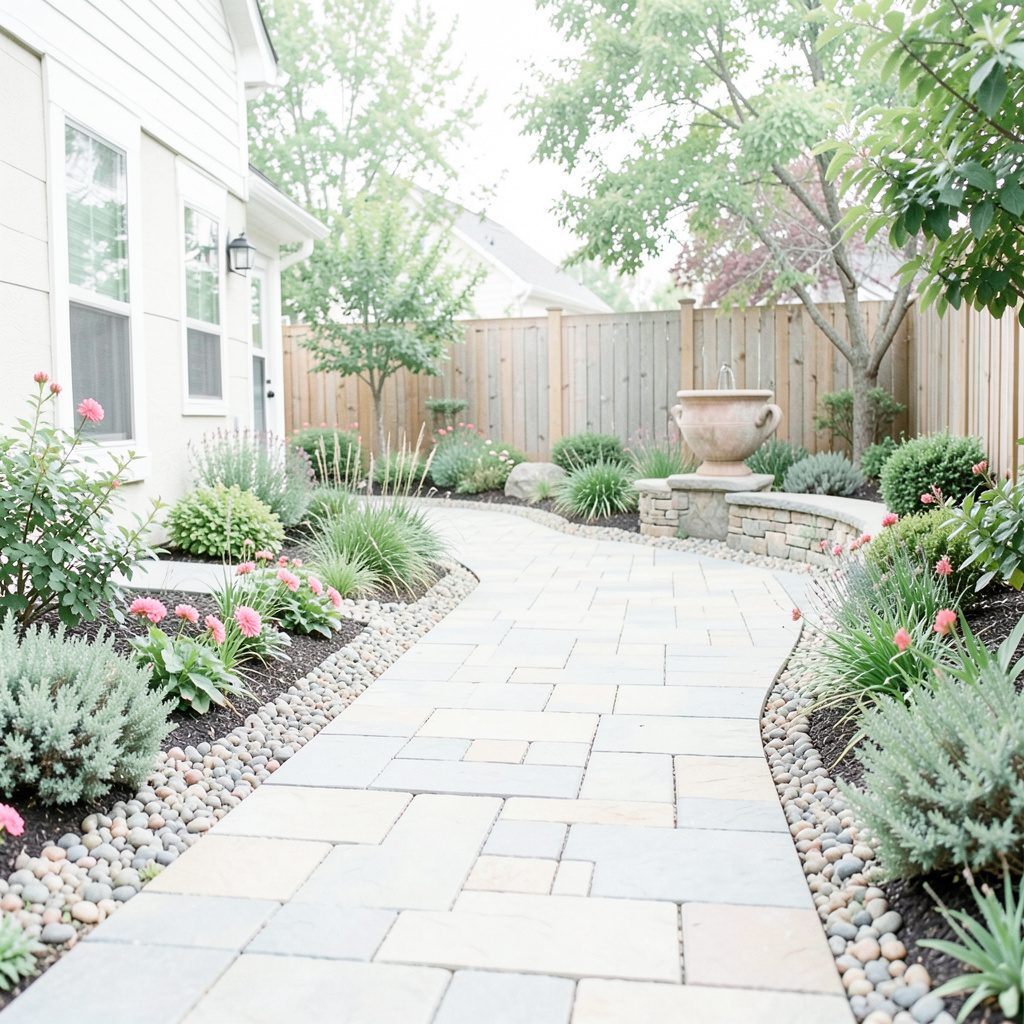
Installing well lights for gravel paths
Well lights are small LED fixtures set into the ground so their lenses sit just above gravel. Rather than creating a bright dot, they cast a controlled wash across foliage, tree trunks, and the path edge. Installed well, they define a route after dusk, reveal changes in level, and make an outdoor area feel finished without turning the garden into a floodlit display.
For most Australian back gardens, a low-voltage system is the practical choice. An outdoor transformer converts household power to 12 or 24 volts, and buried cable carries it to the lights. The circuit is easier to adjust than mains lighting, but it still needs sound electrical practice where rain, irrigation, or coastal salt are present. Hard-wired supply work belongs with a licensed electrician.
Climate changes the job across Australia. Melbourne and Adelaide can bring frost, Sydney’s coastal gardens face persistent damp, and Brisbane can deliver intense sun and hard summer storms. Weather ratings, seals, corrosion-resistant metal, and drainage therefore matter more than a bargain price. A fitting that looks identical in a showroom may fail quickly in a wet coastal yard.
Aussies often call this a low-voltage lighting kit, available through Bunnings, Home Depot, Amazon.com.au, and specialist stores. Philips and InnoGear products feature in many outdoor ranges, but compare specifications rather than brands alone. Australian online prices normally include GST, making local stock, warranty cover, and accessible technical support worth checking.
Plan the route before touching the gravel
Walk the path after dark and note where the route disappears, where the gravel collects water, and where people step off the edge. Place lights on alternating sides at roughly 1.5–2.5 metre intervals, adjusting for plant size and viewing angle. If the path joins a patio or deck, compare the transition with terrace lighting ideas so the glow continues without making the entrance look like a spotlight.
Set each fitting about 300–600 mm from the path edge, outside the main walking line. Aim the beam across the gravel or up into a shrub rather than straight into doors, neighbouring windows, or a driver’s view. Careful aiming also reduces glare. Keep fixtures away from dense groundcovers that will hide the lens and from spots where a dog might dig them out.
Choose the transformer position before digging. Mount it in a ventilated, accessible place under a deck, on a wall, or in a rated housing; do not bury an ordinary transformer. Its distance from the first and last lights affects brightness, so a central location or two smaller circuits may suit a long path. Mark the route with pegs, but leave the gravel undisturbed until the cable route is settled.
Choose fittings for Australian conditions
Choose fittings that suit the electrical system. Match the fixture voltage to the transformer, confirm whether its two-pin connector is proprietary, and check the stated wattage. A 24-volt system can reduce voltage drop over a long run, although a properly sized 12-volt kit may suit a shorter path. In either case, the transformer must handle the combined load and the final cable length.
Aussies often search for a low-voltage lighting kit, and familiar channels include Bunnings, Home Depot, Amazon.com.au, and specialist lighting stores. Philips and InnoGear products appear in many outdoor ranges, but compare the detailed specification rather than the brand alone. A broader set of garden lighting inspiration can help you judge a balanced effect before committing to a layout.
Use this shortlist when comparing individual well lights:
- System match: Choose 12-volt or 24-volt fixtures that use the transformer’s specified connector and polarity. Visually similar plugs are not necessarily interchangeable.
- Wet-weather rating: Look for at least IP65, while IP67 and a sealed gasket are preferable for fittings set into damp gravel.
- Light quality: A warm 2700 K beam around 100–250 lumens usually flatters timber, stone, and foliage while limiting glare and insects.
- Materials: Brass or marine-grade stainless steel resists corrosion, while powder-coated fittings should have UV-stable finishes for Australian sunlight.
Check the supporting equipment and local buying conditions separately:
- Transformer capacity: Include roughly 20–30 per cent spare capacity and check voltage drop across the complete cable run.
- Cable and connections: Use UV-resistant outdoor cable, waterproof glands, and joints located above the gravel in a sealed junction box.
- Compliance: Confirm RCM approval, Australian warranty terms, and the availability of replacement lamps or drivers.
- Retail support: Compare collection options and specialist advice from Bunnings, Home Depot, Amazon.com.au, or a local lighting supplier.
Prepare the gravel and route the cable
Before disturbing the path, call Dial Before You Dig on 1100 where excavation is proposed, even for a short garden run, and check for irrigation lines. Services are not always marked accurately, so dig by hand near the intended route. Photograph the existing gravel pattern first; it makes reinstatement much easier if a fitting needs repositioning.
Remove gravel in small patches rather than stripping the whole path. Dig a hole slightly wider than the fitting’s housing and deep enough that its rim will sit flush when the gravel returns. Protect the lens from soil and slurry, and leave the surrounding base firm so the light cannot rock underfoot. A shallow layer of clean gravel around the housing can improve drainage.
Run the cable in a continuous route between the transformer and lights, using protective conduit where it crosses an edge or could be damaged by garden tools. Follow the burial depth and separation rules in the product instructions and Australian electrical requirements; a qualified electrician should resolve any uncertainty. Never leave a bare, twisted, or ordinary electrical joint buried in wet gravel.
Connect, test, and finish the path
With the cable in place, bring the transformer to the planned position and arrange every fitting where it belongs before restoring the gravel. Connect the lights with the power off, observe the polarity marks, and tighten the glands fully. Keep the transformer and any non-weatherproof junction box above ground and away from sprinklers, while protecting connections from direct sun and dripping eaves.
Test the circuit before covering the cable. A low-voltage fault is often a reversed connector, an overloaded transformer, or excessive voltage drop, rather than a defective light. Use a multimeter if the product instructions call for one and confirm the transformer’s output and load. Mains work, fixed outdoor socket changes, and circuit alterations belong with a licensed electrician, with suitable RCD protection.
Return the saved gravel around each fitting, keeping the lens just clear of the surface. Sweep fine soil away from the seals, check that the rim is flush, and make the path comfortable underfoot. At dusk, walk the route from several directions and adjust the aim before the soil settles. If a fixture still produces glare, move its beam instead of reducing the brightness of the entire circuit.
Complete the installation and document the system
After the first wet weekend, check each lens for haze and each seal for movement or water ingress. Clean lenses with a damp cloth, keep irrigation spray off the fittings, and tighten external lids. Once a year, inspect exposed cable, connector seals, transformer ventilation, and the brightness of the path. Replacing a failed driver promptly is easier than diagnosing a whole string of lights.
The path can become part of a broader lighting scheme rather than an isolated feature. Carefully shielded fence lights can add depth without another buried run, while softly uplighting nearby trees can connect the path to the wider garden. For a separate solar approach along a boundary, solar fence lighting may suit a fence line where running cable would require excessive excavation.
Label each fitting’s cable end with its location and include the transformer and driver model numbers. Store that information with the installation photos and warranty documents so a future repair does not depend on guesswork. The concrete next step is to tape the completed layout diagram to the transformer mounting board beside the shutoff switch.