Featured Topics

The best in-ground LED lights for paver patios
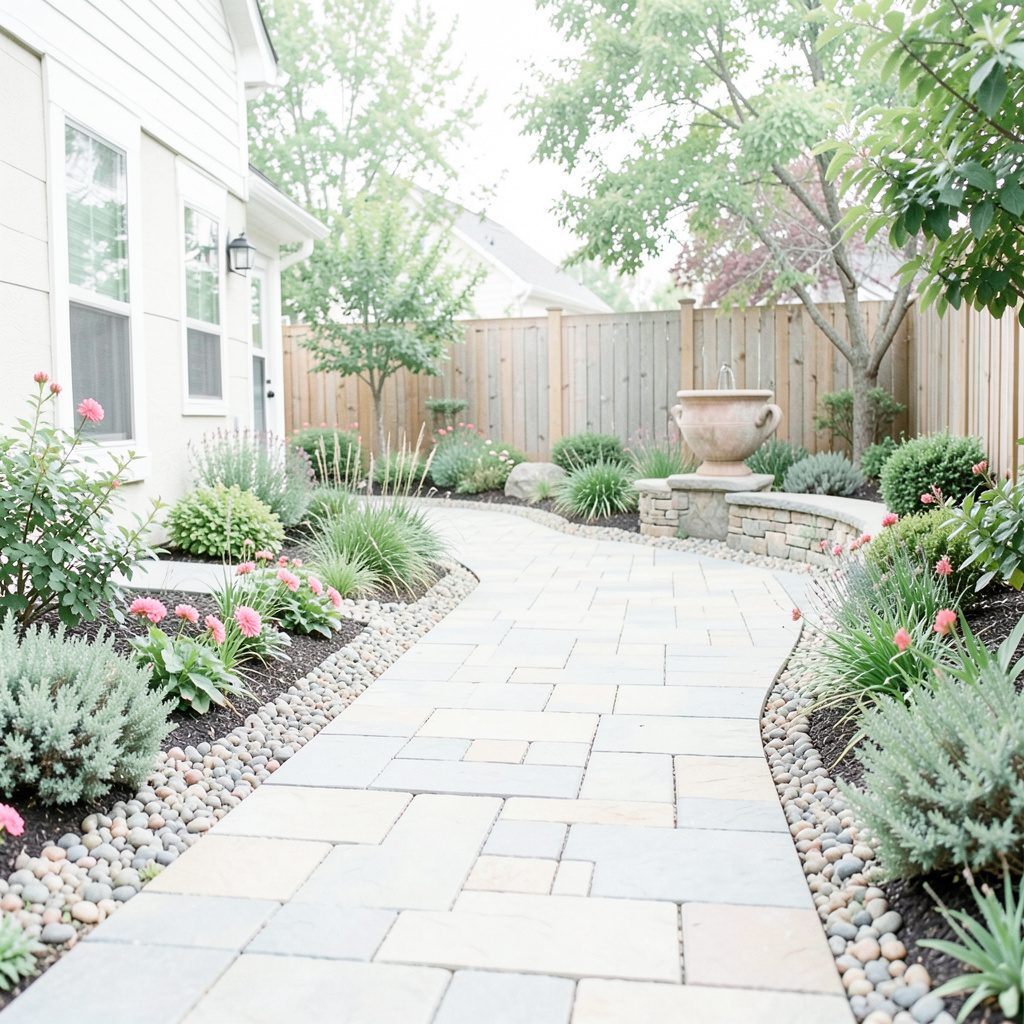
A paver patio can look crisp by day and disappear after dusk unless the lighting is planned around its joints, edges and furniture. Recessed fixtures set flush with the surface create clean lines and controlled pools of light without the bulk of poles or spotlights. The right in-ground LED lights for paver patios should make the stone texture readable, guide feet safely and leave neighbouring planting in gentle darkness.
Australian conditions make those choices more specific. Sydney and Brisbane summers can keep the garden usable well into the evening, while Melbourne and Adelaide often bring shorter winter evenings and a stronger need for defined paths. Coastal properties also face salt-laden wind, and inland gardens can bake a fixture all day. This guide weighs housing, weather sealing, optics, controls and maintenance rather than treating brightness as the only measure of a good installation.
Plan the light before choosing the fittings
Begin with the patio's rhythm, not a product catalogue. Mark the route from the back door to outdoor seating, identify steps and changes in level, and note where people naturally pause. A dining area usually needs softer, downward light than a circulation route; steps need contrast, not dramatic colour. For entertaining, test illumination from both a seated and a standing position so the brightest part of each fitting does not sit directly in a guest's line of sight.
Keep the layout sparse enough for shadows and paver texture to remain visible. Spacing fittings at consistent intervals often looks more considered than filling every joint, and one well-placed light can serve several pavers. A mood board or design reference such as Purple Stitch Project can help compare stone, planting and lighting ideas before any holes are drilled. Check council rules for heritage streets and bushland areas, particularly where stray light or glare could affect neighbours or wildlife.
Edible planting can soften the edge of a paved area without concealing the fittings. A vegetable garden guide can help with choosing compact herbs and greens that tolerate patio conditions and leave access to the lights clear.
Match the power system to the site
Most wired recessed paver lights run on a low-voltage 12V or 24V system. The transformer or LED driver should sit in a ventilated, accessible enclosure, with cable joints protected from moisture and the fixed installation handled by a licensed electrician under the relevant Australian electrical requirements, including RCD protection where applicable. Long cable runs and many fittings can cause voltage drop, so calculate the load rather than choosing a power supply by lamp count alone.
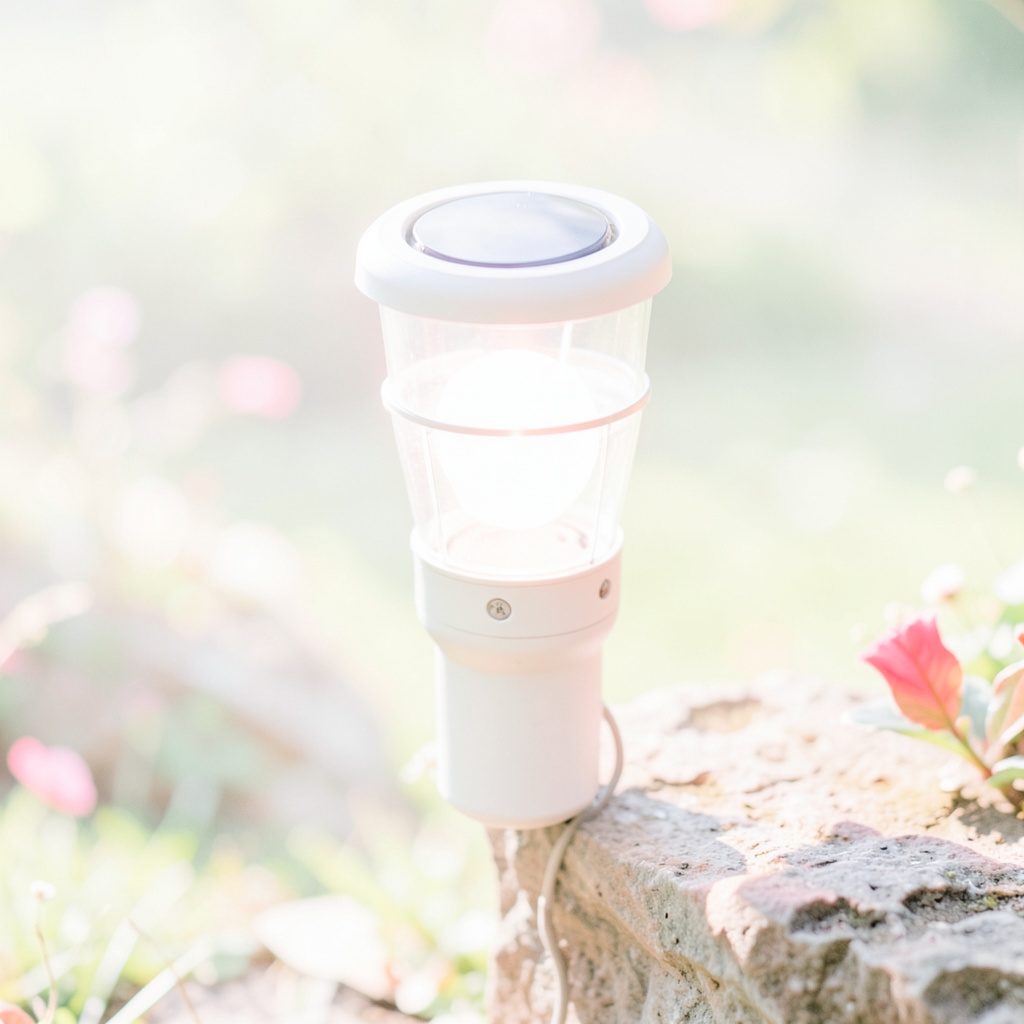
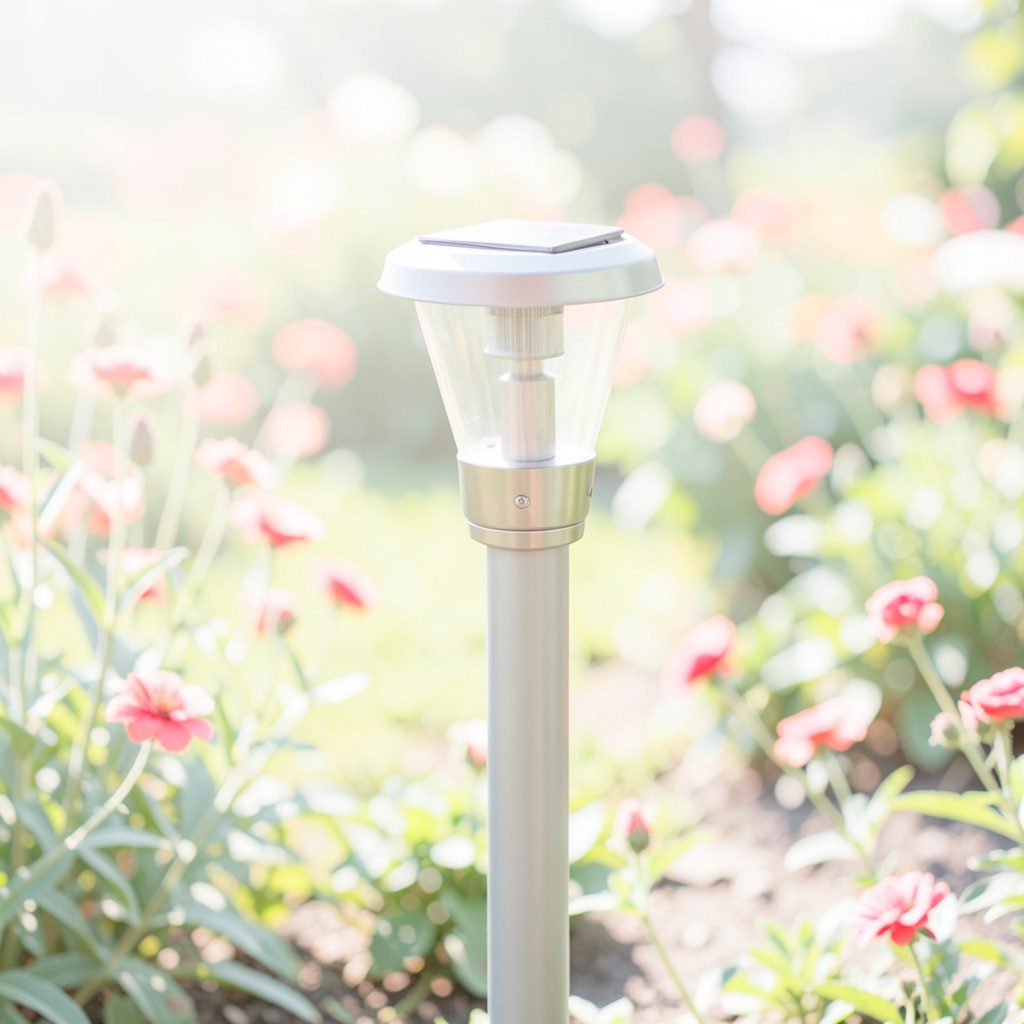
Solar removes the cable but not the siting problem. An integrated solar fixture needs direct sun, a clean panel and room for its battery to cope with cloudy days; a panel shaded by a tree or patio wall will disappoint. InnoGear solar garden lights are a useful comparison for paths without wiring, although many are stake-mounted and are not substitutes for recessed fittings. Solar is strongest at isolated edges, not under dense planting or beside a busy entertaining area.
For connected lighting, Philips Hue outdoor products can be worth evaluating for app control, zoning and scene integration, provided the controller, power supply and compatible accessories match the luminaires. Australian shoppers can compare fittings at Bunnings and specialist lighting stores, while Amazon.com.au may offer broader ranges. Home Depot listings can help with specification comparisons, but stock, delivery and electrical compatibility should be confirmed for Australia.
Control glare and reveal the paving
The most useful fixture creates an even wash rather than a visible hot spot. Asymmetric optics suit walls, seat retaining edges and steps, while a controlled downward spread works for paths. Warm white around 2700K to 3000K complements most sandstone, limestone and timber settings; cooler light can make pale concrete feel stark. Dimmability helps because the same patio may need gentle navigation before dinner and clearer light once guests arrive.
Glare is usually the result of aiming a bare LED straight across the patio. Look for a recessed lens, frosted diffuser or asymmetric reflector that directs light down and outward, and avoid exposed lamps at eye level. A wider review of motion sensor lighting is useful when weighing detection patterns: narrow beams suit targeted security, whereas broad fields can trigger unnecessarily and disturb nearby wildlife.
Security lighting should reinforce the main path rather than replace it. Combine low-level markers with a suitable wall-mounted or higher-mounted light where a larger area needs coverage, and position sensors to distinguish approaching people from animals. Dusk-to-dawn switches and timed scenes are useful in Australian homes, but neither should be set so brightly that the patio looks like a stadium after the last guest leaves.
A practical fixture shortlist
No single housing suits every paver patio, so judge each option against the site. Weight matters in sandy or coastal soil, while drainage around the fitting can determine whether water collects at the lens. A recessed body should sit securely in the joint or a prepared sleeve without forcing the paver out of alignment. The wider Meredith LBL library offers useful context for balancing illumination with the rest of an outdoor design.
The shortlist below focuses on the features that most affect performance in Australia. Products from Philips and InnoGear demonstrate the range of connected and solar options available, although each fixture format must still match the intended recessed installation.
- Choose a 12V recessed light with a solid-brass or 316-grade stainless-steel body for exposed coastal patios; check the grade rather than accepting a vague stainless-steel claim.
- Require at least IP65 weather resistance, preferably IP67 for fully exposed paving, plus a sealed cable entry and replaceable lens gasket.
- Favour a replaceable LED module or lamp over a fully sealed disposable unit, since drivers and connectors commonly fail before the diodes and spare parts are easier to source locally.
- Match the optic to the task: use an asymmetric wall-washer at seat walls and steps, and a controlled downward beam along paths without flattening the paver pattern.
- Specify 2700K-3000K warm white with dimmable output, allowing softer evening settings while keeping steps and edges clearly legible.
- Compare integrated solar paver fittings only where they receive several hours of direct sun; for shaded or entertainment-heavy areas, budget for a properly designed mains-fed system.
Install, test and keep the system maintainable
Before installation, walk the layout after sunset with temporary lights and mark every position. This reveals glare, dark gaps and the spacing needed for an even wash. Confirm transformer capacity, cable lengths, connector type and the depth of the paver before cutting; deeper housings may require more excavation than a shallow paver allows. Have fixed wiring and the final connection tested by a licensed electrician, not left as a weekend trade.
Allow time for seasonal checks. Leaves and dust collect on lenses, exposed joints admit water, and coastal salt can dull or pit metal faster than inland conditions suggest. Clean the glass, inspect seals and cable entries, and keep replacement modules, drivers and gaskets in the same accessible enclosure as the original unit. Solar fittings need a clean panel and a battery check, while mains fittings need protection from mower strikes and digging.
The practical shortlist is therefore less about chasing the highest lumen rating than about durable housings, controlled light and serviceable parts. The rule to remember is simple: match the fixture to the surface, the power system to the site and the controls to the way the patio is actually used.