Featured Topics

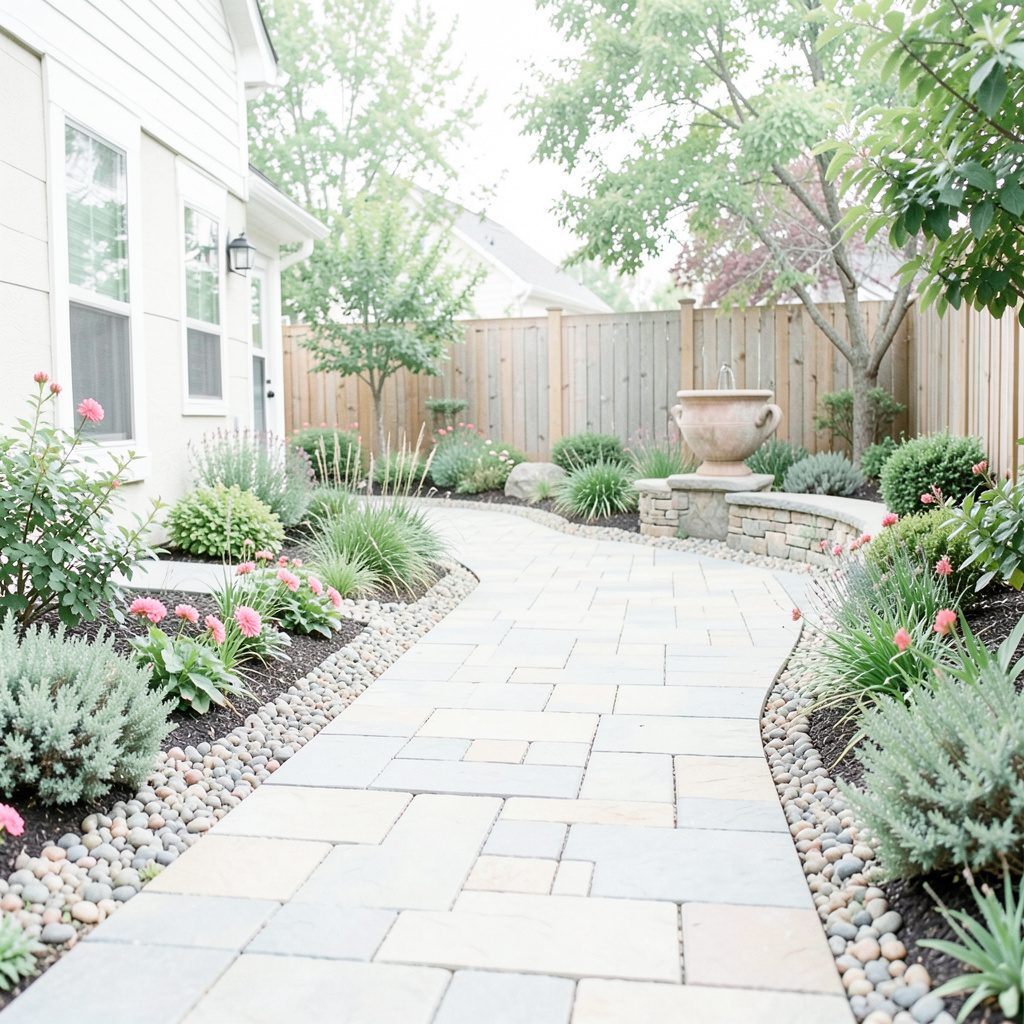
Solar garden lights for planters and flower beds
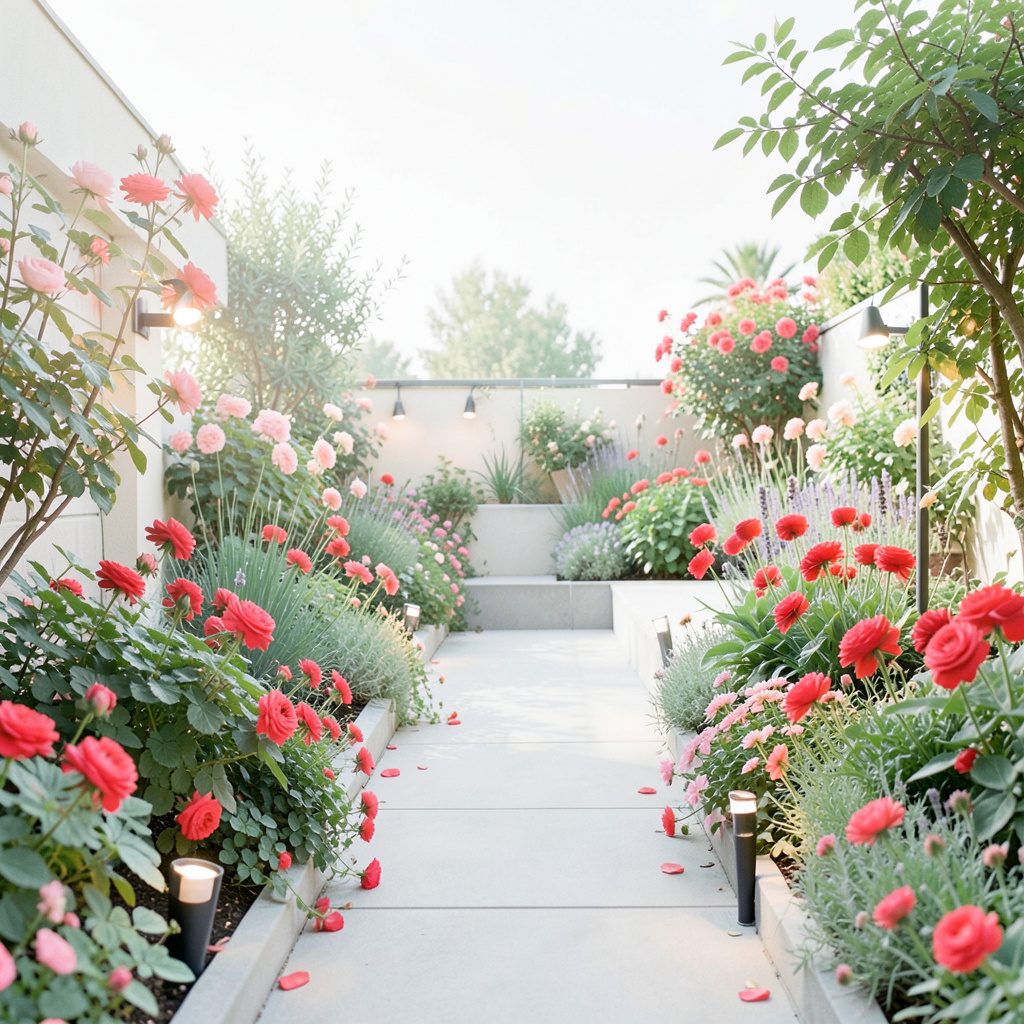
Solar garden lights can turn a planter into a quiet evening feature without needing a mains cable or a bright flood. Low markers, mini spotlights and solar lanterns provide different levels of light, so the planting remains visible without looking like a stadium at night. The best arrangement coordinates fixture height, beam and brightness with the plants and the way people move through the garden.
Most Australian gardens sit outdoors for much of the year, and a planter may be beside a patio, driveway or lawn rather than against a wall. A practical plan starts with how the space is used: illuminate routes, shape a flower bed and soften seating areas rather than lighting every leaf. Solar panels should also face the available sun, while fixtures and batteries need to suit local heat, rain and wind.
Choose a light for each layer of planting
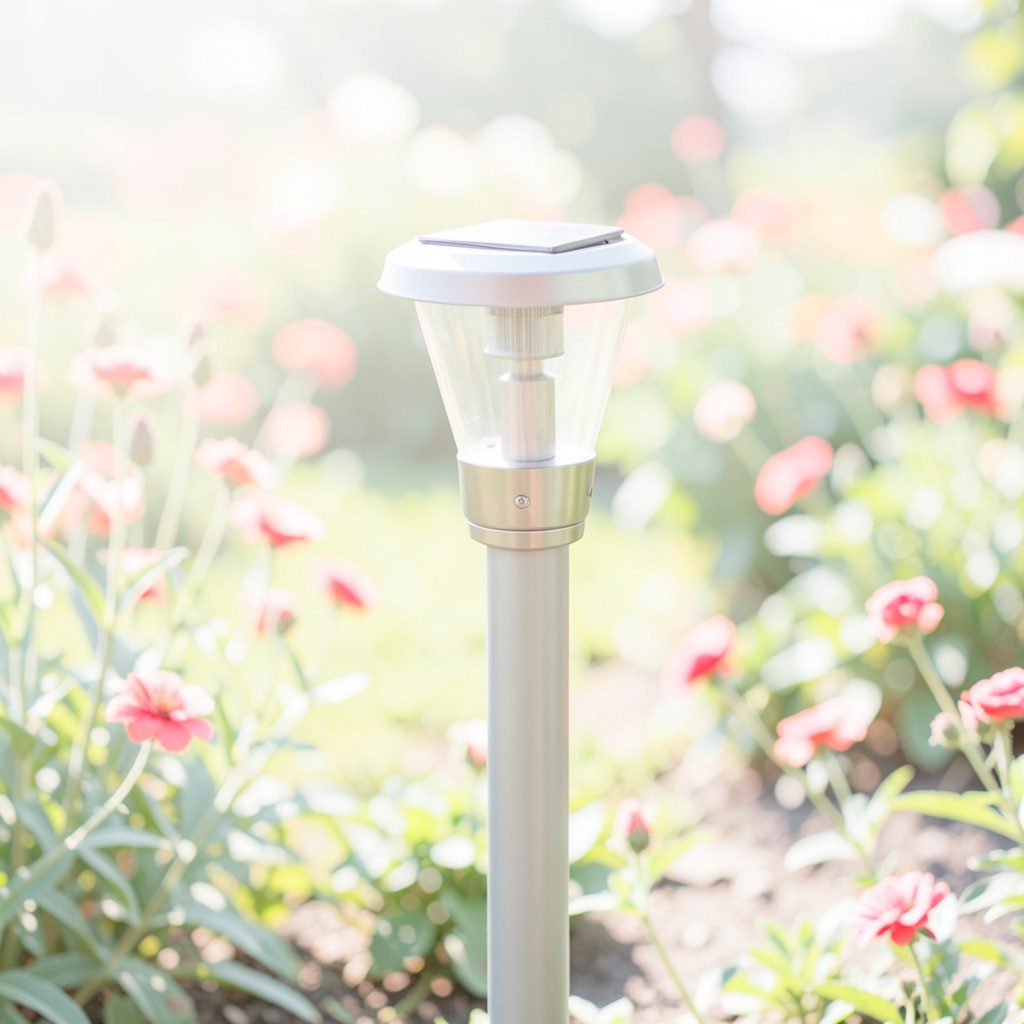
Use slim solar path markers for low planters, edging and short runs of flowers. They are best kept around 20–30cm above ground level and aimed across the bed rather than directly into a neighbour’s windows. For a compact courtyard or narrow side bed, the small-space lighting guide provides useful ways to combine low-level markers with one stronger accent without visual clutter.
Taller perennials, ornamental grasses and small shrubs benefit from solar LED spotlights mounted on slim stakes. A narrow beam can pick out a white flower or the texture of foliage, while a wider angle suits a grouped bed. Angle the head upward and allow the light to graze leaves instead of producing a harsh pool on bare soil, and keep the lamp below eye level for a relaxed garden view.
Decorative solar lanterns are better for atmosphere than for detailed viewing. Place one near a table or the mouth of a path, then use a lower fixture if the flowers need clearer definition. Warm-white LEDs around 2200–2700K generally create a gentler effect than cool white, especially among timber, brick and native-style planting. Limit overlapping beams so shadows remain soft and the bed still reads as a garden after dark.
Plan for Australian sun and weather
In the Southern Hemisphere, a north-facing panel usually receives the most reliable year-round sun, but trees and fences can make the obvious position surprisingly poor. Give the panel at least six hours of direct light in winter and protect it from dense foliage. Melbourne’s cool, cloudy winters can shorten charging time, while Brisbane’s intense summer sun and Perth’s hard sunshine can accelerate panel wear and overheat an exposed battery.
Weatherproofing matters as much as lumens. For flower beds exposed to irrigation, choose an IP-rated fixture with a sealed LED head and a corrosion-resistant body; IP65 is a sensible target where splashing is likely. Sydney’s humid weather and heavy summer rain reward properly sealed joins and raised components, while dry, dusty gardens need a soft cloth rather than a gritty rag for panel cleaning.
Before buying a decorative model, check the stated charging time, full-charge operating time and battery replacement policy rather than relying on a long runtime claim. The visual inspiration can help assess how a lamp’s shape and colour sit within a planting scheme. Clean the panel every few weeks, keep leaves and spiderwebs off the sensor, and check that a vigorous annual will not shade the panel once it reaches full height.
Combine pathway, patio and flower-bed lighting
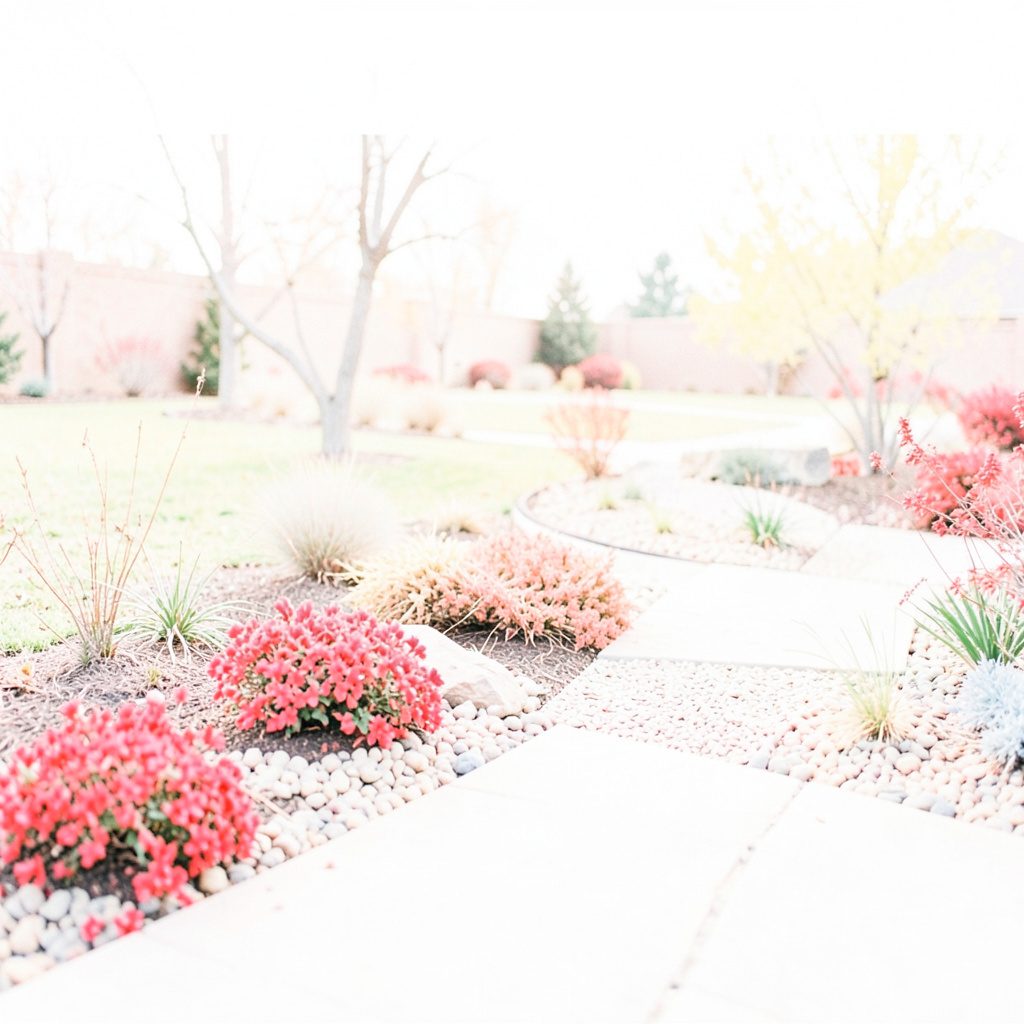
Layering makes solar landscape lighting feel natural. Put low markers along the route, add a few focused accents among flowers and place one warmer lantern near the seating area. This creates a visible path, a middle layer of planting and a comfortable destination. For a wide terrace, repeat the same fixture at even intervals rather than adding more types, since consistency often looks more deliberate than variety.
Australian indoor-outdoor living makes patios and verandahs important extension spaces after dark. Solar festoon or lantern-style lights can bring warmth above a dining table, while stake-mounted lamps illuminate the planter edge below. For more integrated examples, the garden project ideas show how planting and lighting can be developed as a single design. Keep the solar panel visible or accessible, because it may need a different angle from the decorative lantern.
Shopping channels differ across Australia. Check local stock at Bunnings or Mitre 10 for established outdoor brands, and compare InnoGear solar spotlights and path lights through Amazon.com.au. Home Depot listings can be useful for comparing construction details, but confirm that a seller ships to an Australian address and that any plug, voltage or battery specification suits local use. For Philips garden lighting, compare warranty coverage through authorised Australian sellers rather than relying on an overseas listing.
Protect foliage and improve visibility
Brightness should match the job, not the size of the solar panel. A path marker producing roughly 10–30 lumens can define an edge, while a small spotlight aimed at one flower may need more output and a tighter beam. Check the lumen rating and beam angle rather than colour alone. For a large mixed bed, several dimmer lamps often create a calmer picture than one brilliant floodlight.
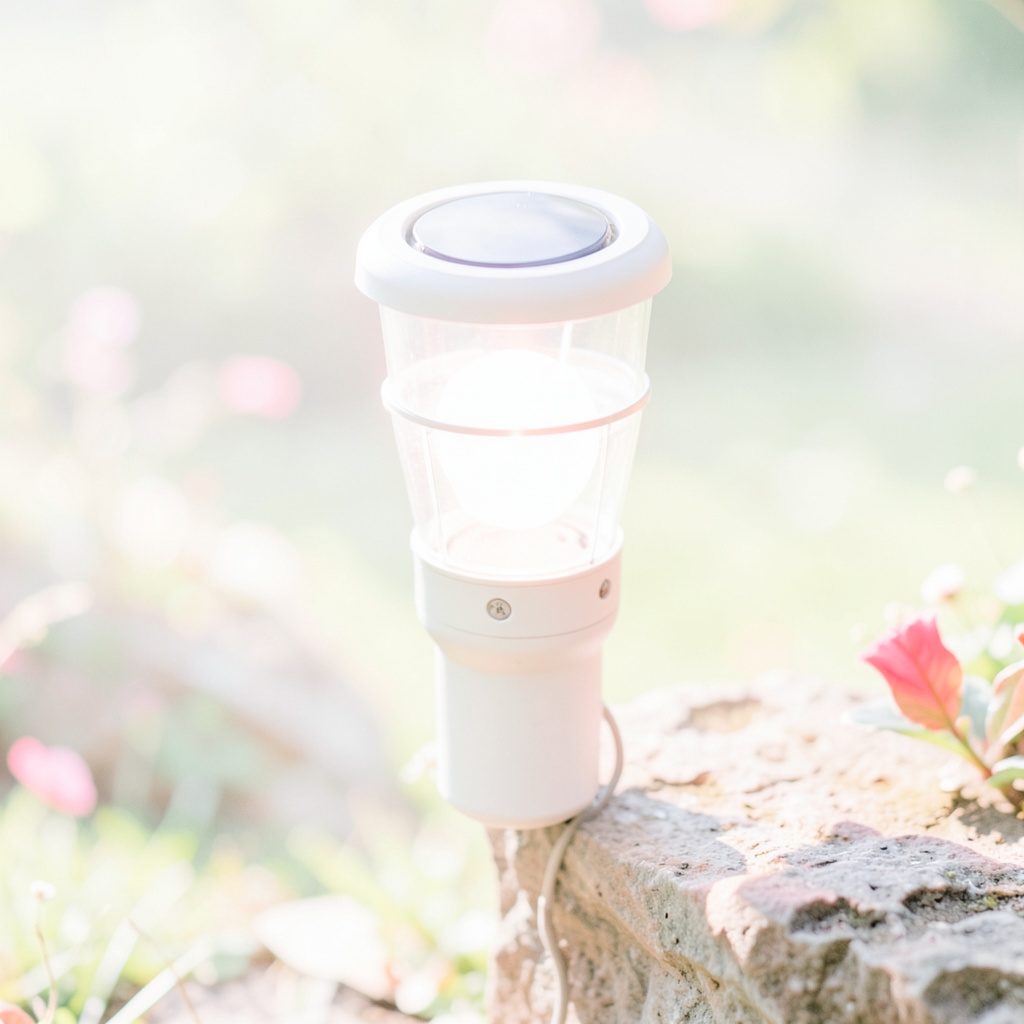
Lantern-style fixtures add a visible glow and work well beside sculptural pots, but their brightness can quickly become the first thing seen. A solar lantern roundup is useful for comparing size, handle design and claimed burn time. Select a model with a warm tone and moderate output for a planted terrace, then let nearby flower accents provide detail rather than overpowering the lantern.
Materials should also coordinate with the outdoor setting. Dark powder-coated metal usually recedes among foliage, while neutral finishes blend with pale stone and timber. Avoid highly polished faces that reflect neighbouring windows, and check that stakes can enter heavy clay soil without bending. In a planter, secure the lamp outside the root ball and wipe salt and fertiliser residue from the casing, since both can dull the finish and attack metal over time.
Install and test the lights before planting night
A reliable outdoor layout is easiest to understand as a sequence of views. Begin at the garden entrance, follow the path markers, arrive at a planter or flower bed and finish near the patio. This prevents every feature from competing at once. More context about the site’s approach to exterior lighting appears in the author background, which is helpful when balancing inspiration with practical placement.
Install each lamp in its final position before judging the effect, then walk the route after dusk. Lower markers should remain visible from standing height and be separated closely enough to show the direction of travel. Spotlights need checking from several angles because leaves can hide them by day and reveal the beam awkwardly at night. Solar lanterns should sit where their panels are not blocked by table umbrellas or overhanging eaves.
Seasonal maintenance is light: clean the panels, check the switches and replace a weak battery when the manufacturer permits it. For the first installation, choose one planter, place its intended lamp there before noon on a clear day, let it charge through the full sun window, and return at dusk to set the final angle.