Featured Topics

Solar Flagpole Lights: Reviews and Installation
Solar flagpole lighting combines daytime charging with targeted illumination after dusk. A well-positioned fixture can reveal the flag’s movement, mark a driveway or guide guests along a path without leaving the garden looking like an airport runway.
The useful comparison is not simply which product claims the longest operating time. Battery size, panel placement, local sunlight, pole height and aiming all affect the result. The best design depends on whether the light must illuminate fabric, the ground beneath the pole, or a wider approach.
Australian conditions make those details especially important. Strong summer sun can shorten battery life through heat, while cloudy winter days in Melbourne, Adelaide and Perth can leave a panel undercharged after a short solar day.
This guide compares common solar flagpole light designs, explains their installation and identifies the specifications worth checking. It also considers the preferences of Australian households, from early school runs and evening barbies to keeping front gardens welcoming for neighbours.
How solar flagpole lighting works
Most units use a small photovoltaic panel, rechargeable battery, LED and either a photosensor or timer. The panel converts daylight into stored energy; the controller switches the lamp on when darkness is detected. A removable tab or physical switch may also need activating before charging begins.
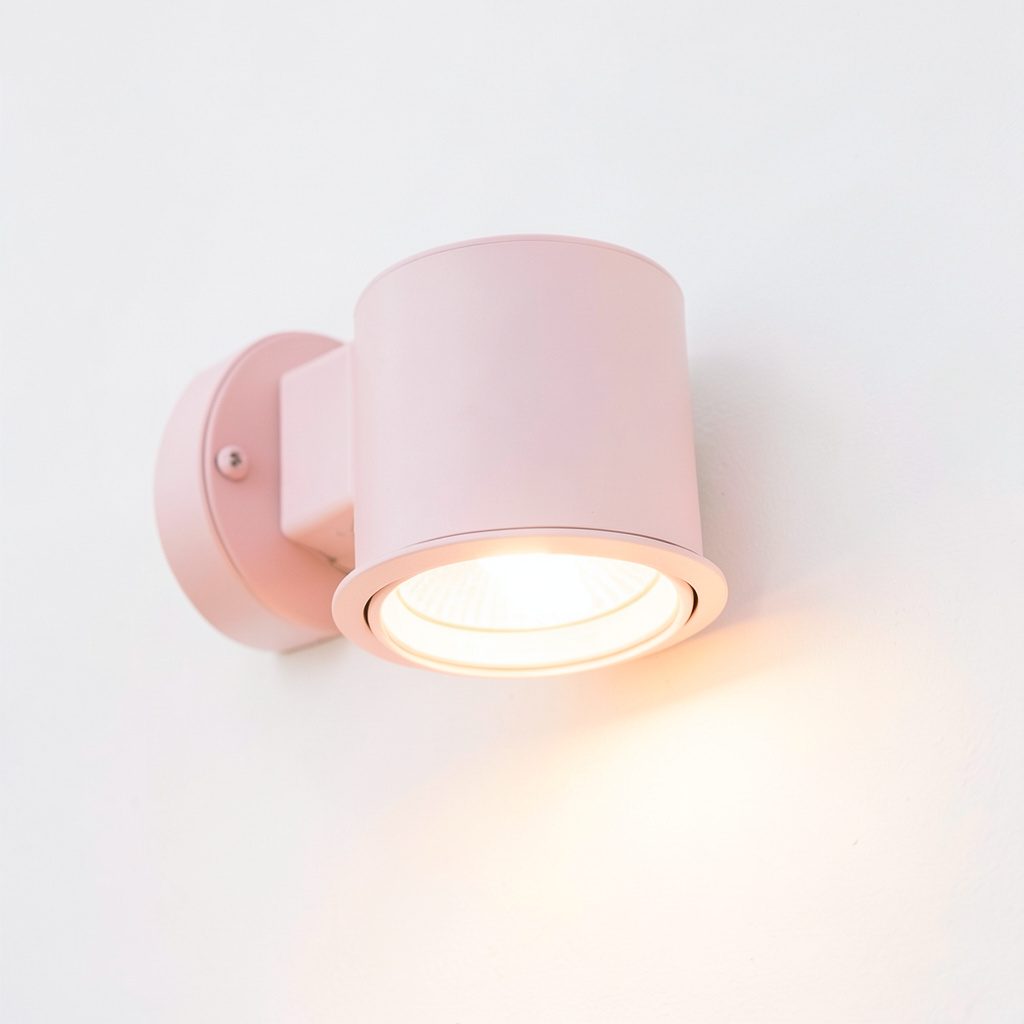
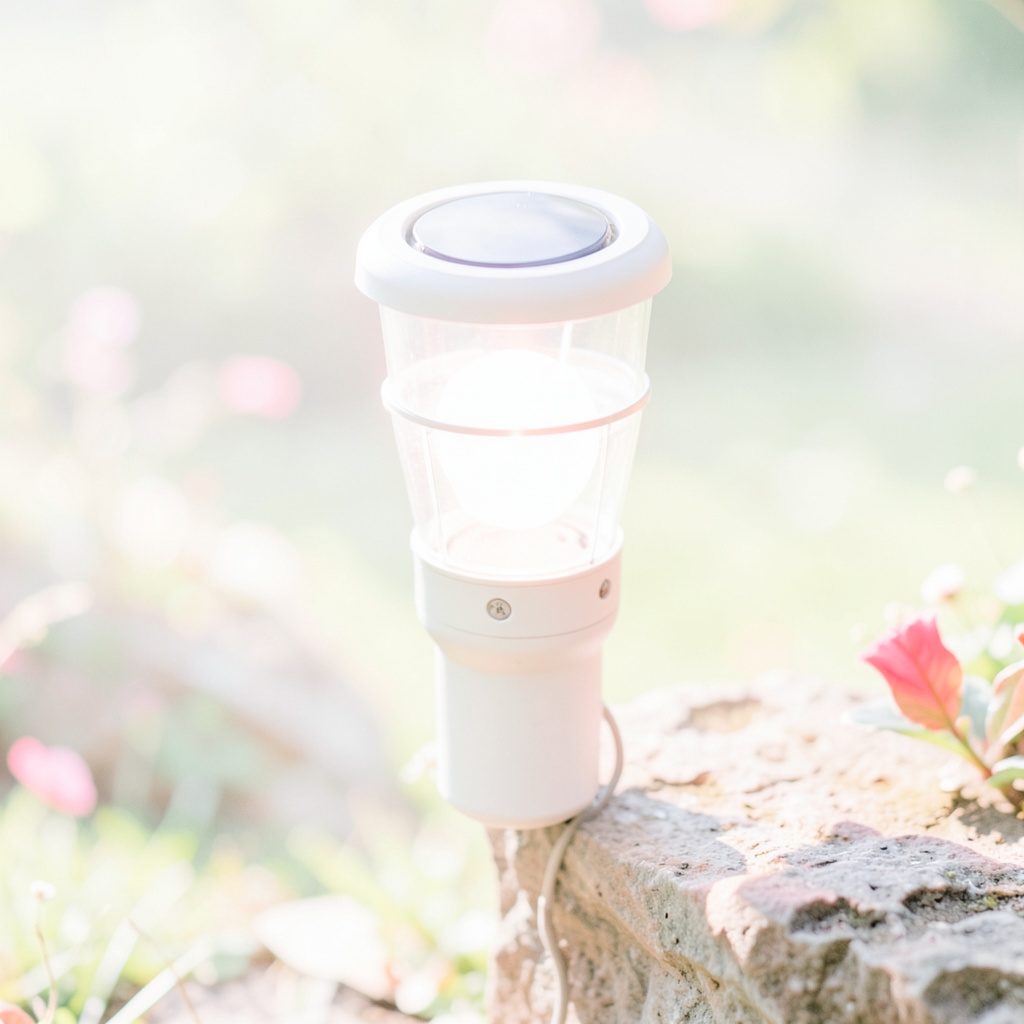
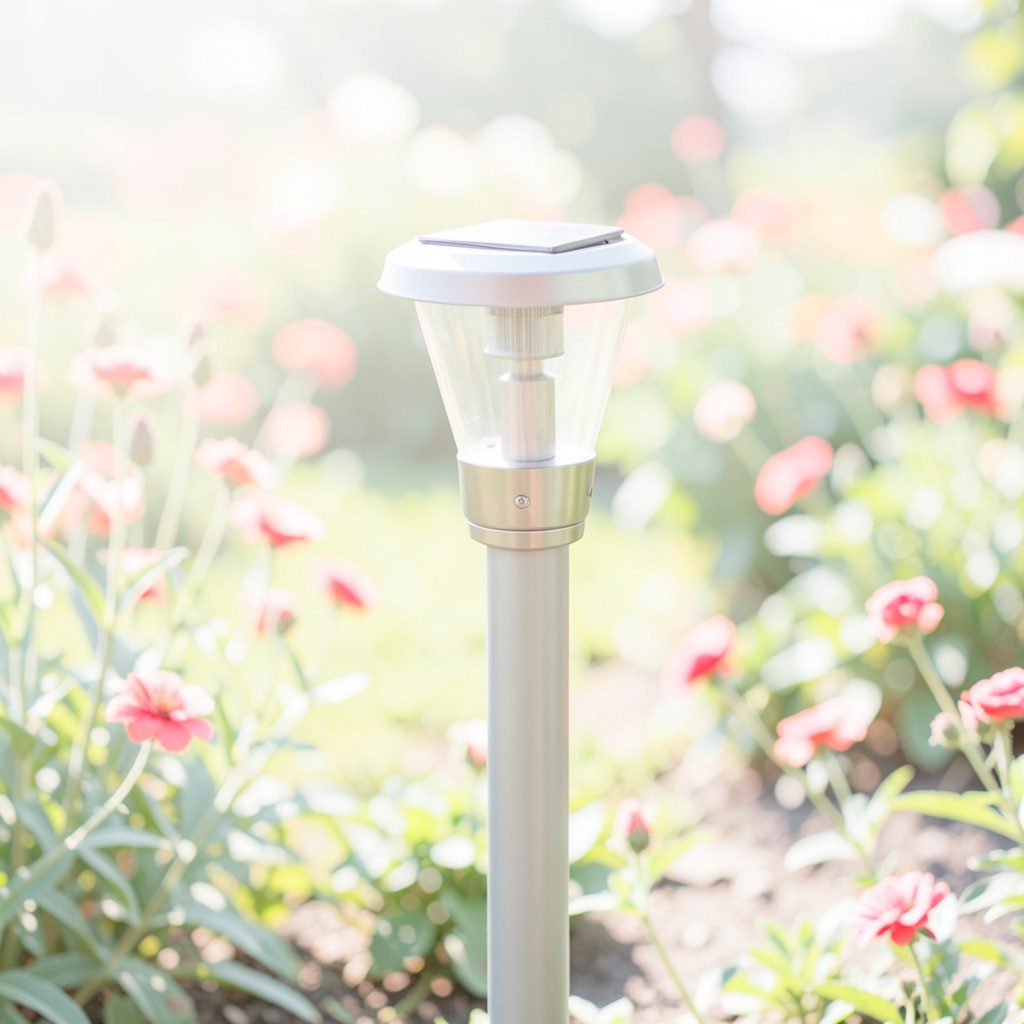
Integrated fixtures sit over the top of the pole and often include a downward-facing lamp. Adjustable spotlights clamp to the side, while solar disks and bollards provide lower, broader pools of light. Comparing these layouts with the Selma Hammer outdoor range can help distinguish decorative garden fittings from purpose-built pole lighting.
A larger panel is not automatically better. It may collect more energy but also take longer to charge, while a high-capacity battery adds weight at the top of a pole. The most balanced arrangement places the panel where it receives unobstructed sun and keeps the lamp assembly secure in wind.
Comparing practical light designs
Integrated cap lights offer the cleanest appearance and are well suited to permanent flagpoles. Many illuminate the flag from above, although models differ in their ability to cast light across the fabric. Check lamp direction, battery accessibility and whether replacement cells are sold separately.
Adjustable solar spotlights are the most flexible option for an existing pole. Their heads can be angled toward a flag, flagpole base or entrance path, but the bracket must fit the pole’s diameter without denting its finish. Side-mounted units also require secure cable management.
Solar disks excel around paths and garden edges rather than high flags. This InnoGear disk-light assessment is a useful benchmark for brightness, placement and low-level visibility. One disk may complement a pole-top fitting, but several are usually needed to light an entire walkway.
Brands such as Philips and InnoGear provide familiar options in Australian retail channels, including Bunnings, Mitre 10 and Amazon Australia. Availability changes, so compare the specification label rather than relying on the brand name or a marketplace listing alone.
Getting brightness and colour right
For a typical 3–4 metre residential pole, an output around 300–800 lumens can produce a clearly visible wash when the beam is aimed at the flag. Larger dual-head floodlights may exceed 1,000 lumens, which can suit open lawns but may disturb neighbours or flatten the atmosphere around a timber or brick house.
Beam angle matters as much as lumen output. A narrow spotlight creates distinct patches, while a wider beam covers the pole and surrounding ground. Directional light also reduces wasted energy and helps the battery last through the night.
Warm white light around 2700–3000K complements traditional Australian homes, while 4000K provides a crisper security effect. Colour rendering of CRI 80 or higher preserves the red, white and blue of the Australian flag. Dusk-to-dawn sensors, dimming schedules and motion adjustment can further improve both comfort and runtime.
Planning for Australian conditions
Panels generally perform best when they face north because Australia lies in the southern hemisphere. Morning and afternoon sun can still be valuable where trees, fences or buildings create northern shade. Review the site in winter as well as summer, since the sun’s path and the size of shadows change throughout the year.
Heat is a hidden weakness in many budget solar lights. High summer temperatures in Brisbane, Sydney and inland areas can reduce battery performance, especially when cells are enclosed beneath a dark panel. Models with temperature management and replaceable batteries are usually more dependable than sealed units with short-lived cells.
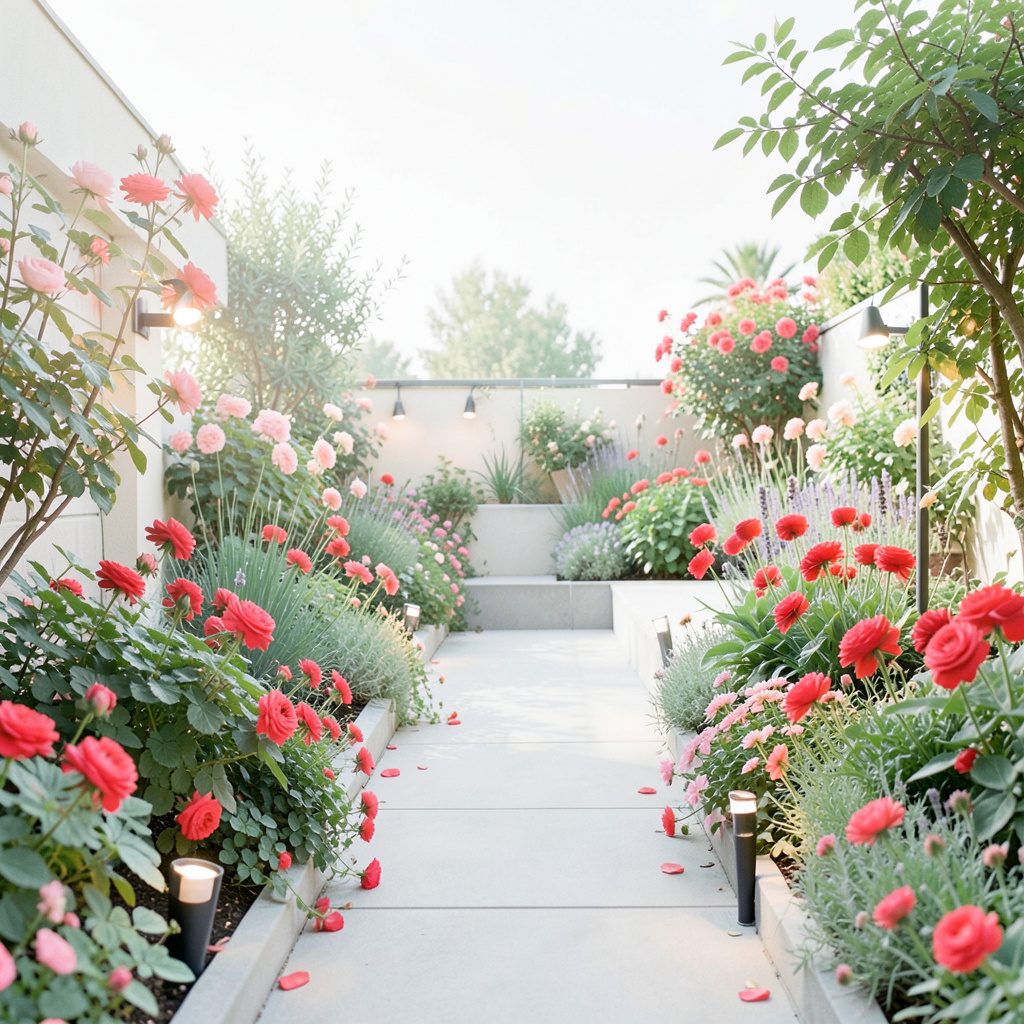
Rain, humidity, coastal salt and ultraviolet exposure demand suitable outdoor protection. An IP65 rating offers strong resistance to dust and water, while stainless-steel fixings and sealed cable entries are preferable near the coast. Garden and landscape planning resources such as Meredith LBL designs can also help assess how a fitting will look among existing planting.
Installing without damaging the pole
Begin by identifying the light’s purpose and measuring the pole, its diameter and the surrounding clearances. Check whether the fixture must illuminate the flag, reveal the base, light a path or combine several functions. A separate solar spot on a nearby post may outperform an integrated fitting when the pole is too tall or shaded.
Charge the light before installation. Remove any insulating tab, set the switch correctly and leave the panel in direct sunlight for at least a full day. Many products need two sunny days before their stated runtime becomes meaningful, so avoid making a final judgement after one evening.
Install clamps without overtightening them, and use a rubber-lined strap to protect powder-coated metal. Connectors should face downward, cables should remain out of footpaths and the assembly should be able to withstand wind. Visual references from IndiePict project imagery can help check spacing against nearby trees, walls and entry routes.
Most self-contained 12V or 24V solar lights do not involve mains electricity. Hardwired lighting or modifications to household wiring require a licensed electrician and compliance with state certification requirements. Front-pole height, heritage overlays and council rules may also apply, particularly on corner properties or in heritage areas.
A practical buying checklist
The following recommendations match common Australian homes and flagpole arrangements:
- Choose an integrated cap-and-downlight for a permanent pole where appearance and even ground coverage are priorities.
- Select an adjustable clamp-on spotlight when the pole already exists or the beam must serve more than one purpose.
- Add a solar disk or bollard for path lighting, using the InnoGear comparison to assess runtime and beam spread.
- Consider a dual-head solar floodlight for large lawns or driveways, provided it can be aimed away from neighbouring windows.
- Prioritise a replaceable, temperature-rated battery for hot climates and gardens where summer afternoons are long.
- Look for IP65 protection, corrosion-resistant fixings and sealed connectors in exposed, coastal or cyclone-prone locations.
- Choose a fixture with a dusk sensor, dimming mode or timer when it must provide security without shining all night.
Compare the panel’s rated wattage and battery capacity rather than accepting a generic runtime claim. Also check the product warranty, replacement-part availability and whether the switch remains accessible after installation. These practical details often matter more than an extra claimed hour of illumination.
Your first weekend installation
Start with one pole rather than lighting the whole property at once. Charge the unit in full sun, fit it with the switch facing inward for easy access, and use the manufacturer’s template or clamp spacing to prevent damage. A support mast may be needed on a tall pole because solar panels and batteries add wind load.
Before mounting, photograph the existing pole and record its height, diameter, panel direction and surrounding obstacles. This makes it easier to compare daytime appearance, evening coverage and battery performance after a week of ordinary use.
On Saturday, measure the flagpole and proposed panel position, mark the mounting point and install one correctly sized light as the baseline.