Featured Topics

LED strip lights for under patio railings: a complete how-to guide
There's something quietly magical about a patio that glows from beneath its railings. The effect is subtle enough to feel sophisticated yet bold enough to change how the space looks after sundown, and it is one of the easiest lighting upgrades a homeowner can tackle on a weekend. This guide walks through the entire process of installing LED strip lights beneath patio railings, from choosing the right product to the final switch-on. It is written for Australian conditions, Australian homes, and the way Aussies actually use their alfresco spaces.
Across the country, patios double as outdoor kitchens, weekend barbecue zones, and evening wine spots, so lighting has to do more than just look pretty. It needs to handle intense UV, summer storms, salty coastal air, and the occasional cold snap in places like Hobart or Ballarat. Under-railing LED strips handle all of that remarkably well, which is why they have become a go-to project for anyone upgrading a deck from Bunnings flat-pack to a proper outdoor living room.
Why under-railing LED lighting transforms a patio
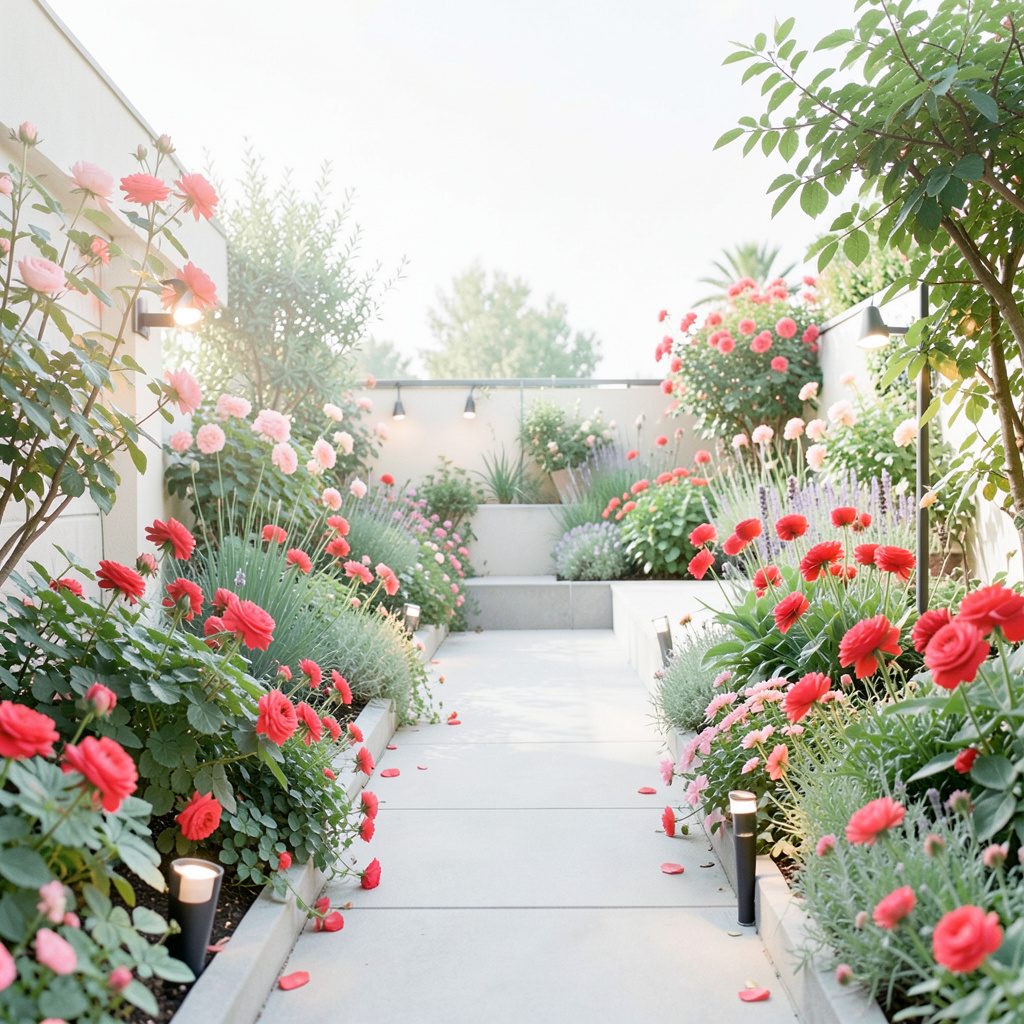
Light that washes downward from beneath a handrail does something other fixtures cannot: it defines the edge of a deck without ever being in your eyeline. That means no glare across the table, no awkward shadows on faces, and a soft pool of light that practically paints the decking boards in a warm glow. For homeowners who entertain after dark, this kind of indirect illumination makes the space feel generous and welcoming without lighting up the neighbour's fence.
It also extends the usable hours of the patio dramatically. In summer, when the sun in Sydney or Brisbane stays up until nearly nine, dinner often drifts past dark, and a well-lit railing means nobody is fumbling for the barbecue tongs. In winter, when most of us head indoors by six, a glowing deck still rewards a quick stroll outside for a coffee or a check on the dog.
Picking the right LED strip for Aussie conditions
Not every LED tape sold online is built for the outdoors, so the first job is matching the product to the location. Look for an IP65 rating at minimum under a covered patio, and IP67 or IP68 if the strip will see direct weather. The IP rating tells you how well the strip resists dust and moisture, which matters enormously in Australia, where a sudden downpour can soak an alfresco in minutes.
Colour temperature is the next call. Most Australian designers lean towards warm white, around 2700K to 3000K, because it flatters timber, food, and skin tones, and pairs beautifully with popular decking species like merbau and spotted gum. Cool white reads more clinical and tends to highlight every fingerprint on a glass balustrade. RGB or tunable-white versions are fun, but if you want the deck to feel calm rather than like a karaoke bar, stick with warm whites or amber tones.
Brightness matters too. For ambient under-railing lighting, roughly 400 to 800 lumens per metre is the sweet spot. Anything brighter starts to feel like a runway at Perth Airport, which is the opposite of the relaxed deck vibe most people are chasing. For inspiration, this lighting gallery is worth a browse.
Tools and materials you'll need
Before you head to Bunnings or order online, lay everything out so the job flows without interruption. Have a drill, hole saw, wire strippers, and a multimeter on hand, and book a licensed electrician for the final 240V connection. The main consumables to gather are:
- IP67-rated warm white LED tape, 24V, cuttable every 50mm
- Aluminium mounting channel with a frosted diffuser
- 24V DC LED driver sized to total wattage plus 20 per cent headroom
- Outdoor-rated cable and waterproof junction boxes
- Mounting clips or exterior-rated 3M VHB tape
Measuring and planning your layout
Walk the full perimeter of the patio with a tape and a notebook, measuring each straight run between posts rather than the total length. Corners, gates, and stairs each need a separate run because most LED tape cannot bend sharply without damaging the internal conductors. Sketch the deck from above and mark where each strip will start and stop, including any joins.
At this stage, think about how the light should fall. A strip mounted under a flat top rail throws light mostly downwards, which is great for safety on steps but loses some of the grazing effect on the posts. Mounting it further outboard, on the underside of the bottom rail, creates that lovely wash across the decking. For broader ideas on pathway and perimeter lighting, pathway lighting inspiration shows how layering different fixtures can elevate the whole yard. It also helps to plan any smart-control hardware early in the piece, and suppliers like Hendrix UTD supplies work with Aussie integrators to spec the right modules from the start.
Mounting the strips to timber or composite railings
Aluminium channel is strongly recommended for almost every under-railing install. It acts as a heatsink, which extends the life of the strip, and gives the diffuser a clean, finished edge rather than the spotty look of bare LEDs. Cut the channel to length with a hacksaw, deburr the ends, and pre-drill fixing holes every 300 to 400mm.
For timber railings, stainless steel screws hold best, especially in spotted gum or merbau, which can punish standard fixings. For composite railings, the supplied clips usually do the job. If you would rather skip screws entirely, exterior-rated 3M VHB tape works well on smooth, sealed surfaces, though it struggles with rough-sawn or oily timbers. Press the strip into the channel, snap the diffuser on, and fix the whole assembly to the underside of the rail.
Wiring, power supplies and Australian safety rules
This is the section that matters most from a safety standpoint. In Australia, any 240V wiring must be carried out or at least certified by a licensed electrician, and patio lighting falls squarely into that category. The good news is that the low-voltage side of the job, running 24V DC from the driver to the strips, is something a competent DIYer can handle.
Mount the LED driver in a dry, ventilated spot, ideally under the house, and keep it within a reasonable cable run of the first strip to avoid voltage drop. Use outdoor-rated cable outside, and seal every join in a weatherproof junction box. Connect the driver to a switched circuit so the lights come on with the existing patio switch. Once the wiring is in, the system should be tested by an electrician and signed off. For pairing your new strips with app-controlled fittings, this smart lighting compatibility guide is a useful starting point.
Smart controls, dimmers and finishing touches
Once the basics are in, the fun begins. A simple rotary dimmer on the low-voltage side lets you dial the brightness from a soft candlelight glow to a practical working light for cleaning up after a barbie. If you want more, a Zigbee or Wi-Fi controller tucked in behind the driver unlocks scheduling, voice control, and integration with whatever ecosystem you prefer. Companies such as Epi-Light controls are popular among Aussie integrators for projects like this.
Smart control options worth considering:
- A basic wall-mounted rotary dimmer for simple, reliable control
- A Zigbee or Z-Wave module for whole-home automation and voice assistants
- A Wi-Fi controller for app-only setups without a smart home hub
- A PIR or dusk-to-dawn sensor so the strips only come on when needed
Small finishing touches matter. End caps on the aluminium channel keep insects and water out. A bead of clear exterior silicone along the top edge adds another layer of weatherproofing. Walk the deck at night before calling it done and tweak any sections that read too bright, too dim, or too blue against the timber. The best under-railing lighting should look like the deck itself is glowing, not like someone stuck a strip to a handrail.
The takeaway is simple: under-railing LED lighting is one of the highest-impact, lowest-effort upgrades you can make to an Australian patio, and most of the work is straightforward once the right strip, channel, and driver are in hand. Measure carefully, respect the 240V rules, and take your time on the final aiming. Do it well and the space will reward you every single evening for years.