Featured Topics

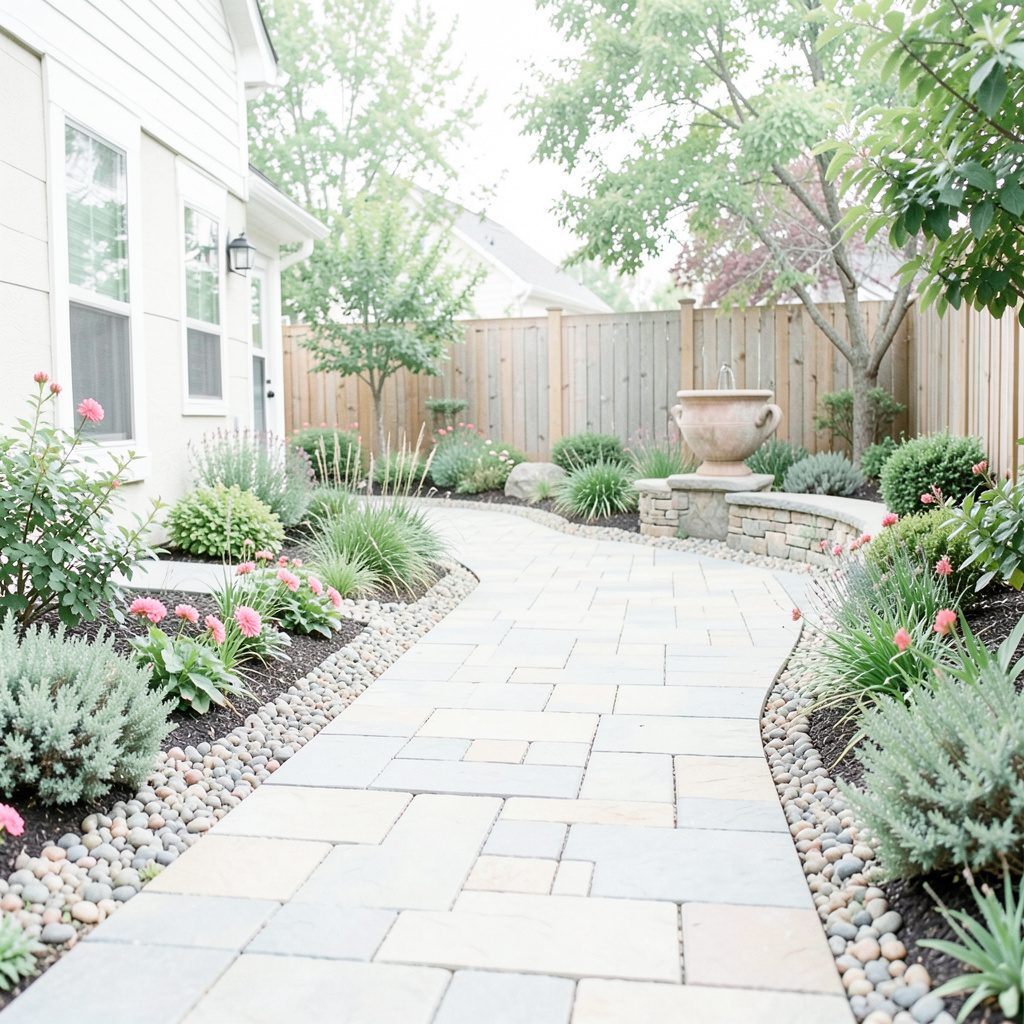
How to light a backyard path without overpowering it
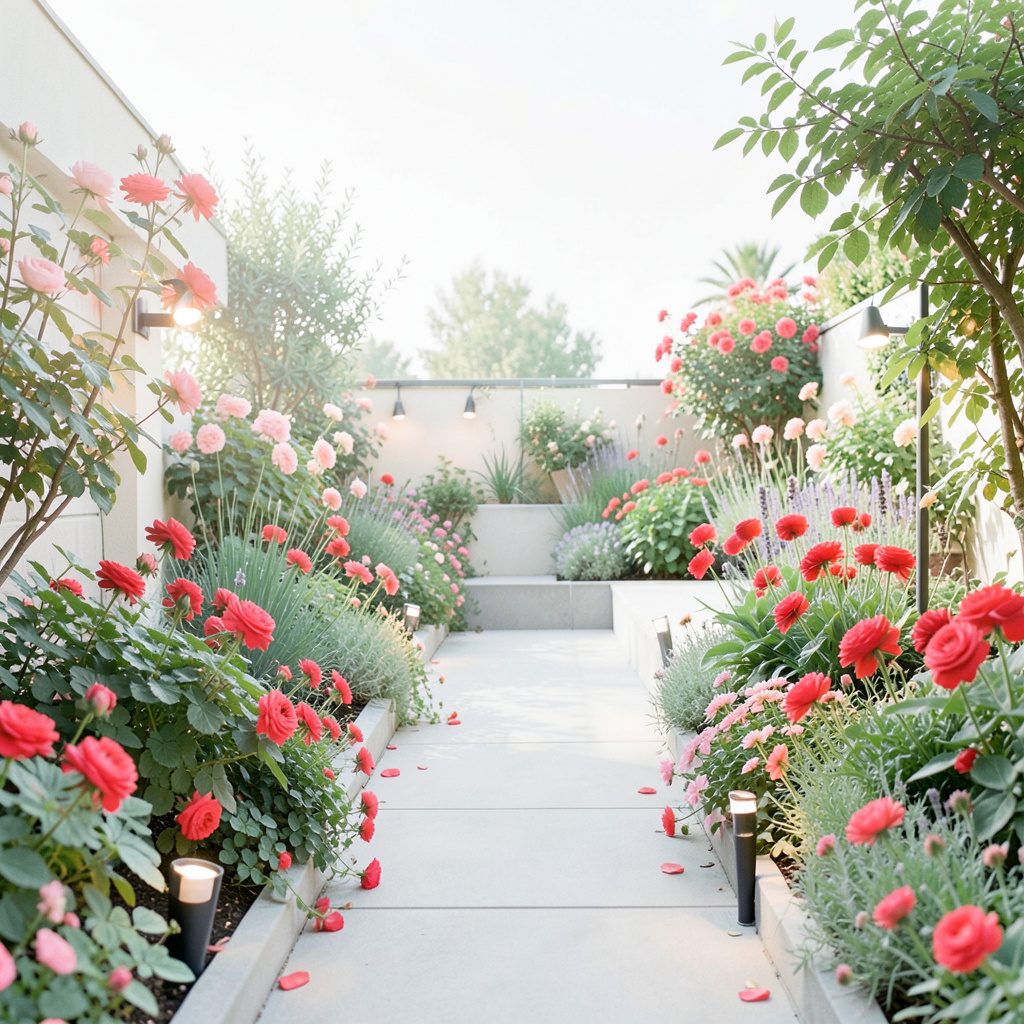
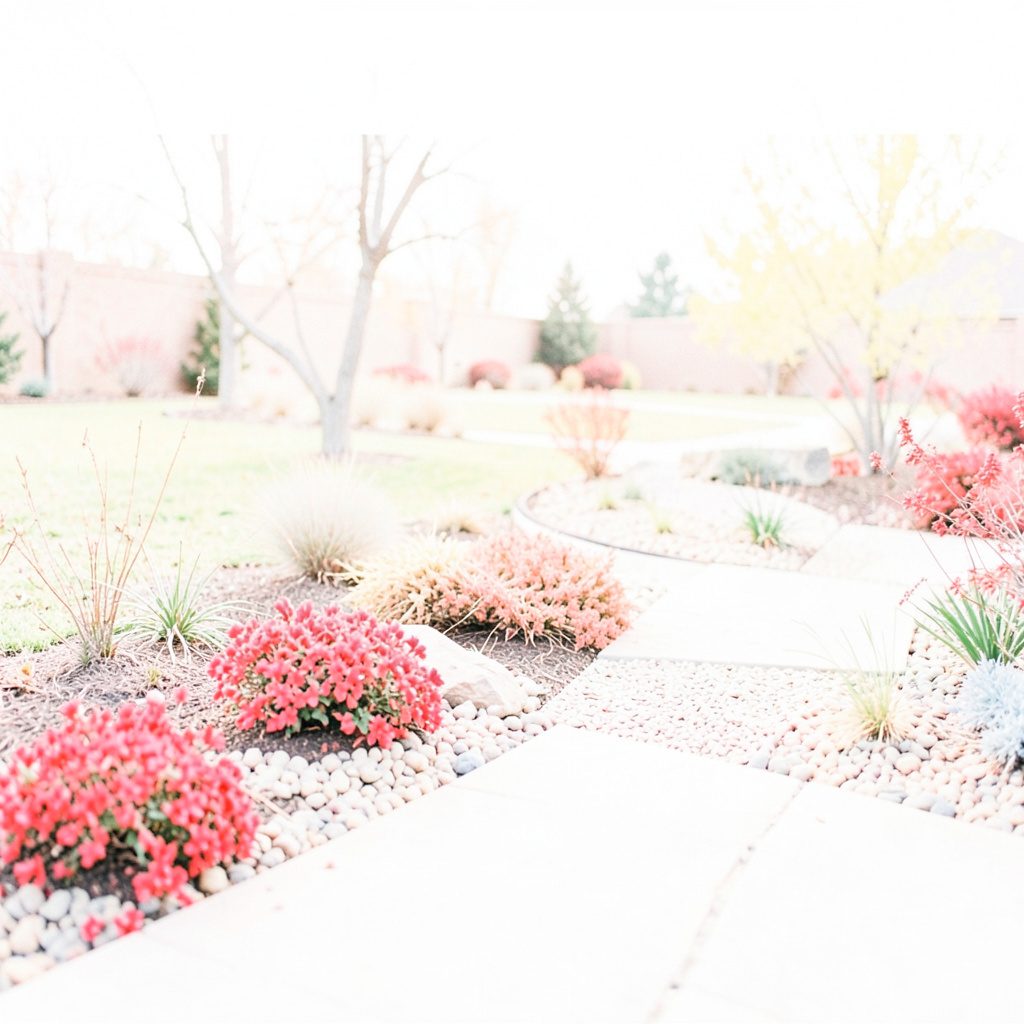
To light a backyard path without overpowering it, create small pools of gentle illumination rather than turning the whole garden into a lit display. The path should reveal where the paving goes, not take over the evening. Keep glare away from windows and let the route remain a quiet passage through the yard.
Many bright outdoor fittings create the opposite result: hard-edged pools, harsh shadows and a patio that feels like a car park. That matters in Australian backyards, where the path often connects the house, a chook run, the back gate or a small footy patch.
Begin with a walk after dusk rather than a lumen shopping list. Note where the path disappears, where a step catches the eye, and where fences or trees throw shadows. Your aim is safe, continuous guidance with enough contrast to recognise edges and obstacles, not uniform white light from the front gate to the back door.
Set the lighting level before choosing fixtures
Start with the task rather than a shopping list. A private level path often looks comfortable at roughly 10–30 lux, while steps, slopes or a narrow side passage may need more contrast. Use these as starting points: stand at normal eye height and check whether you can identify paving edges without staring into a lamp.
Choose a warm white light, usually around 2200–2700K, to blend with timber, brick and garden foliage. Cooler LEDs can look crisp but often make the yard feel harsher after dark. Check that fixtures have a reasonable colour rendering index, ideally CRI 80 or above, so paving and leaf colours still look natural.
Compare beam angle and shielding alongside lumen output. Two lamps of equal wattage can look completely different when one throws a broad wash and the other concentrates a narrow beam. Aiming light downwards or across the path reduces light spill into the sky and neighbouring properties, helping limit glare and unnecessary sky glow.
Choose fixtures that suit the route
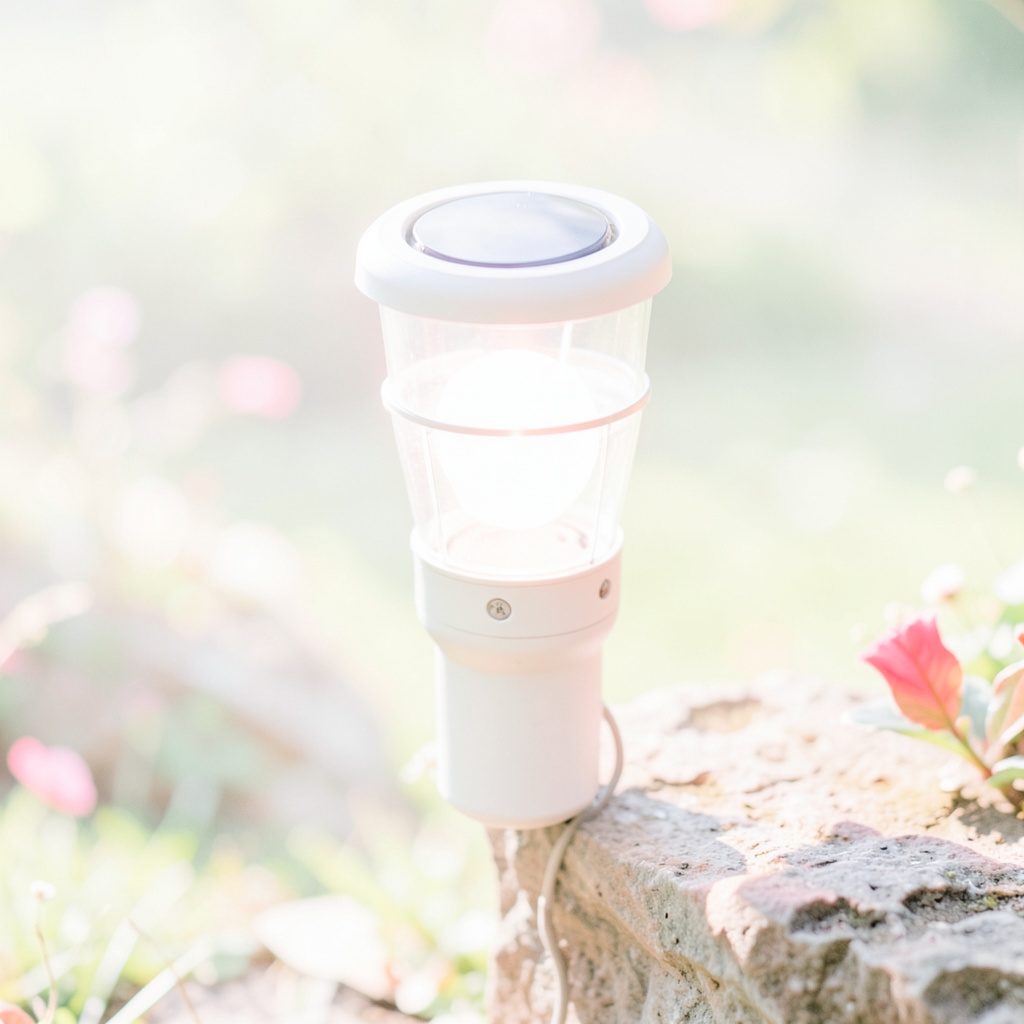
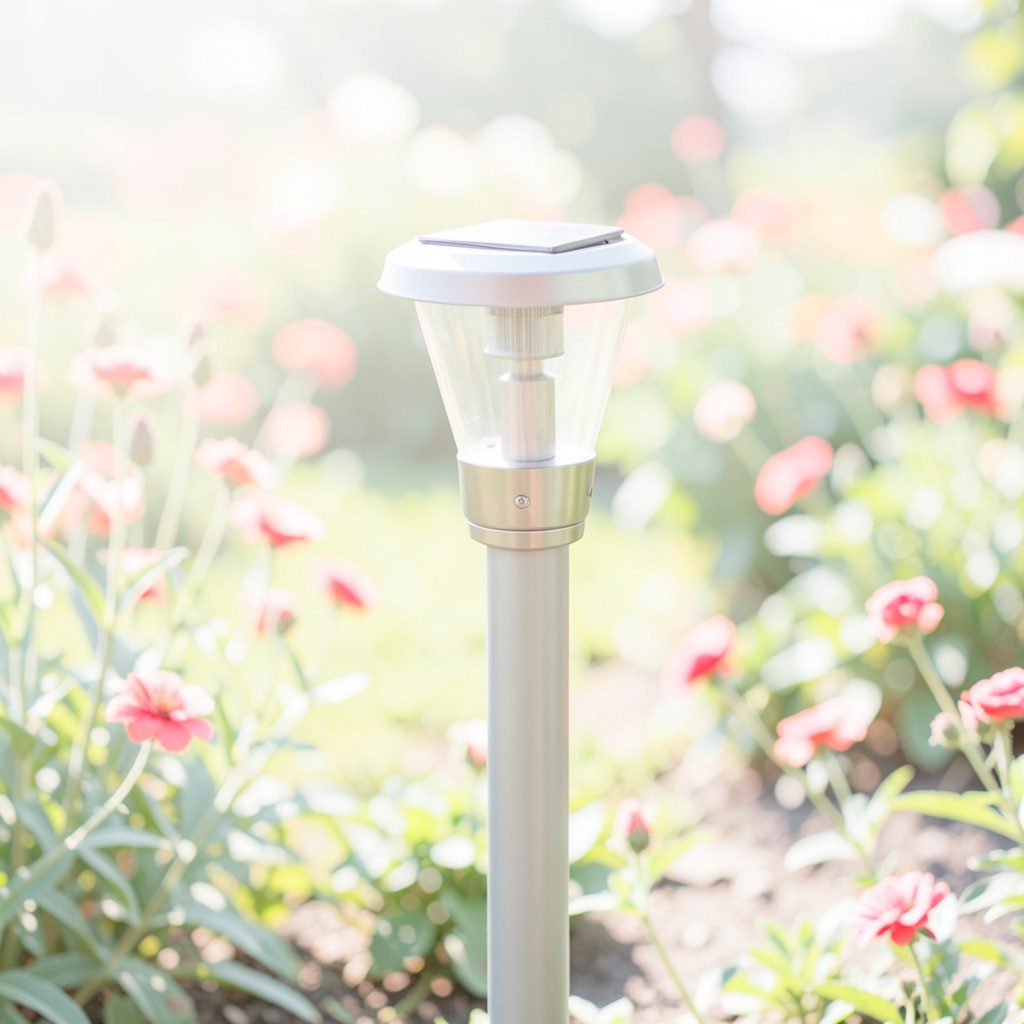
Low bollard lights are a practical choice for a conventional path, while smaller markers work along a narrow border. Recessed in-ground lights suit a modern terrace or paved edge, and wall washers can lift a textured wall beside the route. Keep most fittings below eye level; a tall post with a visible bright lens usually adds glare without improving navigation.
Solar lights remove cable trenches but need direct sun and may dim through a cloudy winter. Mains or extra-low-voltage systems suit shaded paths where consistent output matters. Philips and InnoGear both have solar and LED garden-light ranges, so compare the actual model rather than choosing a brand name. Confirm output, runtime, dimensions and replacement-battery availability in Australia.
For style ideas beyond a specification sheet, the Purple Stitch Project can help you settle on a visual direction. When shopping, compare Australian stock and warranty terms through Bunnings or Amazon.com.au. A Home Depot marketplace listing may also need checks for voltage, shipping and local support.
Build a restrained, evenly spaced layout
Mark the route on paper before buying. Divide long paths into short sections and place the first light where guidance matters most: beside a gate, a step or a change in paving. Small bollards often work at roughly 1.5–3 metre intervals, but overlapping, soft pools of light are the goal rather than a strict spacing formula.
Walk the proposed line from both directions. Light that looks subtle from the patio may glare from the back gate, and a fitting beside a tree can create a moving shadow when the breeze picks up. Keep beams off house windows and avoid pointing them into a neighbour’s leafy canopy. The wider Meredith LBL collection helps compare exterior fittings by scale and housing style.
Give the layout room to breathe. A path with two warm pools and a dark gap between them can feel more inviting than a continuous strip of brightness, provided the gap still lets people judge the ground. In a typical Aussie backyard, leave space around a barbecue, outdoor seating and a basketball hoop instead of trying to illuminate every surface.
Compare fixture and placement options
Judge each fitting by the job it needs to do. These checks are more useful than choosing the brightest option on the box.
-
Light output: Compare useful lux and beam coverage, not headline lumens alone; a narrow spot may waste light beyond the path.
-
Glare control: A shielded or asymmetric lens should stop direct light at eye level and keep it away from nearby windows.
-
Weather rating: Look for at least IP65 on exposed fittings and in-ground models rated for soil and drainage conditions.
-
Operating details: Check colour temperature, runtime, replaceable batteries, warranty and whether a transformer is included.
-
Purpose: Place lights to reveal changes in level, not every metre of decorative paving.
-
Spacing: Start around 1.5–3 metres for small bollards, then adjust for the beam angle and brightness.
-
Position: Keep fittings clear of mower paths, tree roots, pool edging and drainage swales.
-
Power: Confirm adequate sunlight for solar models or a safe cable route for mains-powered fittings.
Photograph the same section at dusk and again in full darkness. A phone may exaggerate brightness, but side-by-side images reveal harsh contrast or redundant pools. Make one change at a time, then walk the path with a guest rather than from the installation spot.
Install safely for Australian conditions
If a fitting needs mains power, use a licensed electrician and outdoor-rated equipment. For extra-low-voltage systems, keep the transformer above ground, use the specified cable and connector, and follow the manufacturer’s load and cable-run limits. For recessed lights, this in-ground lighting guide provides a useful starting point for housing, drainage and moisture protection.
Australian summers are hard on outdoor fittings: UV can yellow plastic lenses, heat shortens battery life and coastal salt encourages corrosion. Heavy rain may also expose poorly sealed joints. Choose an appropriate IP rating, keep metal parts compatible and avoid trapping water inside housings. Direct sunlight matters for solar panels, especially where a paling fence or evergreen tree casts shade.
Bury only the cable type and depth allowed by the product instructions and local rules; do not treat extra-low-voltage as permission to run a lead carelessly. Inspect connections after the first wet season, clean solar panels and replace batteries before output fades. A Brisbane yard and a cooler Melbourne garden may need very different maintenance routines.
Test the path after dark
Check the finished route from the house, the side gate and the garden boundary. Can someone identify a step, a loose paver or the edge of a raised bed? Can they do it without looking directly at a lamp? If the answer is no, lower the output, reposition the fitting or replace it with a narrower distribution.
Make the final adjustments after the sun has fully set, not at sunset alone. Dark adaptation reveals problems that a bright sky hides. Trim foliage that has grown into a beam, clean dirty lenses and reset any dimmers to their lowest useful setting. A tidy run of low, warm lights can guide the eye while leaving the garden dark and natural.
Tomorrow at dusk, test just the first two fittings on the walk from the patio to the back gate.