Featured Topics

Combine Solar and Low-Voltage Lights Across One Landscape
Solar and low-voltage garden lights can share a landscape beautifully, but they should not be treated as interchangeable. Solar lanterns, bollards and path markers work well where a sunny position is easy to find. Wired low-voltage spotlights and step lights suit areas that need dependable illumination, tighter control or connections to a transformer.
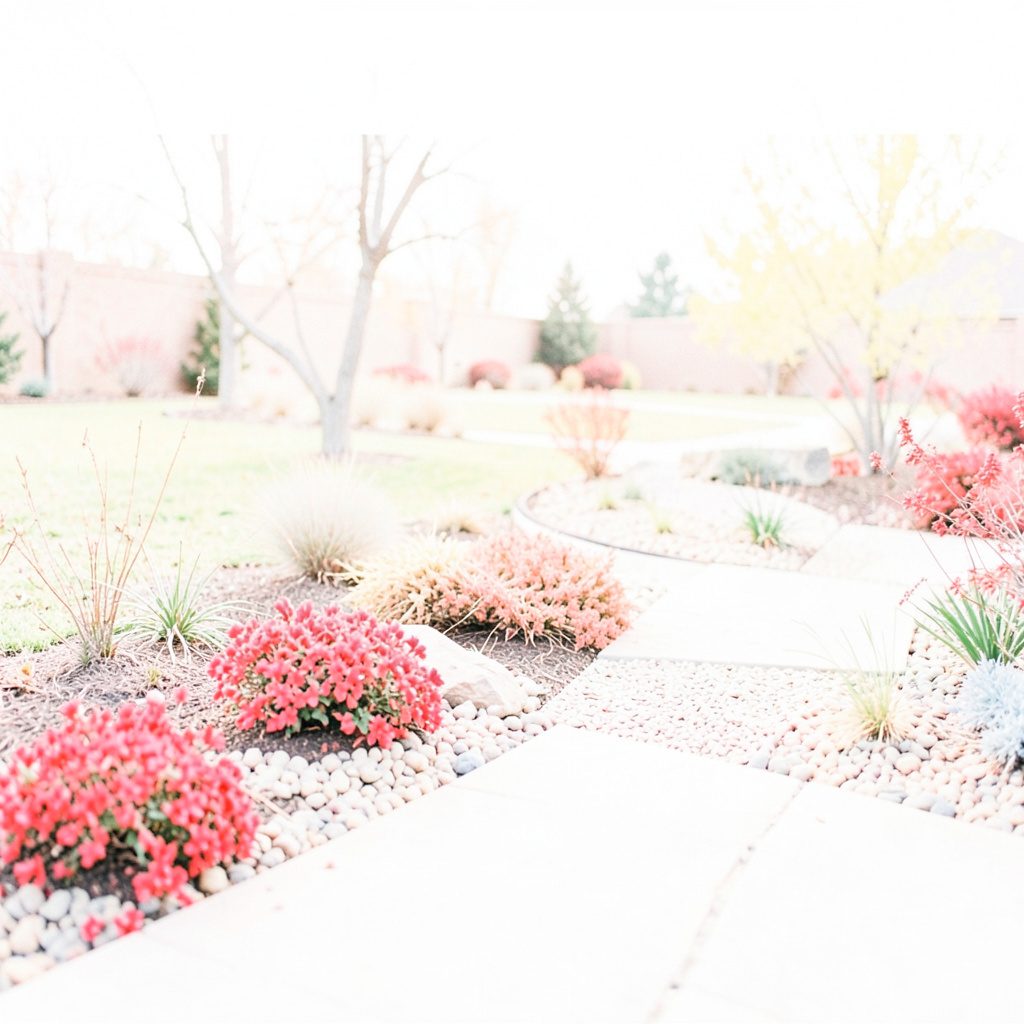
The practical method for combining solar and low-voltage lights in one landscape is to divide the property into lighting zones rather than choosing one power source for everything. A front path may need consistent visibility, while a secluded courtyard can rely on a softer, autonomous glow. This separation reduces cable runs, keeps electrical work concentrated and lets each fixture operate where it performs best.
Good design also layers light. Ambient lighting establishes a safe route, accent lighting reveals trees and walls, and security lighting brightens entrances without flooding the whole garden. Warm white lamps around 2200–2700K usually feel more natural beside timber, brick and native foliage than cool white beams.
Before buying, note where people walk after dusk, where they gather, which views matter and where darkness is welcome. Australian backyards often combine a patio, lawn, pathway and terrace, each needing a different level of visibility. Measuring those spaces in daylight prevents a polished lighting plan from becoming either dim or glaring.
Map the garden by lighting zone
Begin with a simple site map showing the house, patio, lawn, garden beds, trees, paths, gates and off-street areas. Mark every entrance used after sunset, along with steps, changes in level and narrow sections where movement becomes difficult. This creates a practical foundation for the lighting layout rather than a collection of attractive but poorly placed products.
Separate the property into ambient, accent and security areas. Ambient light should reveal routes and edges; accent light can frame a feature tree, textured wall or water feature; security light should cover entry points. Retaining some genuinely dark areas protects nocturnal wildlife and keeps the garden from looking like a floodlit display.
Plan cable routes before choosing fixture quantities. A low-voltage circuit becomes expensive and inefficient when it crosses the lawn several times to reach isolated lights. Place the transformer near a power outlet, run cables through less visible borders and distribute fixtures in compact groups. Solar products reduce this constraint, provided their panels receive unobstructed sunlight.
Give solar and wired lights distinct roles
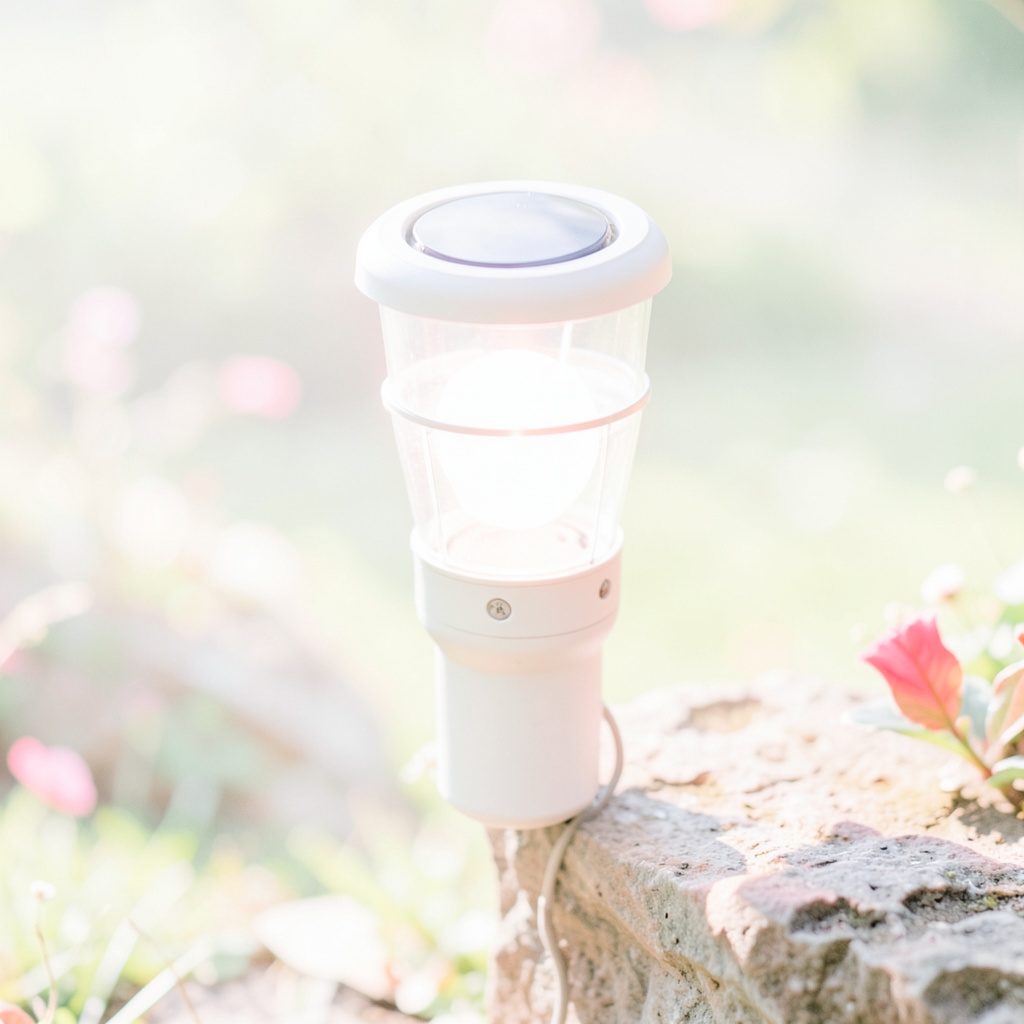
Solar fixtures are best suited to open garden edges, lawns, paths and decorative features. Their performance depends on panel placement, battery capacity, sunlight and how frequently the lamp is activated. A shaded solar bollard may look convincing by day but produce a weak pool of light after a cloudy winter afternoon.
For overhead interest beneath a pergola, patio cover or tree canopy, solar hanging lanterns can create a warm focal point without extending a low-voltage cable across the entertaining area. Position the panel where it is not hidden by fabric, foliage or roof lights, and check how the lantern is meant to be suspended.
Use low-voltage lighting where output must remain predictable. A transformer can feed several matched spotlights, underwater lights, wall washers or step lamps from one circuit. This makes it practical to illuminate the main path, front gate and patio consistently, particularly when those areas need to operate together at dusk.
Solar and wired fixtures should not simply be connected to the same cable. Most solar lights are self-contained, with their own panel, battery, sensor and LED. They can complement a low-voltage system visually, but connecting them electrically requires a purpose-designed controller. Timers, photocells and smart switches should also be selected according to each product’s instructions.
Position fixtures for safe, attractive movement
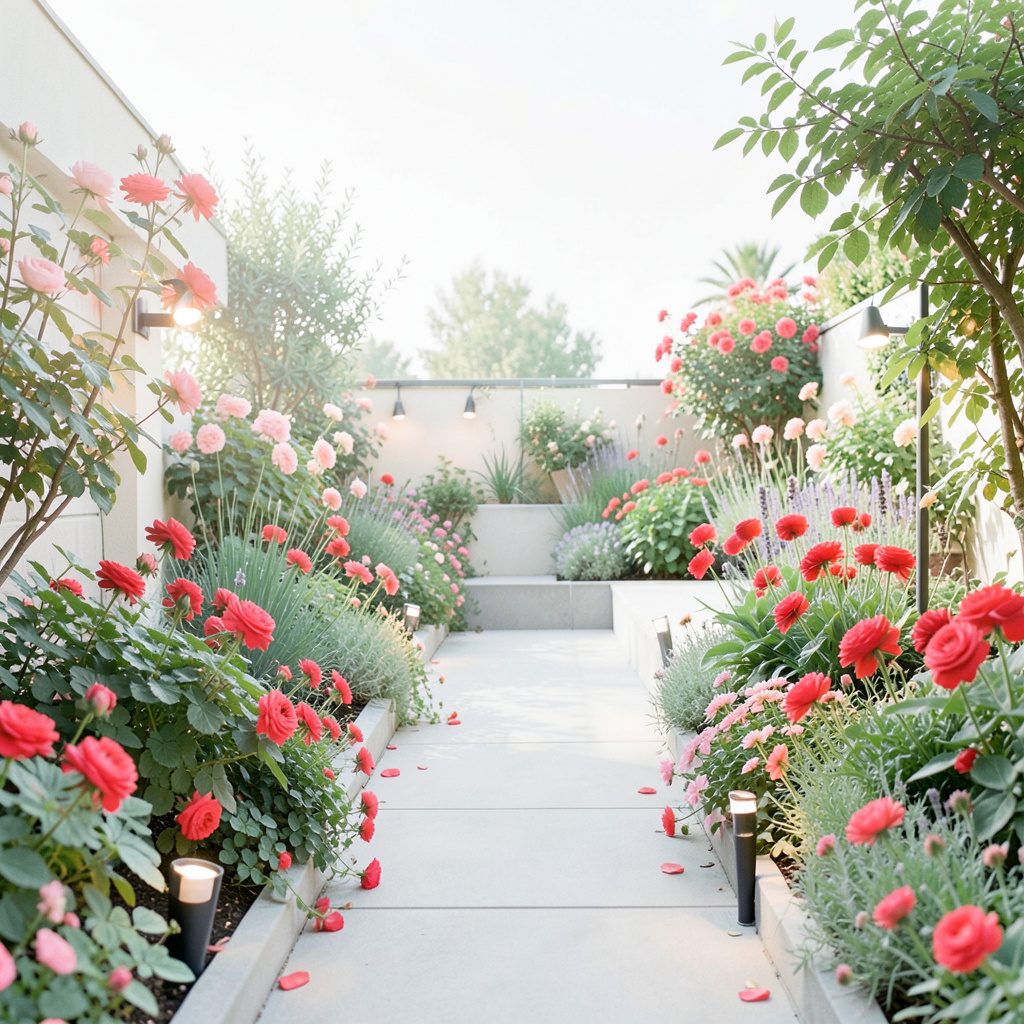
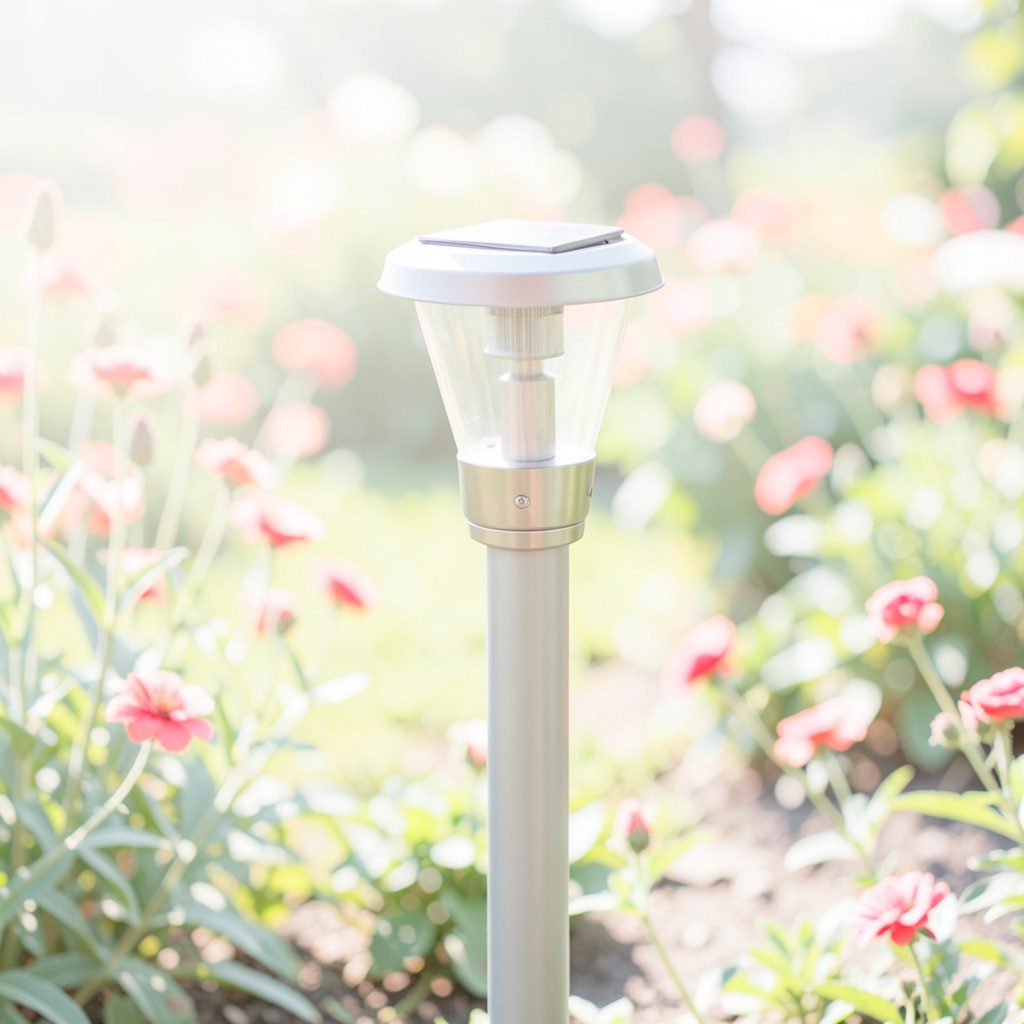
Path lighting should indicate direction rather than illuminate every square metre. Place bollards or step lights at regular intervals, around corners and beside changes in level. Check the spacing with the actual beam pattern, because closely spaced fixtures can create harsh pools while widely spaced units leave uncertain gaps.
For a flush route through a driveway or paved garden edge, in-ground LED lighting can preserve the surface while still marking the way. Only use fixtures approved for in-ground installation, protect their connections from moisture and avoid placing them where soil movement or traffic could damage them.
Low-voltage spotlights work best when aimed upward or across a feature. Aim them away from neighbouring windows and position them to create definition beneath a tree or along a brick wall. Shielded fixtures prevent visible hot spots, while lower-output accent lights can highlight an object without making it look harsh.
Where roots, irrigation lines or compacted clay make trenching difficult, adaptive digging methods can help limit disturbance. Plan narrow routes along existing bed edges, locate underground services before digging and use shallow, careful installation methods so established plants and irrigation remain intact.
Choose fixtures and verify practical details
Select each product for its location, light pattern and power source rather than for appearance alone. The two lists below cover common garden zones and the practical checks that should be completed before ordering.
Fixtures for common garden zones
- Solar bollards suit lawn borders, driveways and informal garden paths.
- Solar step lights work along sheltered paths where their panels remain exposed.
- Low-voltage spotlights reveal trees, sculptures and architectural details.
- Low-voltage wall washers emphasise brick, stone or rendered surfaces.
- Deck and patio lights provide low, warm illumination around seating areas.
Once the zones are defined, match products from brands such as Philips and InnoGear to those roles. Amazon and Home Depot listings can help compare designs and read user feedback. Australian buyers should then confirm local stock, warranty coverage, electrical certification and compatibility rather than relying on an overseas listing alone.
Checks before ordering
- Confirm transformer output against the combined wattage of the wired fixtures.
- Check cable length and voltage drop before extending the circuit.
- Match solar panel exposure and battery capacity to local conditions.
- Verify the ingress-protection rating for each exposed location.
- Look for UV-stable parts and an Australian warranty or support option.
The final check is visual. A warm-white beam may be suitable beside a timber deck but look clinical against pale stone, while a cool-white lantern can make a native garden appear harsh. Compare colour temperature, beam angle and brightness in the same space whenever possible. Small differences become obvious at night and can determine whether the finished landscape feels welcoming or overworked.
Plan for Australian weather and electrical safety
Australian conditions can affect both technologies differently. Melbourne’s cloudier winter can leave solar batteries undercharged, Brisbane’s summer heat can shorten battery life, and coastal Sydney gardens may require extra corrosion resistance. Check manufacturer temperature limits, allow ventilation around batteries and choose fixtures suited to the actual exposure rather than the average climate.
Rain, dust, irrigation spray and summer storms make ingress protection important. Select an appropriate IP rating for exposed fixtures, with fully weather-resistant fittings for open areas. UV-resistant cable and fittings also matter in strong sunlight, while coastal installations benefit from sealed components and stainless-steel hardware where compatible.
Mains-connected transformers and controllers must follow Australian electrical requirements. Use a licensed electrician for mains work and any installation covered by local council, strata or workplace rules. Even a low-voltage system should be planned around safe cable burial, protected connections and isolation requirements specified by the manufacturer.
Plan lighting that respects nearby homes and shared boundaries. Shield fixtures toward the garden, avoid uplighting into neighbouring windows and keep brightness proportional to the area. This is particularly useful in dense Australian suburbs, where a small change in aiming can reduce glare while preserving safe movement throughout the property.
Install, test and refine the scheme
Begin installation by marking every fixture, cable route and transformer location on the site plan. Contact the relevant utility locator service before digging, and keep low-voltage cables away from irrigation lines and other buried services. Mount solar panels with secure fixings that can tolerate wind and seasonal movement.
Test the wired circuit before the landscape is fully reinstated. Check transformer output, fixture operation and voltage at the furthest point, then inspect connections for strain or moisture. Solar lights should be tested with their panels fully exposed, and any dusk sensors should be allowed to complete a normal operating cycle rather than being judged during daylight.
Commission the whole arrangement at dusk, when the relationship between ambient, accent and security lighting becomes clear. Walk the routes used at night and note dark patches, glare and fixtures that are unnecessary. Allow a week of normal use before making final adjustments, since moonlight, weather and changing shadows can alter how the garden looks.
The concrete next step is a 20-minute twilight walk with the site map, marking each dark patch, glare point and unnecessarily lit area before finalising the fixture order.