Featured Topics

How to combine solar and wired lights in one layout
A mixed lighting plan gives a backyard both off-grid convenience and dependable illumination. Solar fittings suit remote paths and garden beds, while mains-powered LEDs can define the terrace, driveway and house entrance. Treated as one visual scheme rather than separate collections, the two systems make the garden feel deliberate from dusk until late.
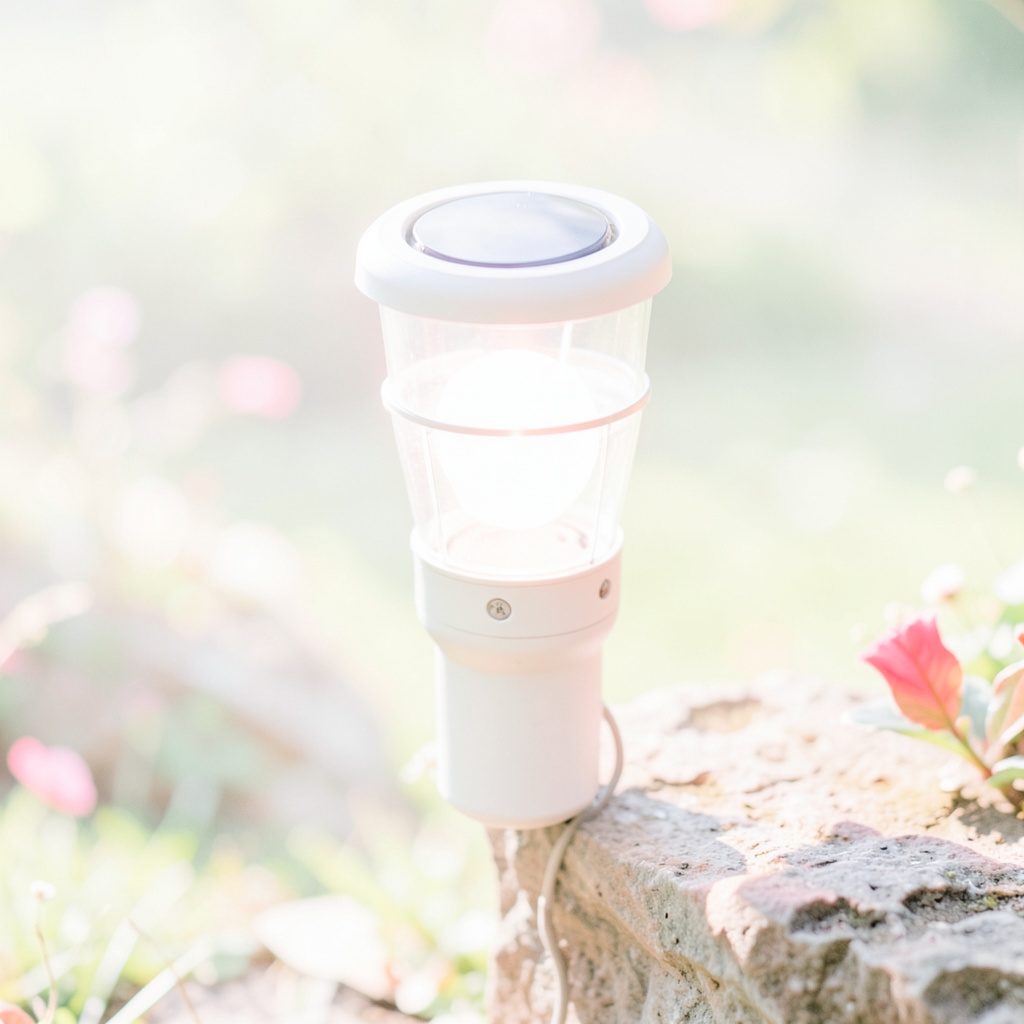
Solar lights offer flexibility because they need no cable run, although their brightness and runtime depend on sunlight, battery quality and the position of the panel. Wired lights provide consistent output, precise aiming and longer operating periods. The combination works particularly well when decorative accents are solar and the main routes are electrically powered.
Australian conditions make careful product selection important. Melbourne’s grey winters can reduce charging time, Sydney’s coastal gardens face salt and heavy rain, and Perth’s intense summer sun can shorten exposed plastic housings. Northern gardens also experience a pronounced wet season, while many suburban yards have pergolas, eaves and dense planting that create sharp pockets of shade.
Begin with how people move through the property after dark, then match each lighting job to the most suitable system. This avoids buying attractive fixtures that create glare, illuminate the wrong surface or fail in the exact corner where dependable light matters most.
Map the garden before choosing fittings
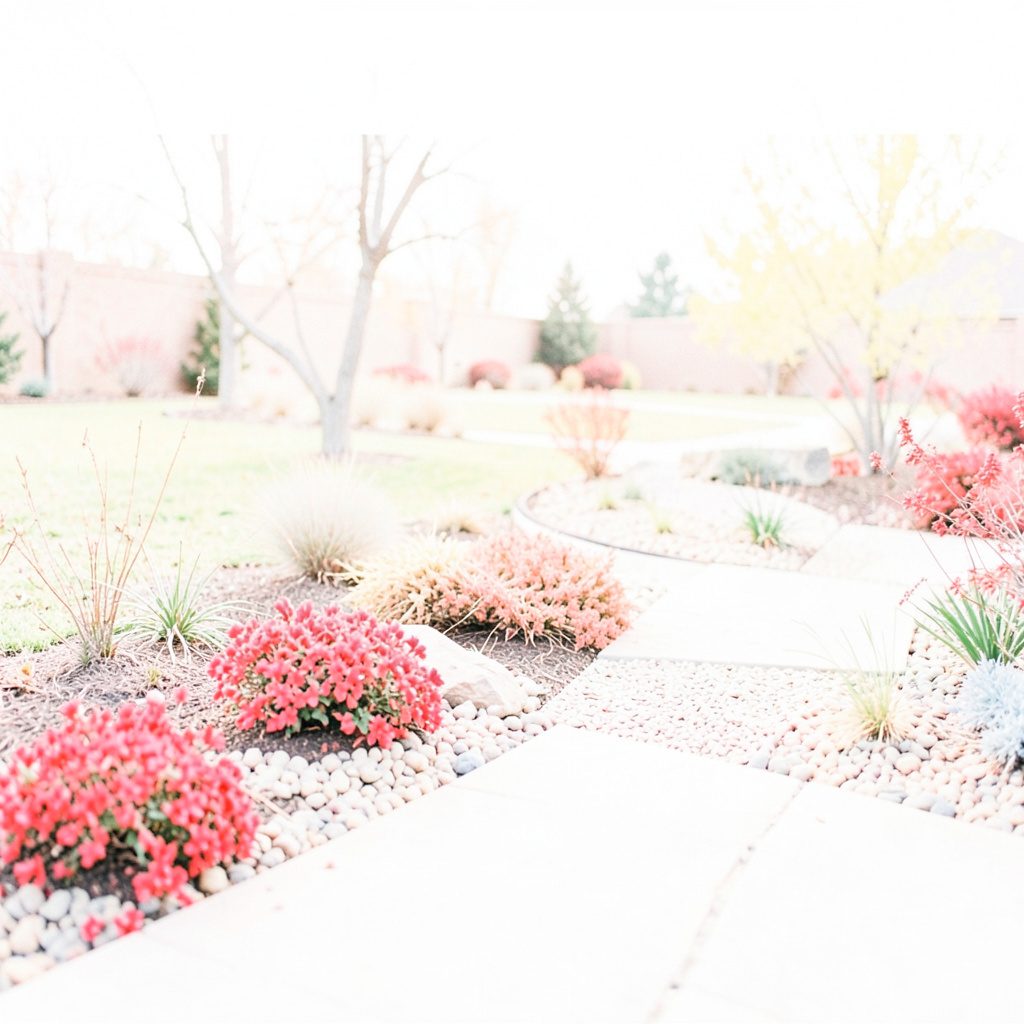
Walk from the front gate to the back door, noting every step, change in level and junction. A gate may need a modest wall light, a wide path needs evenly spaced markers, and a dark corner beside the garage may require brighter, controlled illumination. Sketching this route on a simple plan helps prevent the common mistake of placing too many lights in one highly visible area and leaving other areas shadowy.
Consider what happens beyond the path as well as on it. Solar bollards can outline a vegetable patch or frame a garden bed, while wired wall washers can reveal texture on a boundary fence. For edible garden beds, edible garden beds can help with the planting layout so lights illuminate access points and useful plants without flooding a neighbouring property.
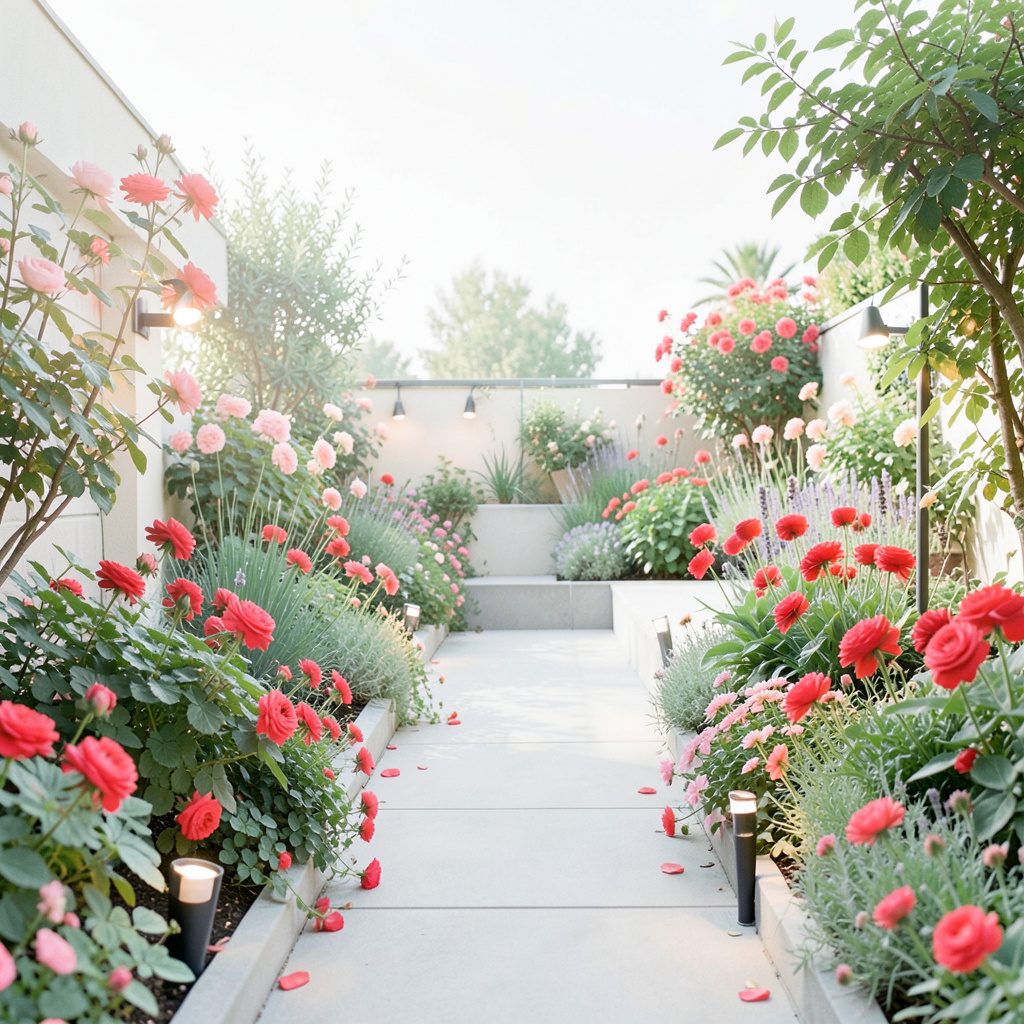
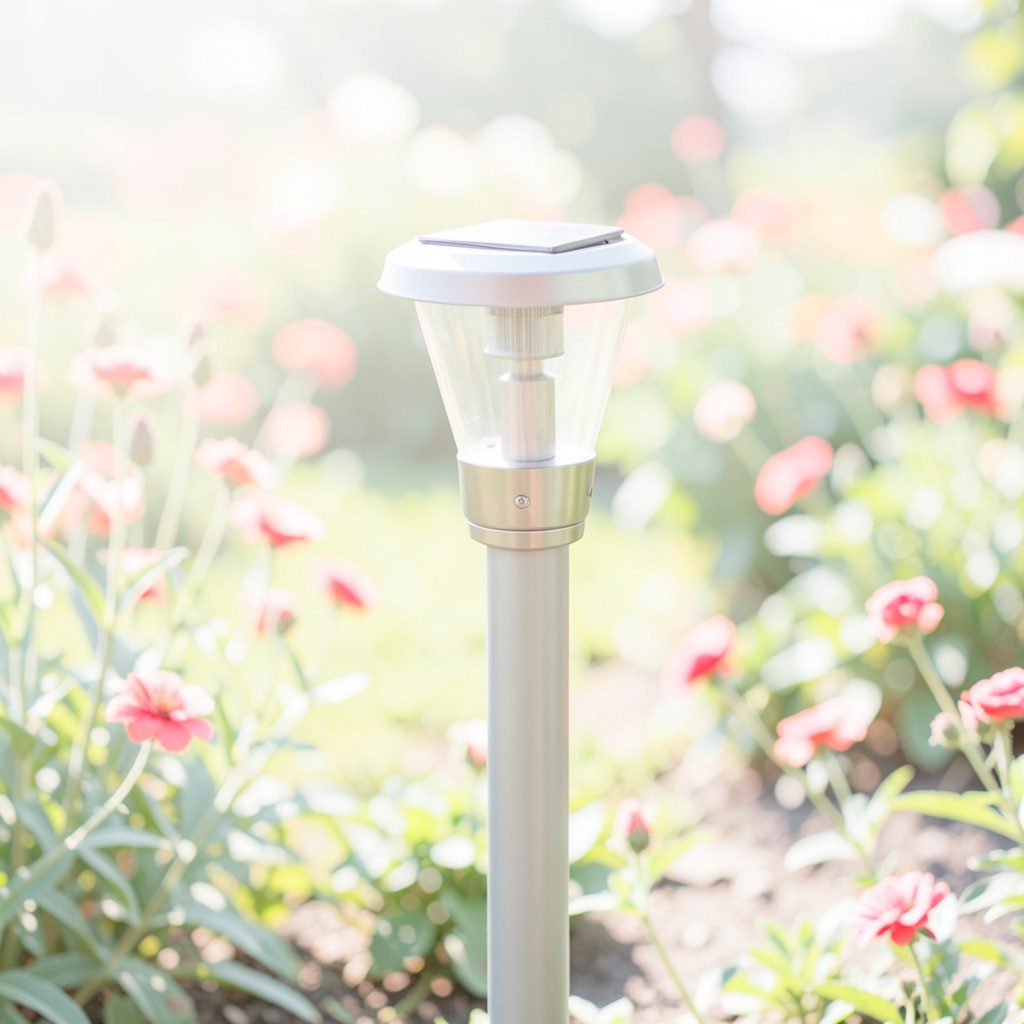
Choose different light levels rather than one brightness for the entire yard. Low-level path lights establish direction, medium bollards provide security, and downward-facing wall lights handle entrances and hard surfaces. This hierarchy makes the outdoor space easier to read and reduces unnecessary glare.
Assign the right job to each system
Solar lighting is best used where cable installation would be inconvenient or visually intrusive. It works well for isolated path markers, decorative borders, small deck accents and locations beyond a pergola or fence. Position the panel where it receives direct sunlight, even if the luminaire itself can stand in a shaded area. Fixed panels in Australia generally point toward true north, subject to the site and the manufacturer’s instructions.
Wired lighting should carry the tasks that require dependable output: front steps, driveways, main paths, gateposts, alfresco areas and house entrances. Its consistent 230-volt supply is useful for motion-activated security lighting as well. Guidance on motion sensor security is useful when choosing detection range, switch duration and field coverage.
Keep the two systems visually coordinated through similar beam angles, finishes and colour temperatures. Warm white light around 2700–3000K usually complements brick, timber and native planting, while neutral white can suit modern metal finishes. Avoid mixing dramatically different shades in adjoining areas, even when the individual products look attractive separately.
Products from brands such as Philips and InnoGear offer options across wired and solar categories, but compare specifications rather than relying on wattage alone. Check rated brightness, battery capacity, charging time and weather protection. Stockists such as Bunnings and Mitre 10, along with online catalogues including Amazon and Home Depot, make it easy to compare formats, although availability and included components should be confirmed before purchase.
Design for glare, weather and local conditions
Outdoor fittings need protection against ultraviolet exposure, summer heat, driving rain and insects. Look for an appropriate IP rating, stainless-steel or powder-coated finishes, and sealed joints around cable entries. Coastal properties near Sydney, Newcastle or Perth may require extra corrosion resistance, while gardens in northern Australia benefit from fixtures designed for heavy seasonal rain.
Control where the light travels as carefully as how much light it produces. Shielded bollards, recessed step lights and wall lights mounted beneath eaves reduce direct views into windows. Aim spotlights onto plants, fences or paving rather than across the path. Dark-sky positioning preserves the night sky and helps keep neighbouring properties comfortable.
The same principle applies to soft furnishings. A drapery lining guide explains how a suitable backing controls stray light and improves privacy. In a garden, an opaque backing, recess or shield serves a similar function by stopping a luminaire from shining directly toward people who are seated on the verandah.
A practical placement checklist
Measure the intended areas before ordering, then group fittings by function. Decide whether each location needs a solar marker, a wired task light or a motion-controlled fitting. For a handcrafted focal point, the project ideas at Purple Stitch Project can help you judge whether making or buying the feature will suit the time and effort available.
Solar fixture checklist
- Give every panel at least six hours of direct sun, following the maker’s stated charging time.
- Keep panels outside the shade of trees, pergolas, fences and the house.
- Aim fixed panels toward true north where site conditions and access allow.
- Use shielded bollards and spotlights to keep beams below eye level.
- Place lights where they can be checked after several consecutive cloudy days.
Wired fixture checklist
- Have an electrician map 230-volt circuits and confirm residual current device protection before connection.
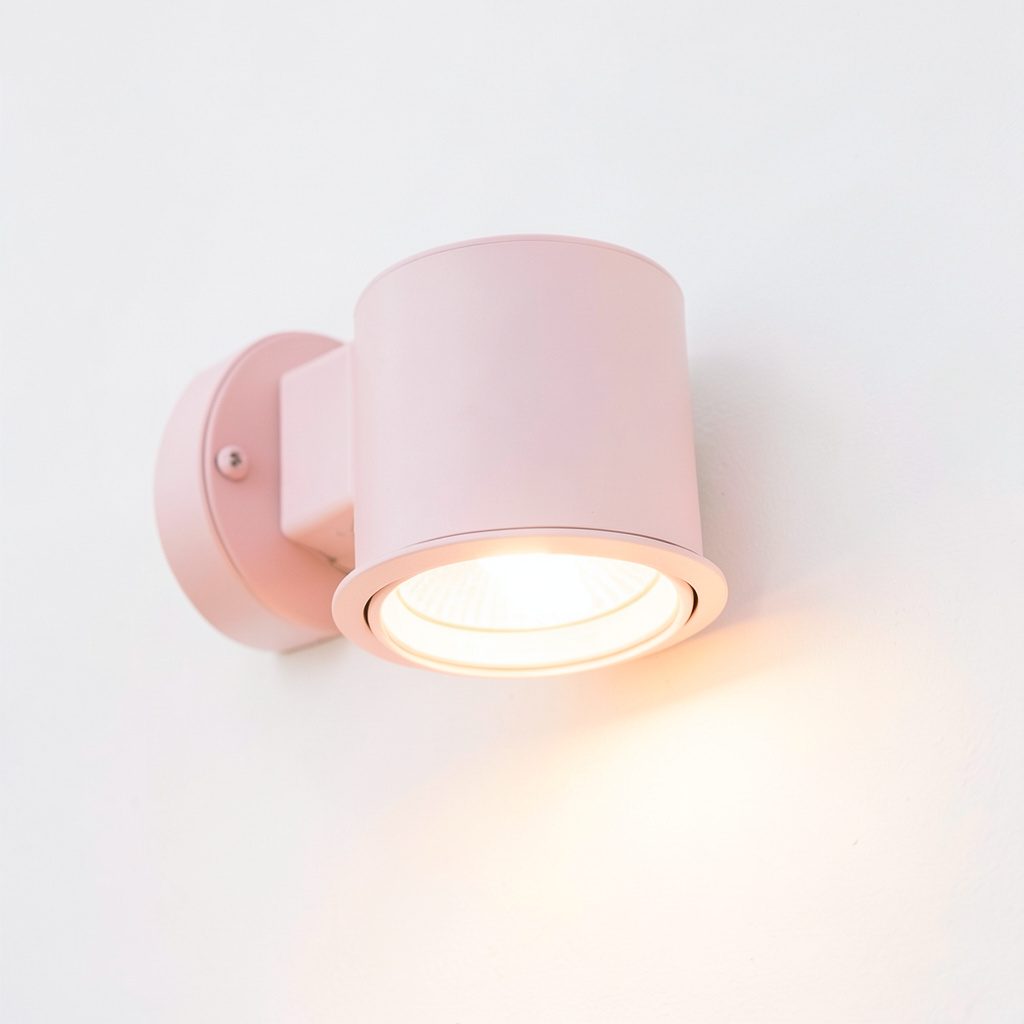
- Fix wall lights under eaves or behind solid shades to limit glare.
- Separate entrance, circulation and security switching so one circuit does not control everything.
- Protect exposed cable in outdoor-rated conduit and secure it against possum damage.
- Confirm beam angle, colour temperature and brightness in the yard, not from the showroom.
Solar and wired fittings should remain electrically separate. Low-voltage solar equipment should never be connected to household wiring, and hardwired installations belong with a licensed electrician. The goal is coordination through placement, colour and brightness, not joining two incompatible power systems.
Check the finished layout after dark
Test the arrangement at dusk with all lights off, then switch on one circuit or group at a time. This makes weak spots and excessive brightness easier to identify than when every fitting is illuminated. Walk the complete route, view it from neighbouring properties and check for reflections in windows or onto the road.
Look closely at the light sources themselves. A bright patch may reveal that a bollard is too high, while a dark area can indicate that the beam is too narrow. Solar lights should also be observed through more than one evening, because their output may drop considerably before the batteries have established a full charge.
Before final aiming, compare the plan with garden privacy ideas. Hedges, screens and carefully positioned planting can absorb stray light and reduce the need for excessive brightness. Clean solar panels periodically, replace batteries according to the manufacturer’s guidance and check wired fittings for water ingress, loose brackets or damaged seals.
Tomorrow evening, walk the route with a torch and mark every dark patch or glare point with masking tape for correction before the next fitting is installed.