Featured Topics

Best LED step lights for concrete and wood stairs
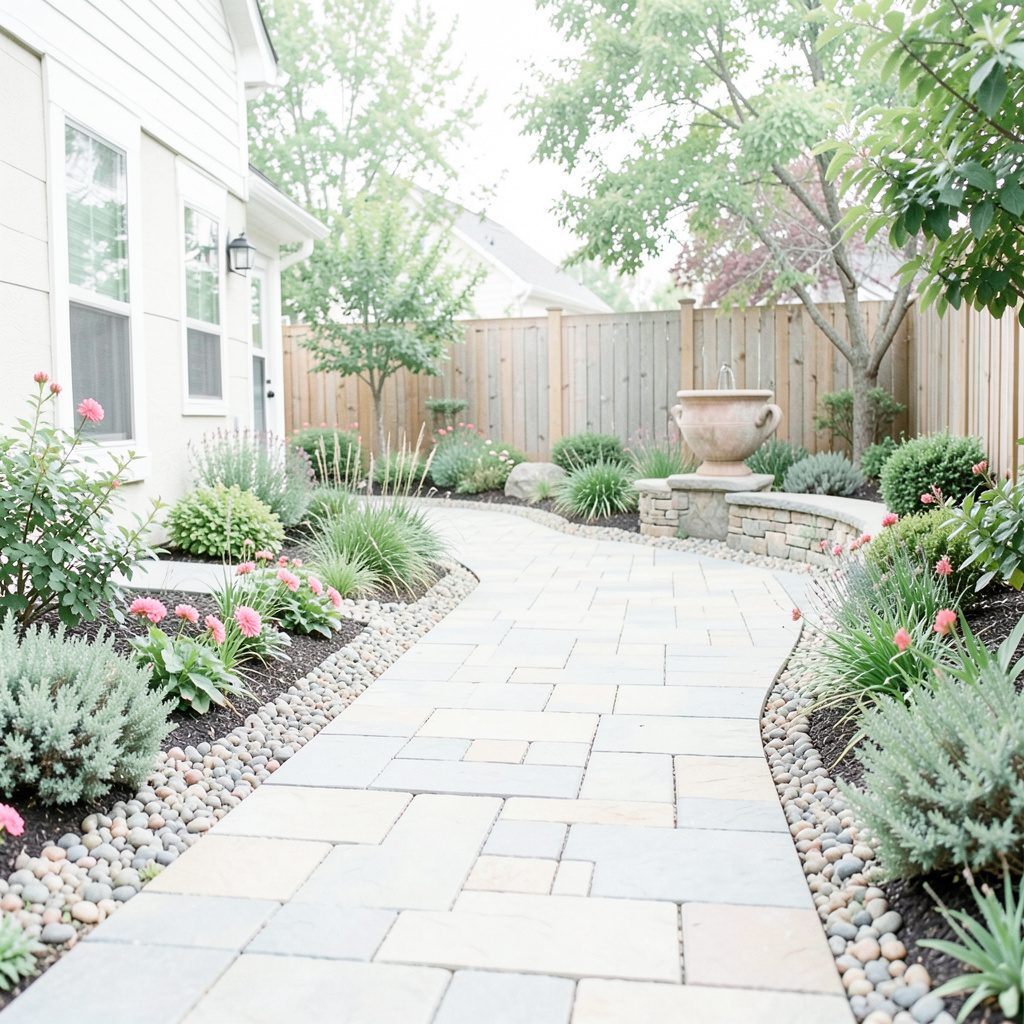
Compact LED stair lights make outdoor steps easier to navigate after dark without flooding the garden with glare. The best LED step lights for concrete and wood stairs sit low, cast an even wash, and suit the surface, power supply and Australian climate. Around lawns, patios and terraces, a restrained line of light can guide visitors while preserving the atmosphere of the garden.
Choosing hardware is only half the task. Placement, beam angle, ingress protection and the difference between a gentle marker and a brighter security light matter just as much. Philips offers outdoor-ready fittings for a coordinated setup, while Innogear is useful for solar and rechargeable alternatives. The aim is a reliable route that feels deliberate from the street and remains comfortable when the stairs are used late at night.
Plan for Australian outdoor conditions
Australian conditions are varied: Sydney and Melbourne often bring damp coastal air, Brisbane adds heat, intense sun and heavy summer storms, and Adelaide can be dry but exposed. Salt, UV, insects and leaf litter collect around low fixtures. Look for an appropriate IP rating, corrosion-resistant finishes and sealed cable entries rather than judging a lamp by its wattage alone.
Australian homes also use patios, lawns and garden paths as everyday evening spaces, especially in summer. Local stock may appear through electrical trade counters, Bunnings and Amazon.com.au; Home Depot product pages can help with specifications, but availability and 230-volt compatibility should be checked locally. For broader outdoor lighting ideas, compare how different stair and path layouts establish a consistent visual rhythm.
Control glare on concrete stairs
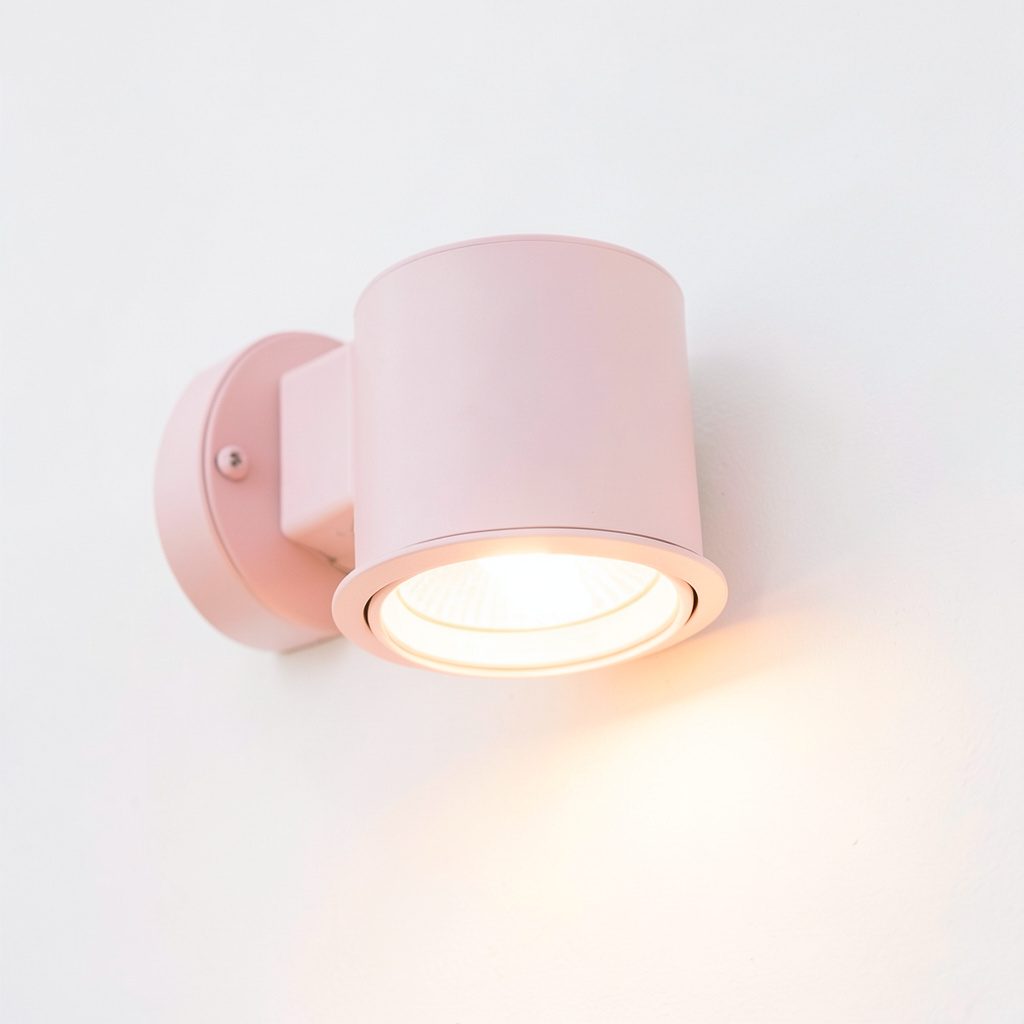
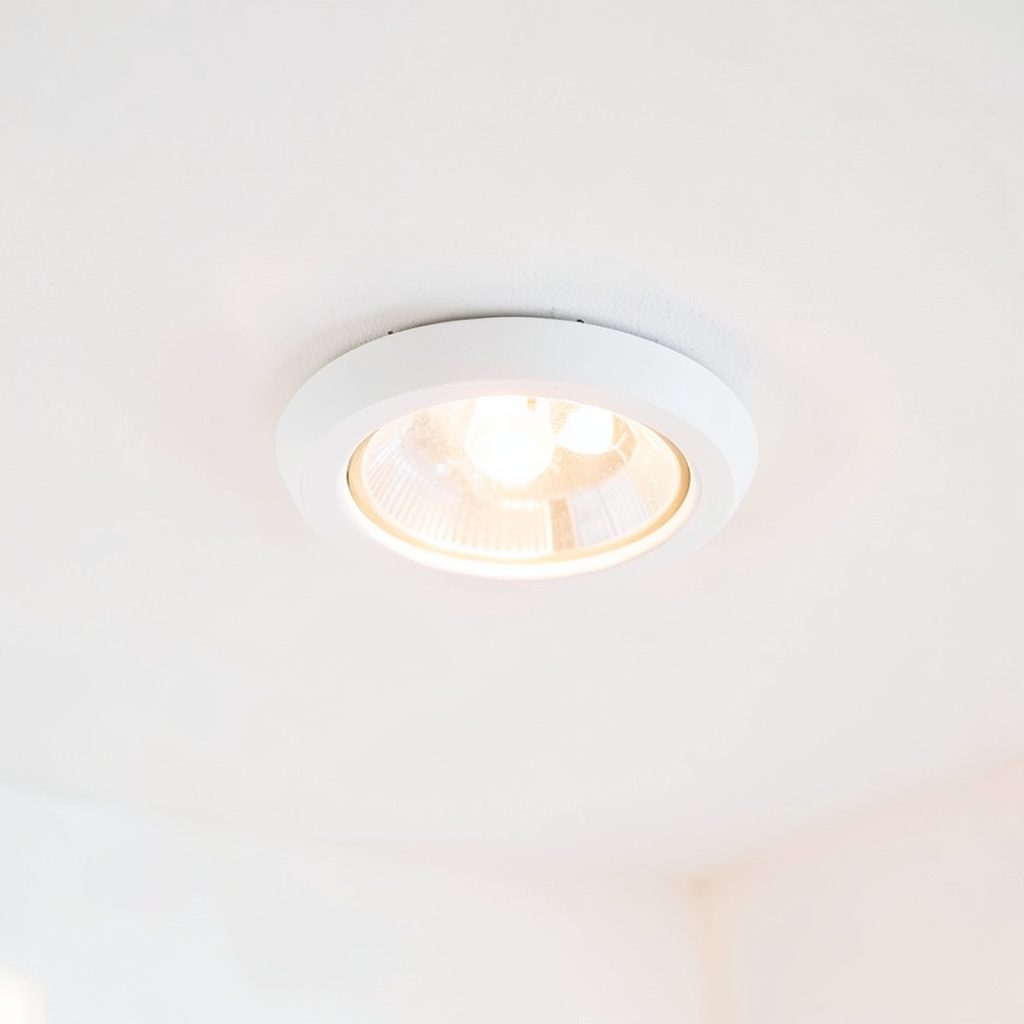
Concrete stairs reward precise placement. Recessed fittings under the riser or along a side wall create a clean line and reduce direct glare, while surface-mounted units are useful where drilling is impractical. Avoid pointing a bright lamp straight up a flight: the beam should reveal the edge of each tread and the area immediately ahead without shining into the eyes of someone descending.
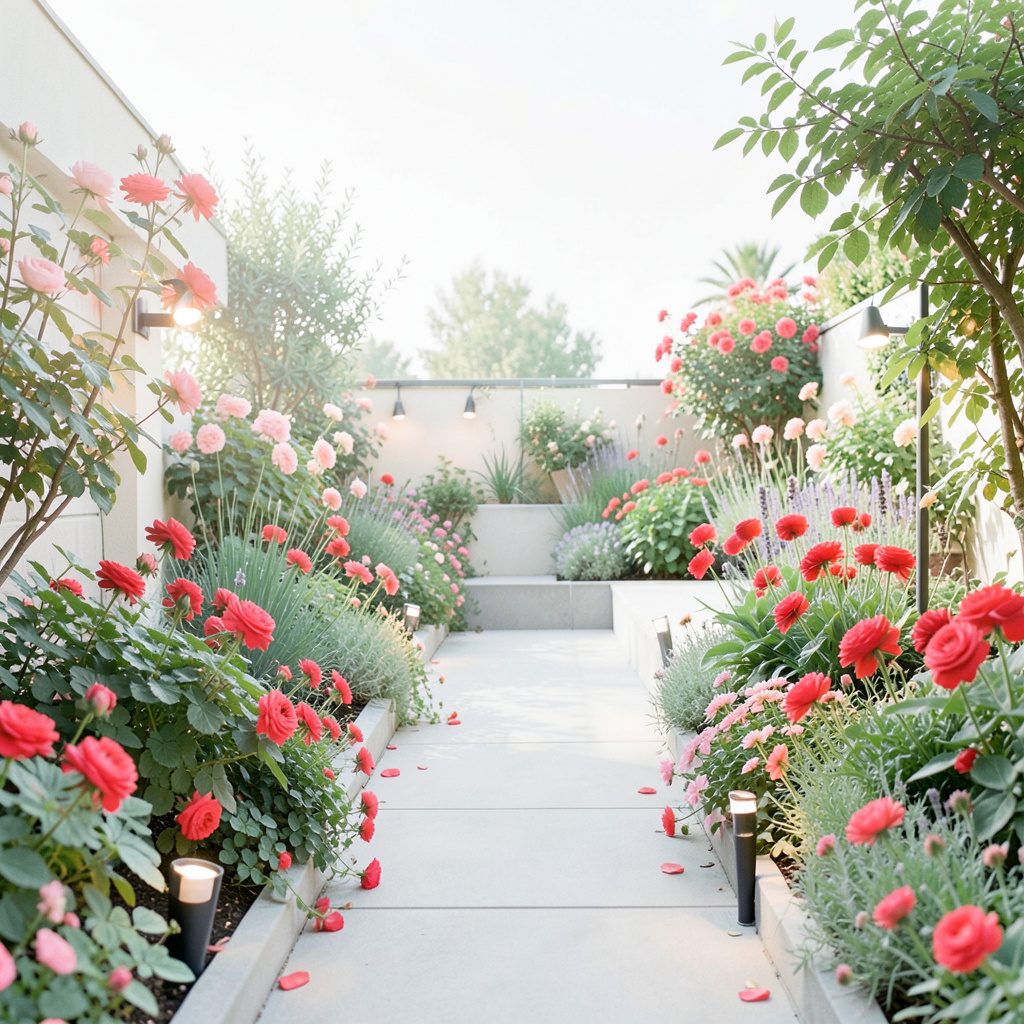
Water can pool at the base of concrete steps, so choose sealed fittings with suitable IP ratings and leave drainage paths clear. Warm white light around 2200–2700K complements brick, sandstone and grey concrete. For a planting-led approach, this garden lighting inspiration shows how a wider lighting plan can connect stairs with surrounding beds and paths.
Protect timber stairs and decks
Timber needs a gentler approach. Pressure-treated pine, spotted gum and hardwood decking can swell, crack or retain moisture, so avoid enlarging holes unnecessarily and use exterior-grade screws. Surface-mounted or clip-on fittings are often easier to replace than deeply recessed units. Seal cable penetrations with outdoor-grade sealant, route leads away from moving boards, and keep connectors off the deck surface.
On established decks, fixings should suit the actual timber and fastening method, not simply the lamp’s material. Keep foliage from masking the light and maintain the surface around the nosing. If grass or low branches crowd the approach, comparing high-reach mower options can help with access, although clearance around electrical fittings remains essential.
Match each power option to the site
Hardwired 12-volt systems provide consistent output and suit stairs used every day, but they need a suitable outdoor-rated transformer or driver, approved cable and careful connections. Solar lights remove trenching and are attractive along remote paths, yet panel orientation, shade and battery life determine performance. Rechargeable USB fixtures are convenient for occasional steps, provided charging contacts are weather protected.
Australia uses 230 volts at 50 hertz, and hardwired work should follow AS/NZS 60364 requirements, with a licensed electrician handling fixed wiring where required. Electrical equipment sold locally generally needs appropriate certification and RCM registration. Whatever the power source, specify an IP65 or IP66 enclosure for exposed stairs, and use IP44 only where the fixture is sheltered from wind-driven rain.
Tune brightness, colour and controls
For subtle stair markers, roughly 10–30 lumens is often sufficient when the fitting is close to the tread; brighter output can overwhelm a small garden. A narrow-to-moderate beam, a comfortable beam angle and colour rendering of CRI 80 or better help the eye identify each edge. Dimmable models are valuable for late-night use, while several low-output lights often create a safer look than one conspicuous lamp.
Controls should respond to the way the household uses the stairs. Photocells are dependable for automatic night operation, motion sensors can save energy, and timers suit predictable schedules. Warm tones generally feel less harsh outdoors than cool white. Review current lighting trends for colour, placement and control ideas, then apply them to the actual darkness, planting and architecture of the home.
Make a disciplined buying checklist
A shortlist is most useful when every choice can be checked against the installation site.
- Confirm the IP rating and verify that the enclosure suits coastal exposure, direct rain and the chosen mounting position.
- Match the voltage to the driver or transformer and check cable length, polarity and load capacity before ordering.
- Select warm-white output from about 2200–3000K, with CRI 80 or higher for clear tread definition.
- Aim for low, even illumination rather than visible hotspots, especially where users descend toward the light.
- Check beam angle, housing dimensions and fixing options against the tread, riser or side wall.
- Compare local warranty, replacement parts and weatherproof connector availability, not just the advertised battery life.
These checks narrow the field quickly and prevent an attractive fixture from becoming a maintenance problem. A retailer listing is a starting point rather than evidence of suitability: confirm the specification sheet, certification and installation instructions. Recessed examples shown in product galleries should be treated as inspiration unless the slab or timber construction is known to accept that fixing method.
Install with the layout in mind
Map the stairs before shopping by noting every tread edge, nearby walls, planting and the direction of travel. Mark several possible positions with removable tape and view them from both approaches at night. This trial reveals where glare, shadows or reflections occur, and it helps decide whether one fixture per tread, alternating sides or a wider wall-washed layout is appropriate.
Plan the cable route, transformer location, switching and maintenance access as one system. A local electrician can verify circuit loading, earthing and applicable Australian wiring rules, while a qualified installer can confirm that solar panels and batteries are positioned safely. The practical takeaway is a measured, evenly spaced run of correctly certified fixtures that reveals each step without glare, excessive brightness or unnecessary excavation.