Featured Topics

Ultimate guide to installing low-voltage landscape lighting
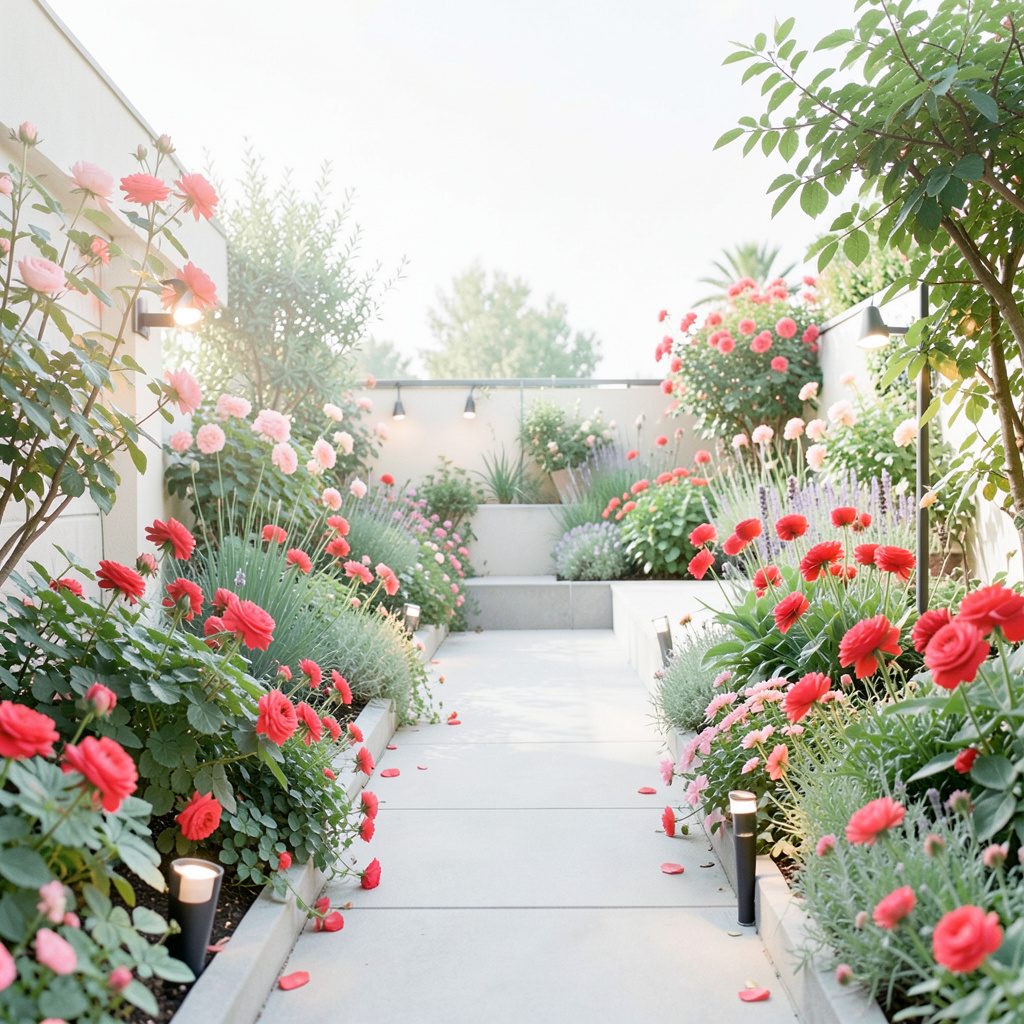
Low-voltage landscape lighting can turn an ordinary backyard into a welcoming outdoor room after dark. A few carefully positioned path lights, uplights, wall washers and deck fittings can improve safety while adding depth to lawns, garden beds, patios and entertaining areas.
The system is usually powered by a 12-volt transformer rather than standard household voltage, making it more manageable for garden projects. Still, outdoor electricity demands careful planning, weather-resistant equipment and attention to Australian electrical requirements. A neat installation should look effortless, with cables hidden and fittings supporting the garden rather than dominating it.
This guide covers the process from design and product selection through to wiring, testing and seasonal care. It also considers local conditions, including strong Australian sun, coastal air, bushfire-prone areas, summer storms and the practicalities of shopping through retailers such as Bunnings or specialist lighting suppliers.
Plan the lighting before digging
Begin by walking through the garden at night with a torch. Notice where steps disappear, where paths feel dark and which trees, feature walls or planting beds deserve attention. Mark these locations on a simple sketch of the property, including the house, outdoor power point, paths, retaining walls and entertaining areas.
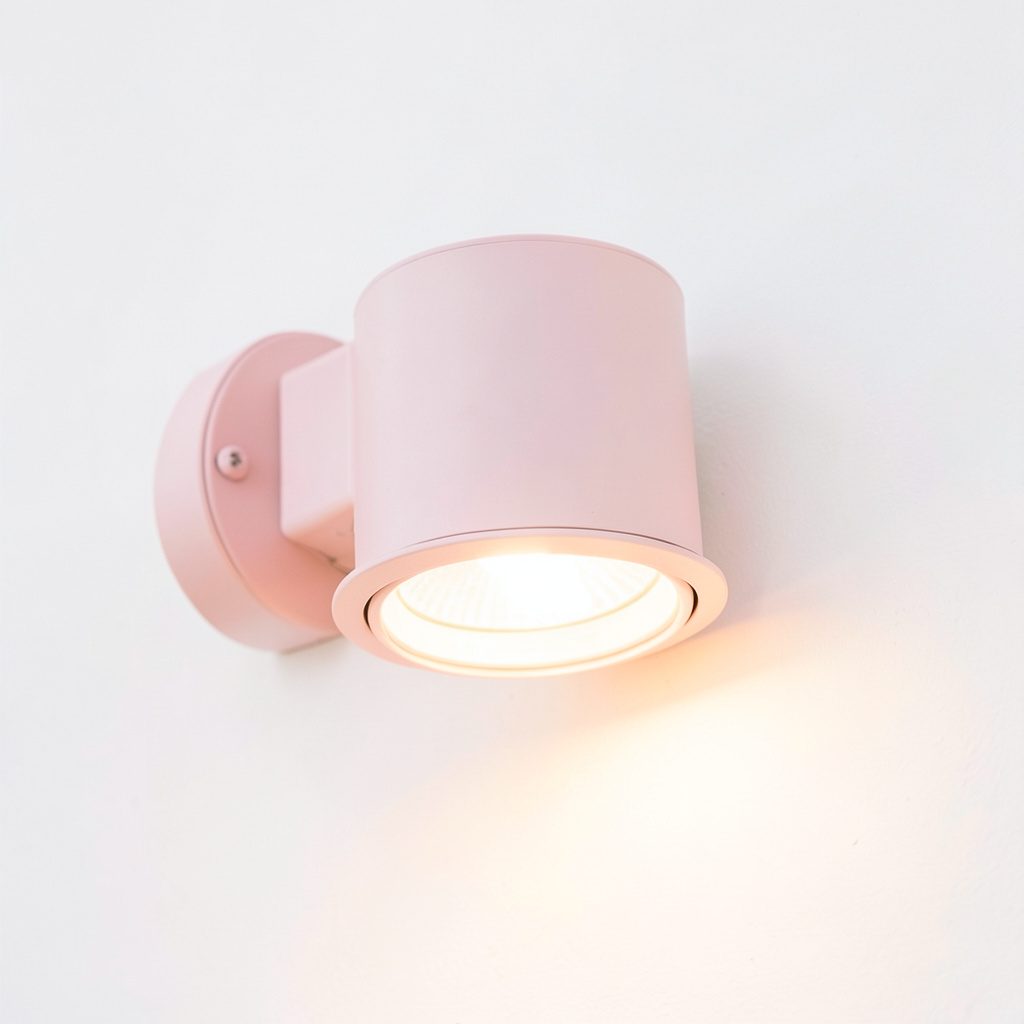
Use several layers of light instead of placing identical fittings at regular intervals. Path lights can define a walkway, while spotlights highlight a tree or sculpture and wide-beam washers soften a fence. Keep brighter fittings away from bedroom windows and neighbouring properties, particularly in suburban areas around Melbourne, Brisbane or Sydney where blocks can be close together.
A useful early reference for organising an outdoor lighting project is residential lighting guidance, especially when comparing fixture types and placement ideas. Treat online inspiration as a starting point, then adapt it to your garden’s scale, existing plants and local conditions.
A practical planning checklist
- Mark paths, steps, gates and uneven surfaces that need safer visibility.
- Identify focal points such as palms, mature eucalypts, water features and textured walls.
- Locate the nearest outdoor power point and estimate the cable route.
- Check whether fittings may sit in irrigation zones, damp soil or areas exposed to salt air.
- Consider bushfire risk and avoid installing unsuitable materials near combustible vegetation.
- Sketch overlapping beams so the garden has balanced light rather than isolated bright spots.
Select fixtures and a suitable transformer
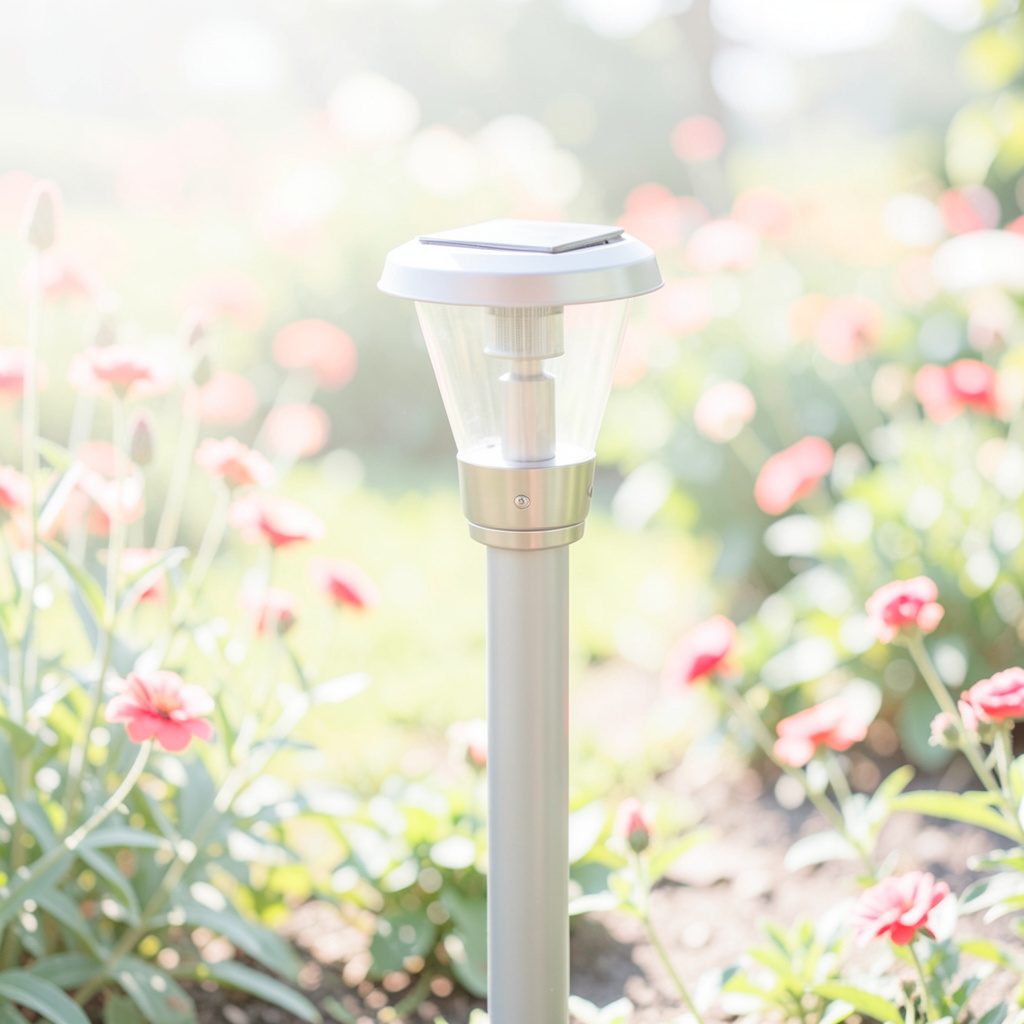
Choose fittings according to their job. Bollard or mushroom-style path lights spread light across paving, while adjustable spotlights create narrow beams for trees and architectural details. Strip lighting can work beneath a step or bench, but it needs a properly sealed channel and a product rated for outdoor use. In-ground lights offer a clean appearance, although they require excellent drainage and robust construction.
Look for stainless steel, powder-coated aluminium, brass or UV-stable polymer housings. In coastal towns such as Newcastle, Wollongong, Perth and parts of Queensland, ordinary low-grade metal can corrode quickly. Check the IP rating: a higher rating generally provides better protection from dust and water, but the product still needs correct installation and drainage.
LED fittings are usually the practical choice because they use less energy, run cool and offer long service life. Select a warm colour temperature, often around 2700K to 3000K, for entertaining areas and planting. Cooler white light can make security zones more visible, though too much blue-toned light may make a garden feel harsh.
The transformer must have enough capacity for the entire system. Add the wattage of every fitting, then leave spare capacity for future additions. A system using 48 watts of lighting should not be paired with a transformer operating at its absolute limit. Products and design references from outdoor lighting ideas can help compare different visual effects before buying.
Design the cable layout carefully
Low-voltage cable is safer to handle than mains cable, but it still needs protection from spades, lawn edgers, rodents and moisture. Lay out the fittings and cable above ground first. This makes it easier to adjust spacing, check beam direction and avoid discovering that the final fitting is too far from the transformer.
Long cable runs can cause voltage drop, which makes lights at the far end appear dimmer. A larger cable size, shorter runs or a hub-based layout can reduce this problem. For larger gardens, divide the design into separate runs rather than connecting every fitting in one long chain.
Keep cable routes as direct as possible while avoiding areas likely to be disturbed. Where cable crosses a planting bed, bury it deep enough to protect it from ordinary gardening work and place it inside conduit where additional protection is sensible. Never assume a shallow cable will remain safe just because it carries low voltage.
A simple layout drawing can prevent unnecessary joins and help you estimate materials. Landscape design examples may also provide ideas for combining pathways, planting zones and architectural features without making the garden look overlit.
Install the system in safe stages
Position the transformer near a suitable outdoor power point, ideally in a sheltered location that remains accessible for inspection. It should not sit directly on soil or where sprinklers can soak it. Use a weatherproof connection and an RCD-protected supply, and follow the manufacturer’s instructions for mounting, load limits and timers.
Australian electrical rules apply even when the final lighting voltage is low. Work involving the household mains connection, a new outdoor power point or fixed electrical wiring should be handled by a licensed electrician. Check the requirements in your state or territory before starting; rules and approval expectations can vary between New South Wales, Victoria, Queensland, Western Australia and other jurisdictions.
Connect the low-voltage cable according to the transformer and fixture instructions. Make firm, weather-resistant connections using approved connectors rather than loosely twisted wires or household tape. Seal joins from water and avoid burying connection points in places where they can sit in constantly wet soil.
Before covering the cable, switch the system on after dusk and walk through the garden. Aim each fitting from several angles, checking glare from paths, windows and seating. For extra installation inspiration, practical garden resources can be useful when thinking through tidy cable management and simple outdoor projects.
Test, adjust and maintain the lighting
The first night is rarely the final version. Plants may cast unexpected shadows, a path light may shine into someone’s eyes, or a spotlight may reveal an unattractive wall rather than a feature. Make small adjustments to height, angle and spacing before permanently securing everything.
Use a timer or smart controller so the lights operate when they are useful rather than all night. An early-evening schedule can welcome guests, while a shorter late-night period reduces energy use and limits disturbance to neighbours and wildlife. Solar garden lights can supplement decorative areas, but fixed low-voltage LED systems usually provide more consistent brightness in shaded gardens or during several cloudy days.
Australian weather can be demanding. Dust after a dry spell, heavy rain during summer storms, salt near the coast and intense UV exposure can all affect fittings. Inspect the system at the change of seasons and after major weather events, especially if the garden includes exposed wiring or fittings near trees.
Maintenance checks that matter
- Wipe lenses and solar panels, if used, to remove dust, salt and leaf residue.
- Check connectors for corrosion, cracking, loose seals or water inside the housing.
- Trim plants that have grown across beams or touched hot transformers and fittings.
- Look for lifted cable, damaged conduit and soil erosion around in-ground lights.
- Confirm timers, sensors and RCD protection operate as intended.
- Replace failed LED modules or fittings with compatible, outdoor-rated parts.
A well-designed system should provide gentle guidance, attractive shadows and useful security without turning the backyard into a stadium. Keep light directed towards paths, trees and surfaces rather than into the sky, nearby homes or natural habitat. The key principle to remember is simple: plan the layers, protect the wiring, use weather-appropriate equipment and adjust the system until the garden feels naturally illuminated.