Featured Topics
Choosing wide-coverage security floodlights for Australian homes
The best floodlights for security with wide coverage do more than make a driveway bright. They reveal movement from the gate to the front door, reduce hiding places and give cameras usable light without dazzling people arriving home. Australian properties must also cope with strong sun, summer rain and, in coastal districts, salt-laden air.
Raw wattage and lumen figures can mislead. A broad beam with poor optics may look bright beside the house yet leave a path dim, while an overpowered narrow beam can flatten detail and shine into neighbouring windows. The more useful comparison is light level at the protected area, plus the detector’s range, angle and trigger behaviour.
Most Australian yards combine a driveway, side path, porch, pool area and garden, so one lamp rarely handles every zone. Compare outdoor-rated LED and solar products from Philips and InnoGear, then check local certification, installation requirements and after-sales support before choosing a fixture.
What wide coverage actually means
A security floodlight’s advertised beam angle indicates the area it can wash evenly. For a driveway or broad side yard, look for roughly 100–120 degrees of usable spread; adjustable twin- or three-head fittings can extend reach without stacking separate lamps. Check the beam at its edges, since some wide claims fade quickly.
Output matters, but aim the beam where it is needed. Around 1,500–3,000 lumens can suit many suburban driveways at a sensible mounting height, while a dark carport may need closer spacing or another fixture. Compare lux or candela at the target surface when available, and check glare at nearby boundaries.
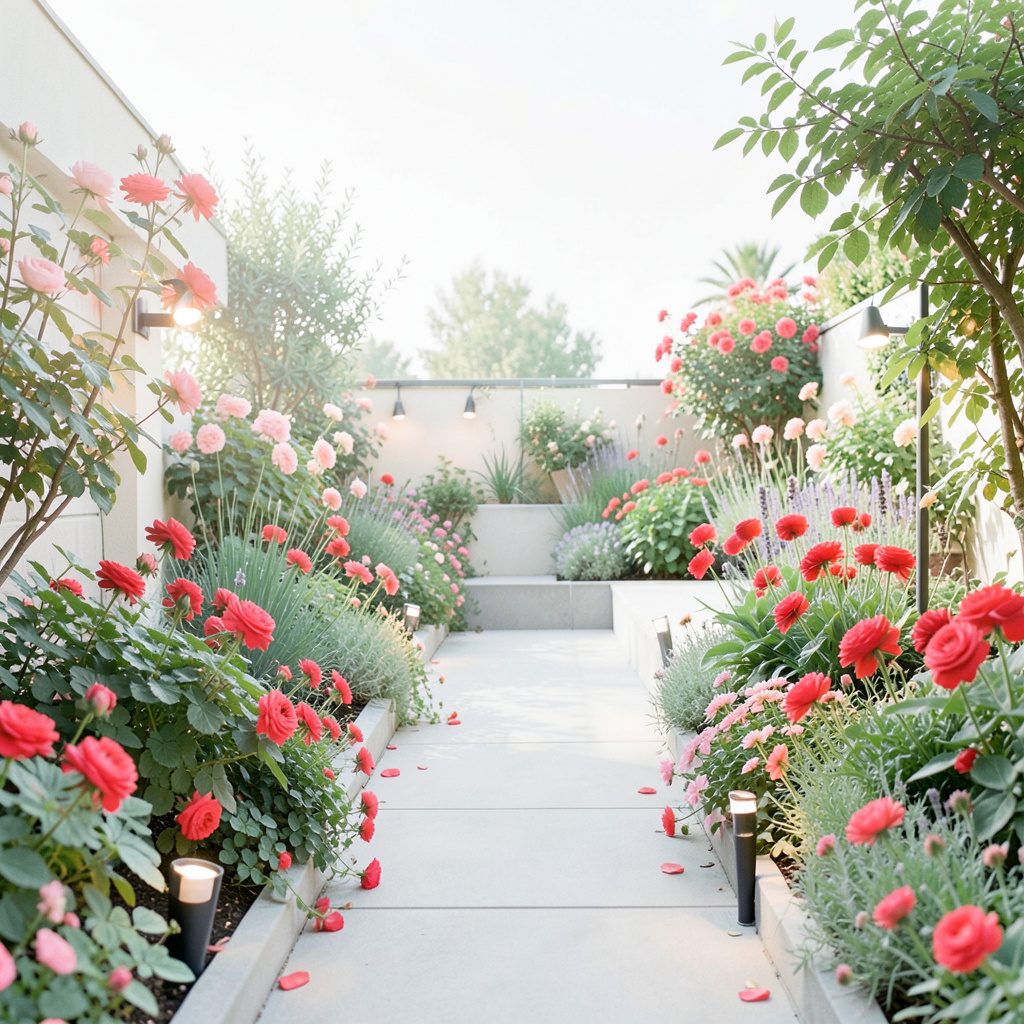
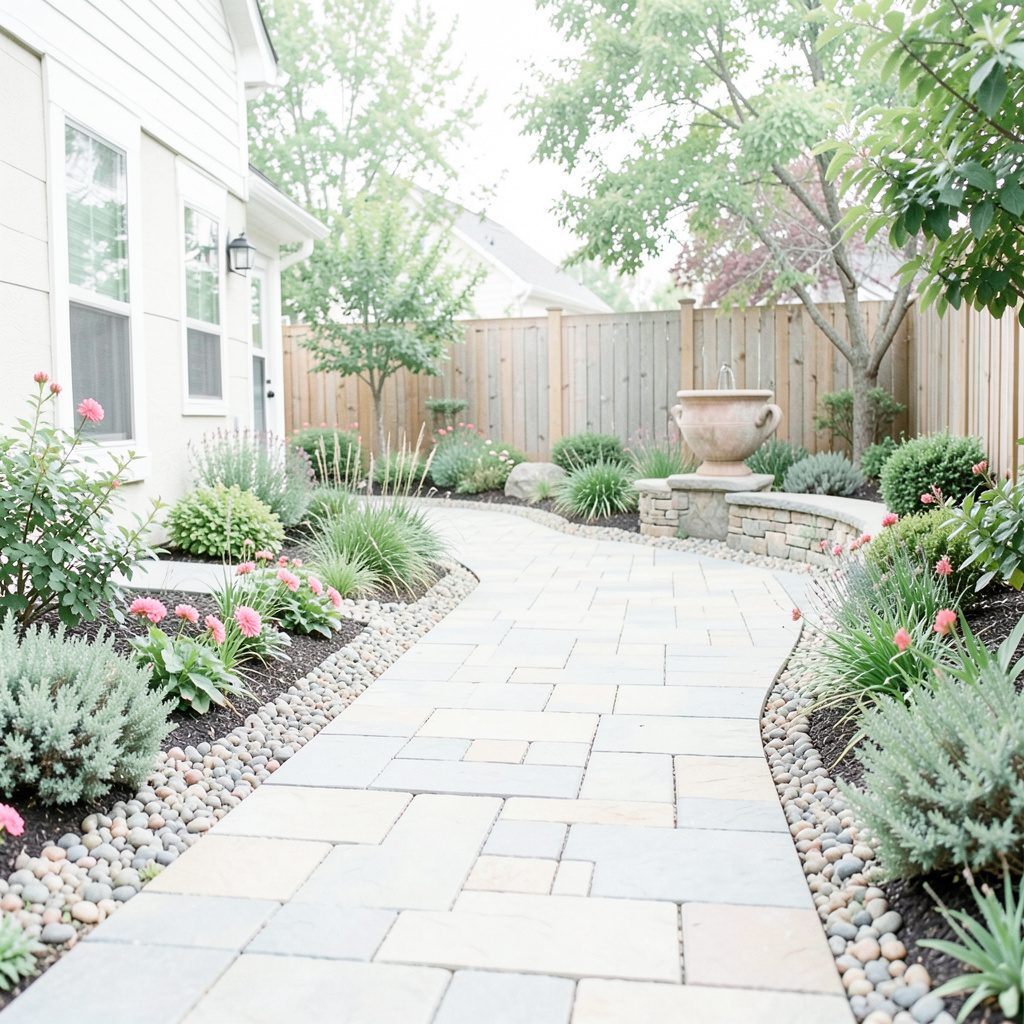
An even wash is more useful than a hot pool of white light. Use the floodlight for identification, then add lower-level path and plant lighting where needed; these garden lighting ideas show how layered lighting can extend coverage without making the yard harsh. Solar fittings need careful placement because shaded panels store too little energy for later activation.
Place fixtures where they earn their keep
Start by mapping where a person would actually move: the driveway, side gate, rear access, patio door, pool fence, front path, letterbox and bin area. Australian homes often combine rendered walls, timber gates and dense garden beds, each of which reflects light differently. A lamp aimed only at the front door may leave the most useful detection zone dark.
Choose mounting height and aim together. A fixture high enough to reduce tampering may cast its beam over shrubs, while a lower fixture can be blocked by a parked vehicle. Aim across approach routes rather than straight out of the property, and position any camera floodlight to avoid reflected infrared glare that can obscure faces.
Gardens are not empty planes, so wide coverage requires occasional trimming rather than impossible optics. Designers often coordinate detection, architectural light and planting in landscape design examples, then reveal paths with low bollards. In Melbourne and Adelaide, leaf cover and compact gardens add another layer of shadow that a single overhead lamp may miss.
Match detection, power and weather
Detection determines whether the light switches on at the right moment. A passive infrared sensor reacts to heat and movement, while a photocell prevents daytime operation; many fittings combine both, and some offer a test mode or manual override. Adjust sensitivity and masking so passing cars, pets or neighbours do not repeatedly trigger the lamp.
Australian conditions vary sharply. Brisbane gardens face high heat and intense ultraviolet exposure, Sydney and Perth can bring salt-laden coastal air, and Melbourne or Canberra can see cold, frost and damp soil. Look for UV-stable housings, sealed cable entries and at least IP65; exposed fittings near coastlines also need corrosion-resistant fixings. Mains models must suit 230 V, 50 Hz and recognised Australian certification.
Smart or camera-connected fittings add convenience, but the lamp should still create a broad, even field for identification. Check whether the floodlight, sensor and camera operate together or independently. Battery products need realistic trigger counts, while solar units require an unobstructed, north-facing panel and enough winter sun to recharge. A broader lighting design guide can help coordinate security light with the wider garden.
Build a practical buying shortlist
Philips offers smart outdoor lighting that suits connected gardens, while InnoGear provides practical LED, passive infrared and solar options for conventional installations. Compare actual beam spread, detector controls, ingress rating and warranty rather than brand alone. Amazon Australia can help with customer feedback and current listings; Home Depot’s catalogue is useful for specification comparisons, but local stock, Australian certification and replacement parts still need checking with Bunnings, Mitre 10 or an authorised supplier.
Watch the fine print on standby power, sensor-trigger limits and weather claims. A product that looks suitable on a marketplace listing may not include an Australian plug, compliant driver or local warranty. Ask the supplier which parts are replaceable, especially the sensor and power supply, because sealed fittings can otherwise become disposable when one small component fails.
- For a broad driveway, choose an adjustable twin- or three-head LED with about 120-degree spread, roughly 2,000–3,000 lumens and shielded beams aimed across the approach.
- For smart-home control, shortlist a Philips Hue outdoor floodlight, then confirm bridge compatibility, sensor behaviour and whether separate motion control is required.
- For a remote gate or shed without mains power, shortlist an InnoGear solar floodlight with a north-facing panel, replaceable battery and stated night-time autonomy.
- For a camera zone, provide a separate, even flood of light so the camera can focus on people rather than intense reflections from walls or foliage.
- For coastal or exposed sites, prioritise IP66 or IP67, corrosion-resistant fixings, UV-stable materials and verifiable Australian compliance before considering colour temperature or app features.
Install and test before the first night
Test before committing to expensive mounting positions. Switch off existing garden lights, wait until the yard is dark and walk each approach with a temporary lamp. Mark places where clothing blends into the background or where a person can cross unseen; these usually need another fixture or lower, shielded light rather than a brighter flood.
For installation, use outdoor-rated cable, sealed connectors and fixings suited to the wall or pole material. Mains work and hard-wired cameras are best handled by a qualified electrician under local rules. The bonus lighting notes offer a useful final reference for balancing security brightness with neighbouring properties and existing landscape features.
Finally, test the sensor at dusk and again during full dark, checking range, pet alerts, camera exposure and automatic shutoff. Your next step is to walk the property after dusk and mark the three darkest approach zones with removable tape.