Featured Topics

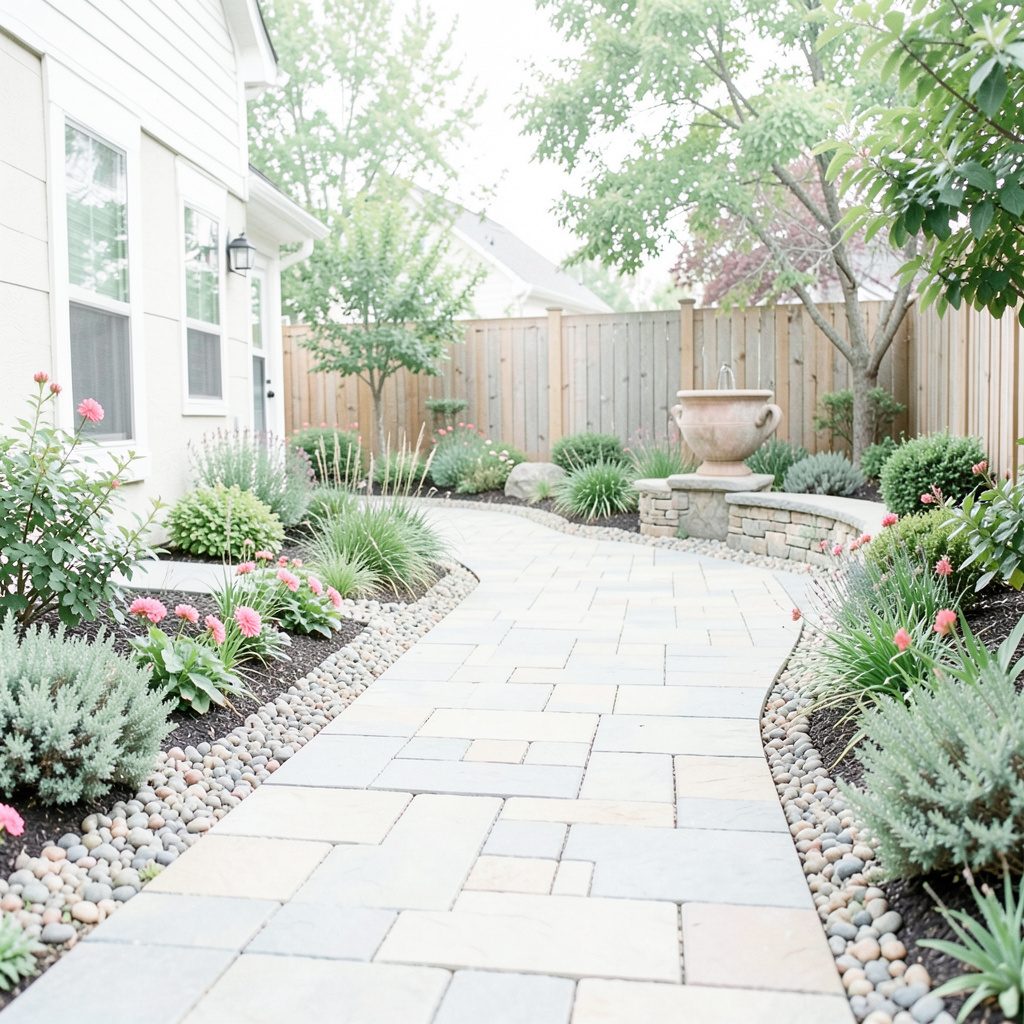
How to install solar post lights in your garden
Australia's outdoor lifestyle means the garden often becomes an extra room once the sun sets. Installing solar post lights is one of the easiest ways to extend those evenings, whether you are hosting on a Melbourne deck or finding the side gate in a Brisbane suburb. Because the lights charge themselves, there is no need to trench cables through established lawn or hire a sparkie, a real plus under Australian rules that require licensed electricians for hardwired 240V outdoor work.
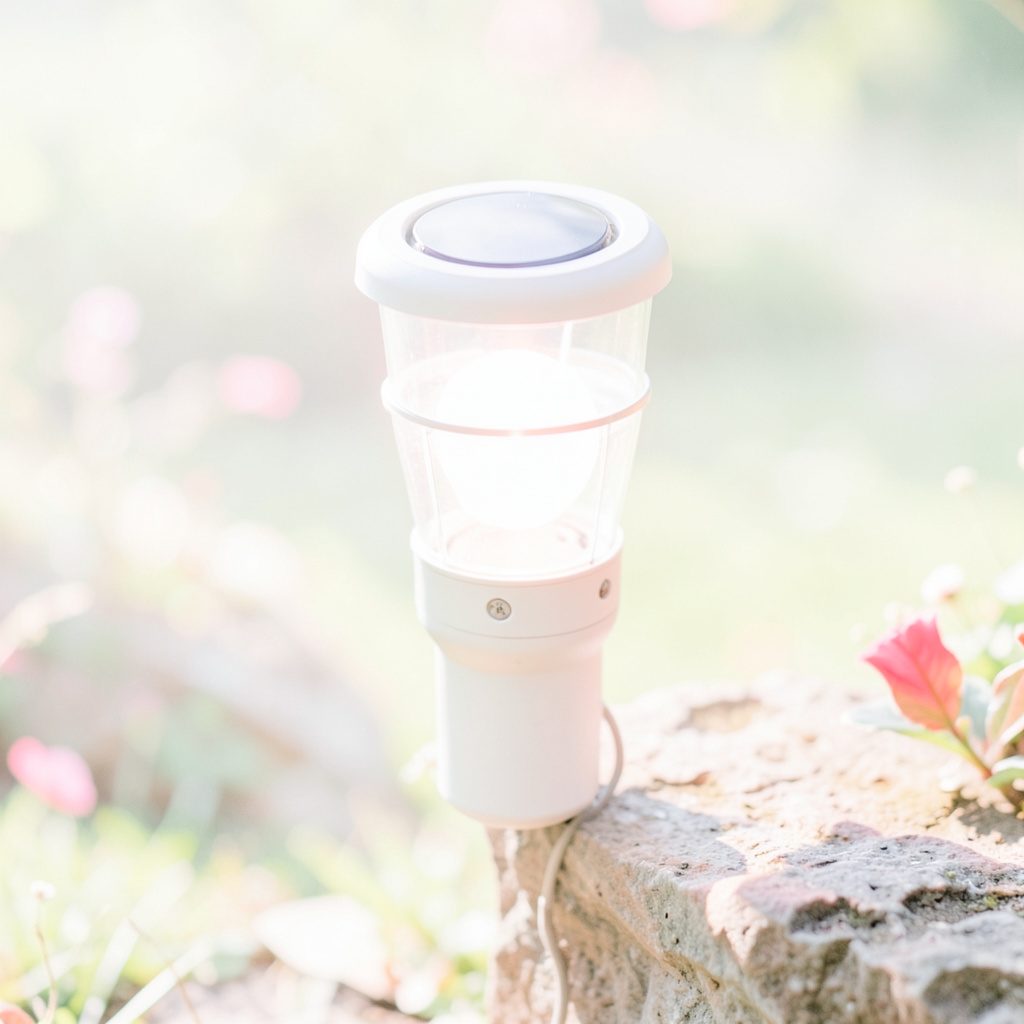
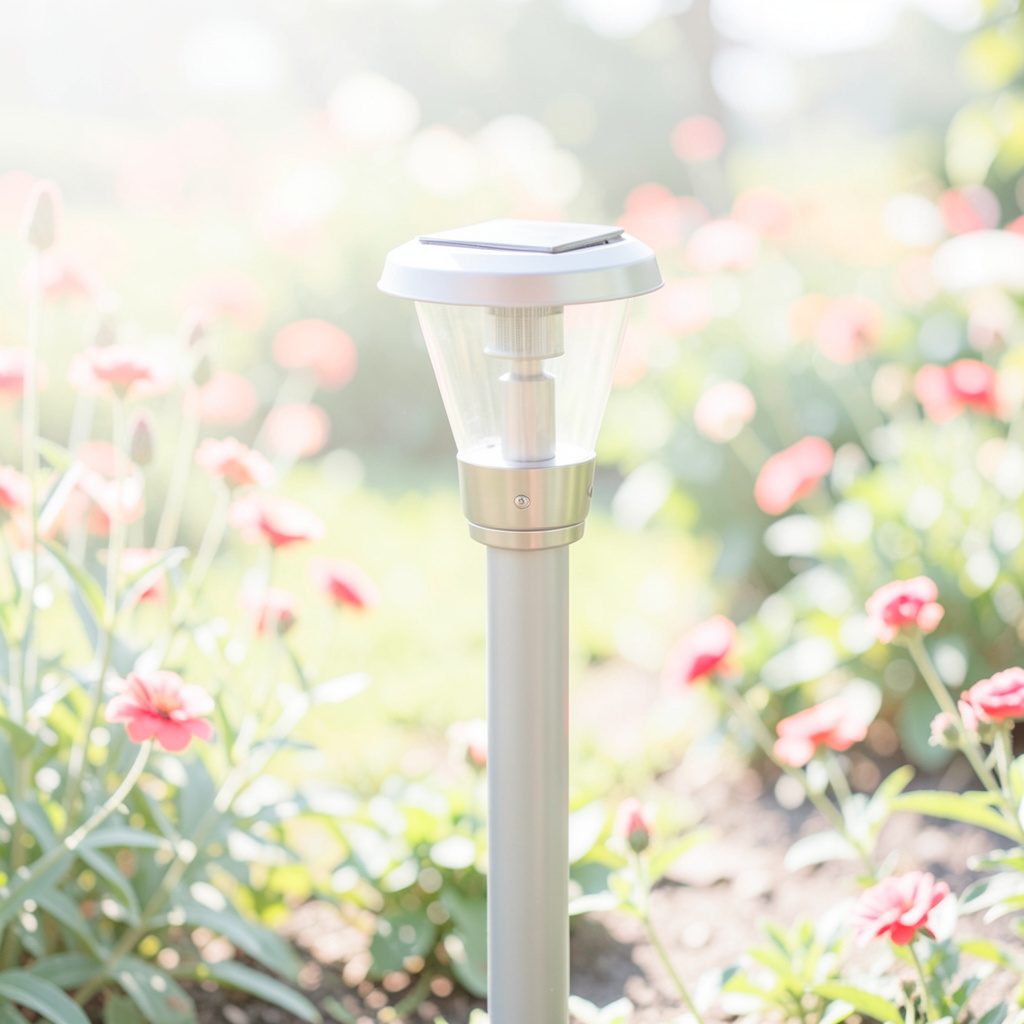
Options on the market have grown quickly, with Philips and InnoGear appearing at Bunnings, Amazon AU, and Home Depot's Australian partners. You will find cap-style lights that sit on top of existing posts, full replacement posts with integrated panels, and decorative fixtures suited to coastal weather. Choosing the right style for your climate is the first step, and the right fitting will keep glowing from a Hobart winter to a Top End wet season.
This guide walks through the process from layout planning to long-term care, with a focus on conditions you actually face in Australian backyards. Salt air, intense UV, and the occasional heatwave all influence performance, so a few local adjustments help them last much longer than a generic online tutorial suggests. For broader inspiration, browsing modern home and garden ideas can spark layout ideas before you start digging.
Planning the layout and checking sun exposure
Before buying a single light, watch how the sun moves across your yard for a full day. In southern capitals like Sydney and Adelaide, the sun crosses the northern sky, which means a post under a big eucalyptus or a Colorbond fence may only get a few hours of direct light. In tropical Cairns or Darwin, the angle is steeper and shadows fall differently through the dry and wet seasons. Mark spots that receive at least four to six hours of unobstructed sunlight, because undercharging is the number one reason solar post lights fail within a year.
Walk the route you actually use at night. The path from the driveway to the front door, the side gate where the bins live, and the stepping stones between the pergola and the laundry are all worth lighting. Most installers space lights between 1.8 and 2.5 metres apart for a soft wash, or closer together if you are lighting a vegetable patch for late-night harvesting. Checking out home vegetable gardens gives useful context on where raised beds sit and how light falls at the edges.
Sketch the yard on paper or a phone note, marking trees, air conditioning units, retaining walls, and existing post locations. This avoids the mistake of installing a light directly where a retic pipe runs, which can turn a simple project into a costly repair. It is also worth checking with your local council or body corporate in places like strata complexes in Perth, as some schemes have rules about front yard fixtures and their height.
Tools, materials and what to buy
Most kits come with the light head, mounting bracket, screws, and a small ground spike. You will also need a battery set, a tube of exterior-grade silicone, a spirit level, a drill with a masonry bit for concrete, and a bag of rapid-set concrete if installing new posts rather than retrofitting old ones.
For a typical path of six to eight lights, budget between $15 and $60 per post depending on brand and build quality. Cheap units from discount chains often use thin plastic that yellows within a summer, while mid-range options from Philips and InnoGear use stainless hardware and UV-stabilised diffusers. Pay a little more for a unit with a replaceable battery, because the cells usually die long before the LED does.
Head to Bunnings for rapid-set concrete, a post hole digger, and builders' line. A cordless drill is helpful but not essential, and most people already own a hammer and Allen keys. While planning, you might also enjoy exploring creative craft projects for personalising post caps with hand-painted designs while the concrete cures.
Setting the posts in the ground
For soft ground, a manual post hole digger or small power auger makes quick work of the job. Aim for a hole roughly 200 to 300 millimetres in diameter and about a third the height of the post, so a 1.2-metre post wants a hole around 400 millimetres deep. In sandy Perth soils you may need to go a touch deeper, while heavy clay in parts of Melbourne can be dug with a standard shovel.
Drop a small layer of gravel into the base of each hole for drainage. Australian rain events can be sudden and heavy, particularly along the east coast, and water sitting at the base of a post is the fastest way to corrode the internals. Place the post in the hole, brace it with timber offcuts, check that it is plumb on two sides, then pour in rapid-set concrete mixed to a stiff consistency. Slope the top away from the post so water runs off.
If you are replacing an existing post such as an old letterbox or fence stump, the job is much simpler. Unscrew the old fitting, clean the surface, and mount the new solar light with the supplied bracket. For concrete pavers, use a diamond-tipped core drill or surface-mount with chemical anchors. Always wear safety glasses and ear protection when drilling.
Mounting the light heads and setting the angle
Once the post is firm, slide the light head onto the top bracket and tighten the grub screws. Most solar post lights have a small panel that needs to face true north in the Southern Hemisphere for the best charge, so use a compass app on your phone to set the orientation. A small adjustment here can add an extra hour of useful light at the end of the evening, which matters through winter when daylight hours shrink quickly.
Tilt the panel angle to match your latitude if the bracket allows. In Hobart, a steeper angle helps catch the low winter sun, while in Brisbane a flatter setting captures more light through the high summer sky. Many newer models have a fixed optimal angle built in, but check the instruction sheet because a few degrees can make a noticeable difference in run time.
Switch the unit on, leave it in the dark for a minute, and watch it come on. If the light is dim, the panel may still be detecting a glow from a nearby security sensor or streetlight, which is common in suburban streets in places like Parramatta or Northcote. A small piece of electrical tape over the sensor for the first night can help confirm the unit is working properly.
Testing, adjusting and adding the final touches
Leave the lights to charge for at least two full sunny days before judging their performance. Most quality units will run for eight to ten hours on a full charge, but cheaper models may only manage four or five, which is still useful for a pathway but not for a dinner party. Walk the garden after dark and adjust any light that is glaring into a window or washing out a feature plant. Many solar post lights come with warm and cool colour switches, and the warm setting is gentler on native gardens and less attractive to insects, which suits Australian conditions beautifully.
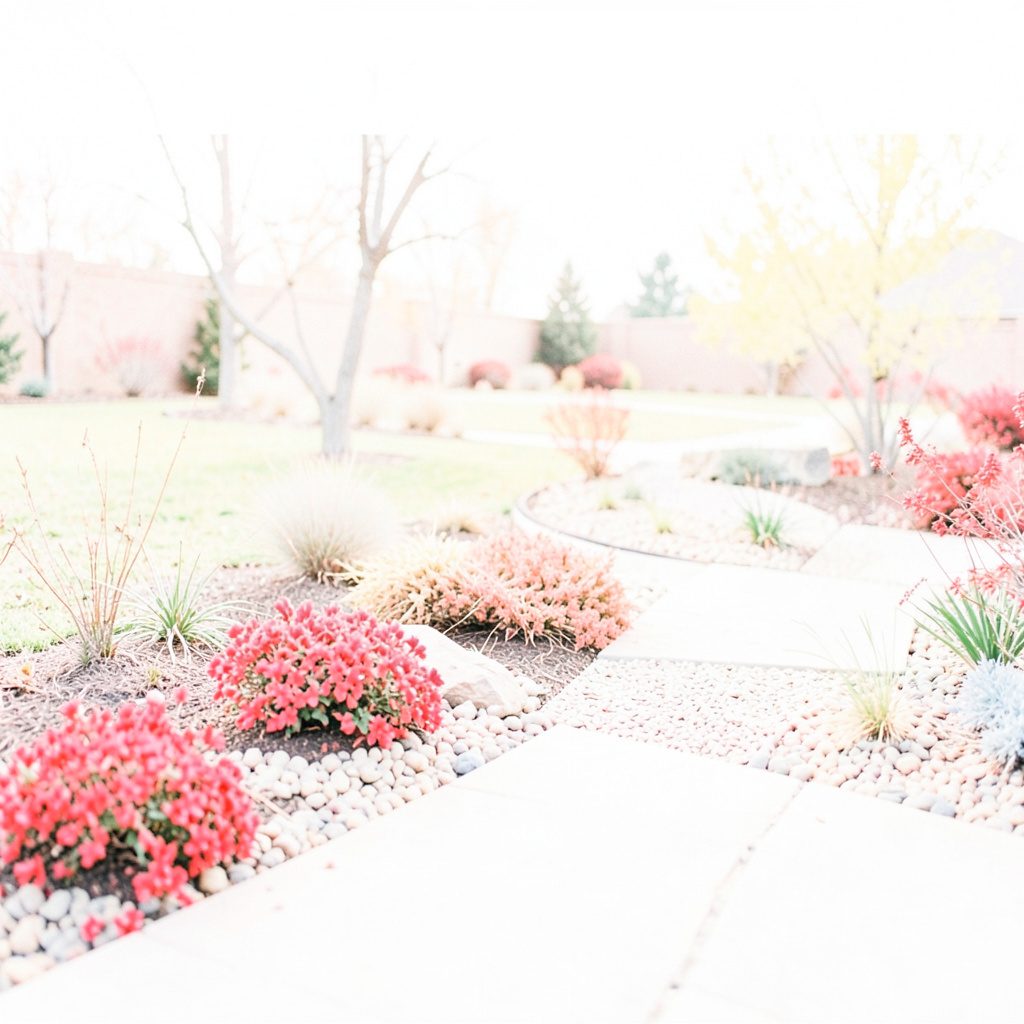
If you have paving near the posts, brush in jointing sand or decorative pebble around the base for a finished look. In a coastal garden, a quick spray of clear marine-grade sealant on metal parts once a year will keep salt corrosion at bay. It is also a good idea to trim back overhanging foliage as the seasons change, because a branch that was clear in January can shadow the panel completely by June.
Set a reminder to clean the panels every couple of months. A wipe with a damp cloth removes dust, bird droppings, and fine red soil, and a clean panel can add thirty percent more charge time. Keep an eye on the batteries after the second year, and swap them for lithium cells from a local electronics shop if you notice the run time dropping.
Caring for your lights through Australian seasons
Australian weather is tough on anything left outside, so a small seasonal routine will keep your solar post lights working for years. In late spring, give each unit a thorough clean and check that the silicone seal around the panel is still intact. Summer storms can drive rain into the smallest gap, and a $5 tube of neutral-cure silicone from the hardware shop is the best insurance against water damage.
Bushfire season is a serious consideration in rural-urban fringe areas across Victoria, New South Wales, and South Australia. Look for lights with a high IP rating, ideally IP65 or above, and avoid any plastic fittings that can melt in a spark zone. If you live in a declared bushfire-prone area, check your local council's vegetation management rules before installing posts near garden beds, as some fixtures are classed as combustible materials under certain state regulations.
Through the cooler months, shorter days mean less charging time, so expect the lights to run for a shorter period at the end of the night. A few people in southern capitals simply turn off the decorative lights during winter and rely on the main house lighting, which also extends battery life. A well-installed set should give you five to seven years of reliable service, and a twice-yearly check is well worth the soft glow you get in return.
After the last post is secure and the panels are gleaming, step back and enjoy the new look of the garden at dusk. The right solar post lights turn a plain path into a welcoming approach, and they pay for themselves in the first year just from the electricity you would have spent on hardwired alternatives. For readers who want to explore more lifestyle content, there are some interesting garden and lifestyle insights available online, alongside the usual renovation and planting guides. With a little planning and an afternoon of honest work, your garden can glow from sunset to sunrise without adding a cent to the power bill.