Featured Topics

LED up lights for architectural garden features
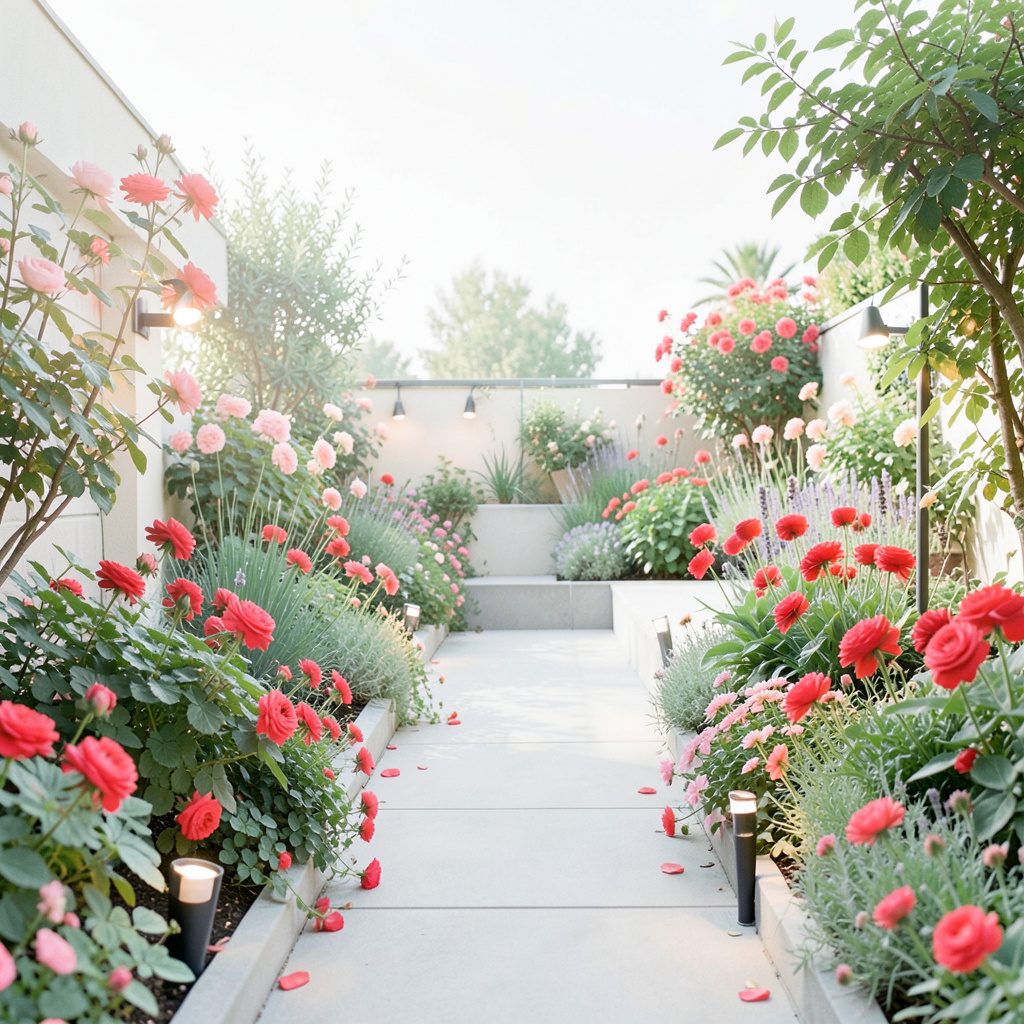
Architectural garden features—brick walls, rendered pillars, pergolas, freestanding screens and sculptural trees—gain depth when light is directed upward. Outdoor LED uplights should reveal texture and form rather than flood the garden, creating a layered nightscape for Australian alfresco living.
Start with the feature, surrounding planting and purpose. Beam spread, colour temperature, brightness, controls and weather protection affect the result, so compare fixtures before installation to avoid glare and visual clutter.
Plan the visual effect before choosing fixtures
Begin by deciding which elements deserve attention. A narrow beam can pick out a pillar edge, while a wider wall wash softens joints in stone or grain in timber. Pools of light and shade create depth; uniform brightness can make a garden look flat.
Sketch the intended effect at dusk and note where people will stand. Aim fixtures away from windows, seats and paths to limit glare. For a pergola, light one post or beam junction rather than every surface. For masonry, offset fixtures slightly to reveal texture.
Match light quality to materials and scale
The surface changes how the light appears. Terracotta, brick and timber suit warm-white LEDs around 2700–3000K; pale render, grey stone and metal can handle 3000–4000K. A high colour-rendering LED helps foliage, artwork and natural fibres retain colour.
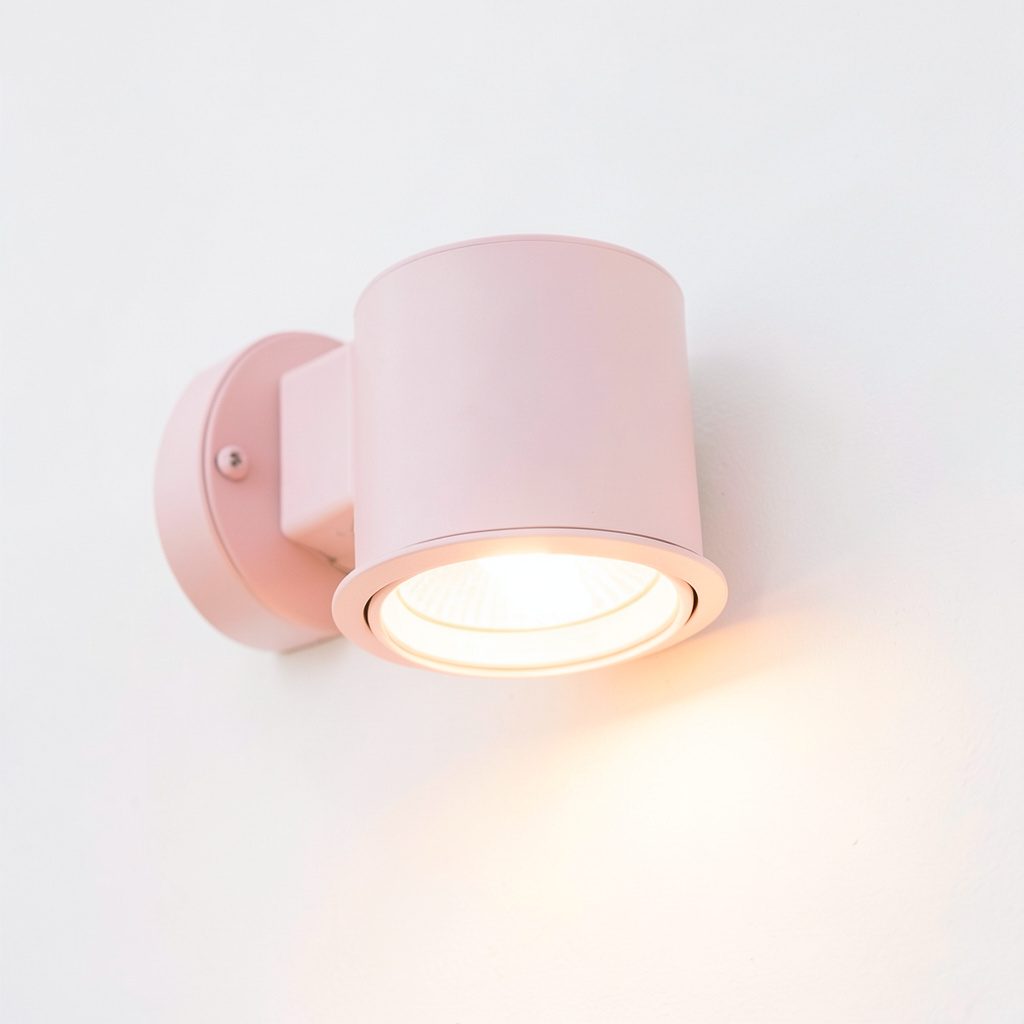
Choose the beam angle from the distance to the subject. Narrow accents suit ornaments and joints; wider beams suit large walls. Staked fixtures graze rough masonry, while surface-mounted spots give precise control on smooth columns. For background on the design approach behind these projects, the Meredith LBL author profile explains how lighting choices are tested in the garden.
Specify outdoor fittings for Australian conditions
Outdoor fittings need a documented ingress-protection rating, not just a weather-resistant label. IP65 is a sensible baseline for exposed spots, while IP67 can suit locations exposed to dust, spray or heavy rain. Check manufacturer documentation and seals before installation.
Climate varies sharply across Australia. Sydney’s coastal properties can face salt-laden wind, Melbourne gardens can remain damp and shaded, Brisbane brings humidity and intense summer storms, and Adelaide’s dry heat can stress cables and adhesives. Local orientation, irrigation overspray and nearby planting all affect the specification.
Australian homes use 240V mains power. Hard-wired work needs suitable outdoor wiring, protection and a qualified electrician. Low-voltage systems still require a proper transformer or driver, earthed fittings where applicable and correctly rated cable. Ask an electrician to check RCD/GFCI protection near pools, water features and wet paving.
Compare solar, low-voltage and mains options
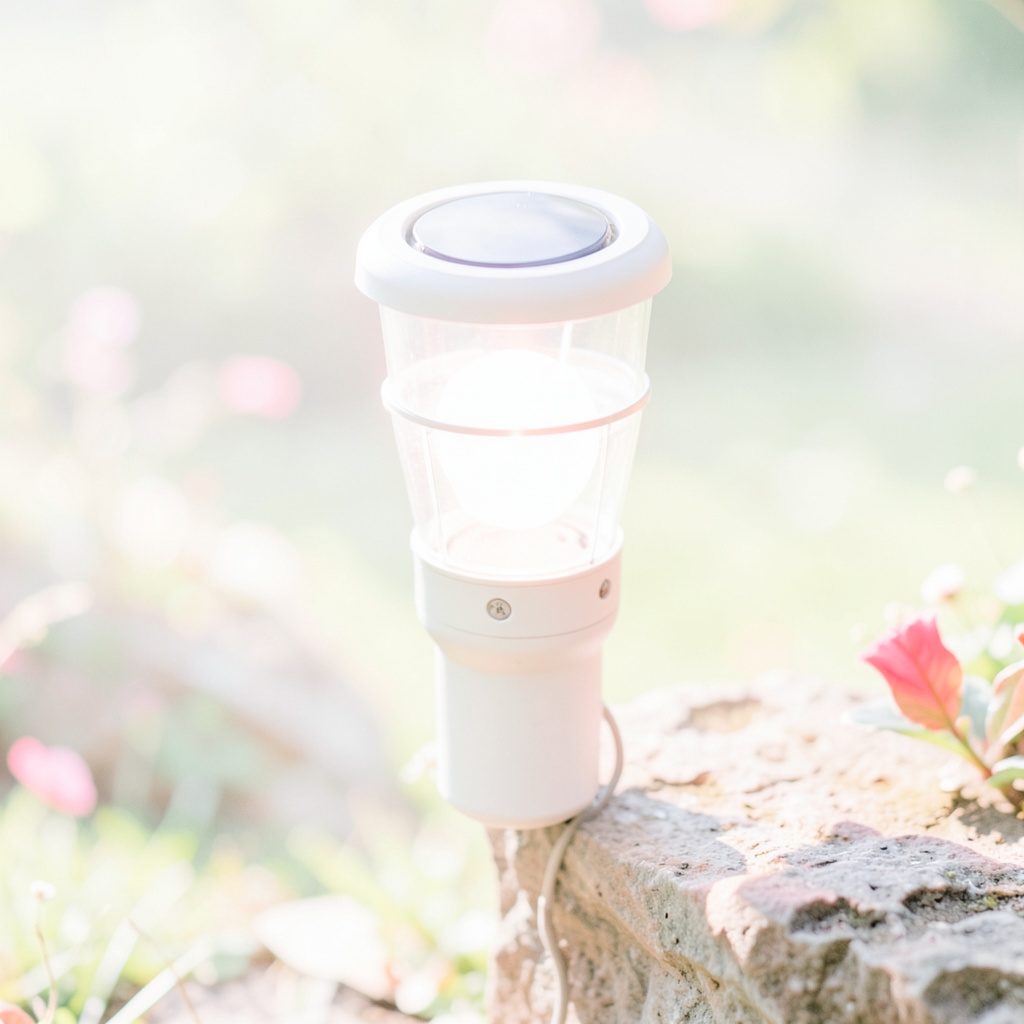
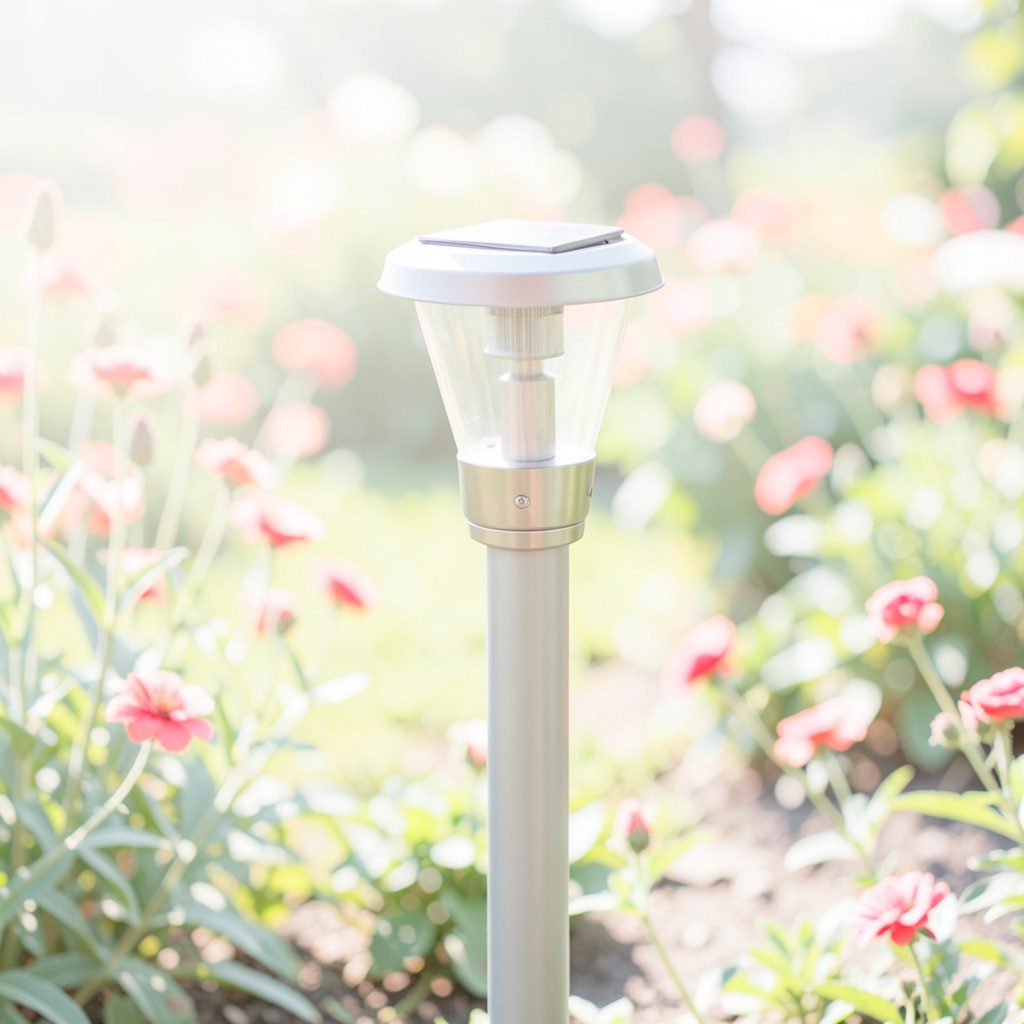
Solar spotlights suit isolated trees, garden beds and remote walls where cable is inconvenient. In Australia, place the panel where it receives several hours of unobstructed sunlight, even if the lamp faces shade. Match battery and panel capacity to the output and required runtime.
Low-voltage LED systems allow flexible cable runs and are easy to reposition; mains fittings suit consistent brightness where power access is simple. Keep drivers, joints and connections above splash level, and conceal cable along structures instead of across paths.
For a theatrical treatment of pools of light and deep shadow, Horror Underground provides a counterpoint to practical residential schemes. Adapt the effect so neighbouring homes, roads and wildlife are not disturbed.
Control glare and support safe movement
Glare is the commonest fault in garden accent lighting. Use shields, hoods or asymmetrical lenses to keep the LED source out of direct view. Test aiming at low brightness, then refine it at operating level. Tree uplighting should define the trunk and lower canopy without creating an eye-level hot spot.
Paths, steps and entrances need separate downward light. Position fixtures to reveal surface texture without shining into approaching drivers’ eyes. Motion sensors can reduce energy use in seldom-used areas, while dim-to-bright schedules make entry after sunset easier.
Use light sparingly around water and planting to protect nocturnal insects and preserve the garden’s night character. The Purple Stitch Project offers an imaginative reference for projects that treat illumination as part of a creative composition. Keep neighbouring effects restrained so the garden feels private without becoming intrusive.
Fixtures and purchase checks worth comparing
Philips outdoor spotlights can suit established landscape schemes, while InnoGear solar lights are worth comparing for flexible placement. Availability changes across Australia, so check local specifications, warranty and replacement parts. Compare specialist suppliers with Amazon Australia or Home Depot listings and confirm the seller’s Australian warranty support.
Use the following checks before buying several matching units:
- Select warm-white LEDs around 2700–3000K for most homes, reserving cooler light for pale, contemporary surfaces.
- Match beam angle to the feature: a narrow beam for edges and ornaments, a broader beam for an entire wall.
- Confirm a documented IP rating suitable for the exact exposure, including salt air, irrigation or poolside locations.
- Compare useful lumen output and beam distance, not wattage alone, because LED efficiency varies between products.
- Check lead length, operating voltage, dimming compatibility, warranty and replacement-lamp availability.
- Compare Philips wired spotlights for established installations with InnoGear solar models for locations without power access.
- Read reviews for real-world aiming and build quality, but treat verified specifications as more reliable than decorative descriptions.
The product details and buying guidance on Meredith LBL can narrow the options before visiting a store or placing an order online. Record model numbers and specifications so later additions match the original fixtures.
Run a one-feature evening trial
A convincing scheme uses layers: modest wall accents, defined path markers and restrained light at seating areas. Let one fixture lead the eye to a feature and retain darker areas between focal points. This balance makes details feel brighter while keeping the garden coherent.
Walk the route with guests’ eyes in mind. Check whether windows reveal hot spots, path edges disappear or the light feels uncomfortable from the street. Adjust rather than adding output. Repeat the walk on a wet evening when leaves and paving reflect more light.
After dark, switch on one adjustable LED uplight at the base of a chosen feature, then record its beam angle and brightness before making the first adjustment.