Featured Topics

Landscape Lighting Ideas for Sloped Yards
A sloping garden can be one of the most striking parts of a home, especially when planting beds, retaining walls and outdoor entertaining areas follow the natural contours of the land. After sunset, though, uneven levels can become difficult to read. A carefully planned lighting scheme brings out the shape of the yard while making steps, paths and changes in elevation easier to navigate.
The best approach combines several layers rather than relying on a single bright floodlight. Low-glare path lights can define a route, uplights can highlight trees and textured walls, and discreet LEDs can make terraces feel like separate outdoor rooms. Solar fixtures are useful where cabling is difficult, while low-voltage wired systems provide more consistent brightness.
Australian gardens bring their own practical considerations. A steep block in Brisbane may have lush planting and heavy summer rain, while a Melbourne garden might need lighting that handles cold winters and shorter daylight hours. Coastal homes around Sydney, Perth or Adelaide also need fixtures that cope with salt air, wind and sudden weather changes.
The most appealing results usually feel subtle rather than overlit. Think about how the garden will look from the kitchen, deck or lounge room, then choose light positions that create depth without shining into windows. For further visual inspiration, browse these garden designs before marking out your own levels and focal points.
Begin With The Shape Of The Yard
Before choosing products, walk through the garden during daylight and identify every change in height. Mark stairs, narrow passages, retaining walls, exposed roots and areas where water tends to collect. A simple sketch can show where illumination is needed for safety and where it can be added purely for atmosphere.
A sloped yard often looks flatter when lit from above. Instead, place lights at different heights along the incline. A few fixtures near the lower level can wash light across a wall or planting bed, while lights higher up can reveal the outline of a tree or terrace. This layered arrangement helps the eye understand the full depth of the landscape.
Avoid placing identical lights in a perfectly straight line. Even spacing can make a pathway look like a runway and may exaggerate the slope. Staggering fixtures on alternate sides creates a more relaxed garden feel. On tight bends, place a light just before the turn so visitors can see the route without facing a harsh beam.
Use Layers To Guide Movement
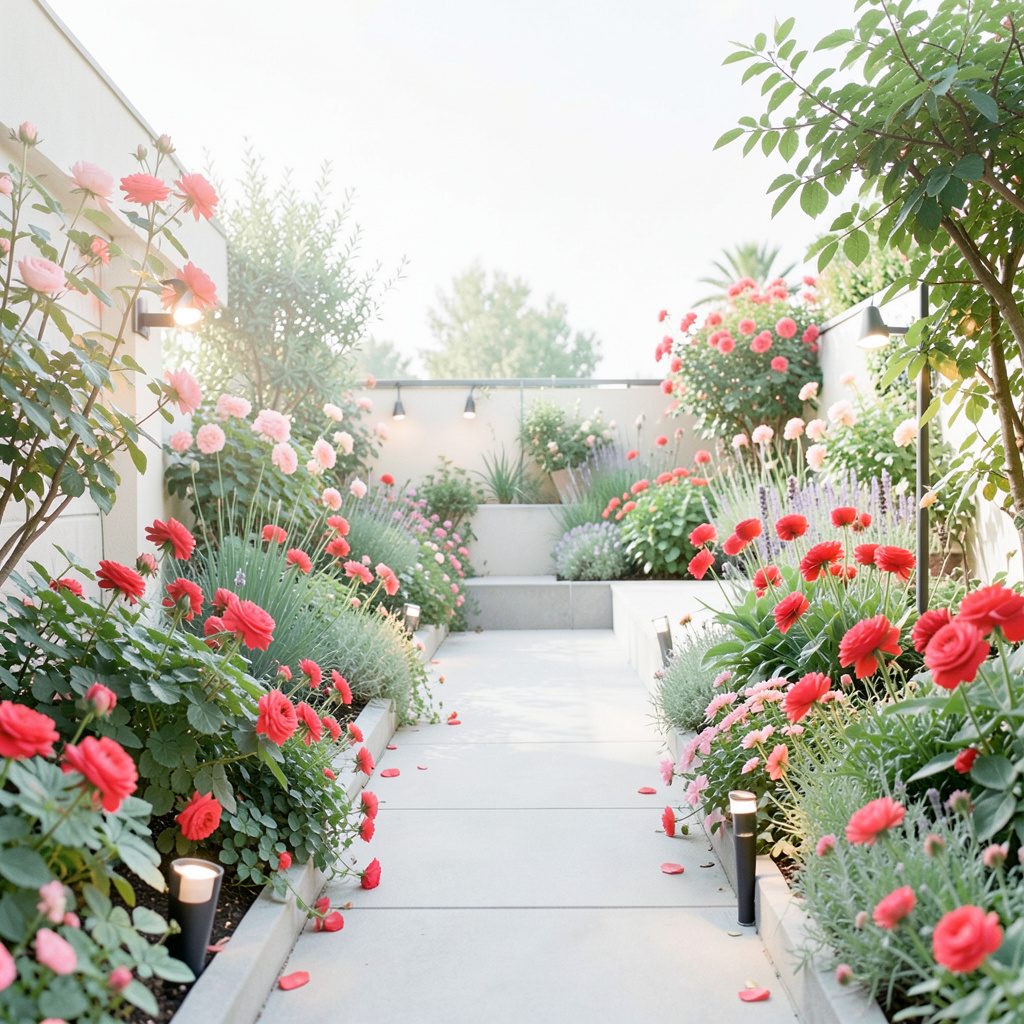
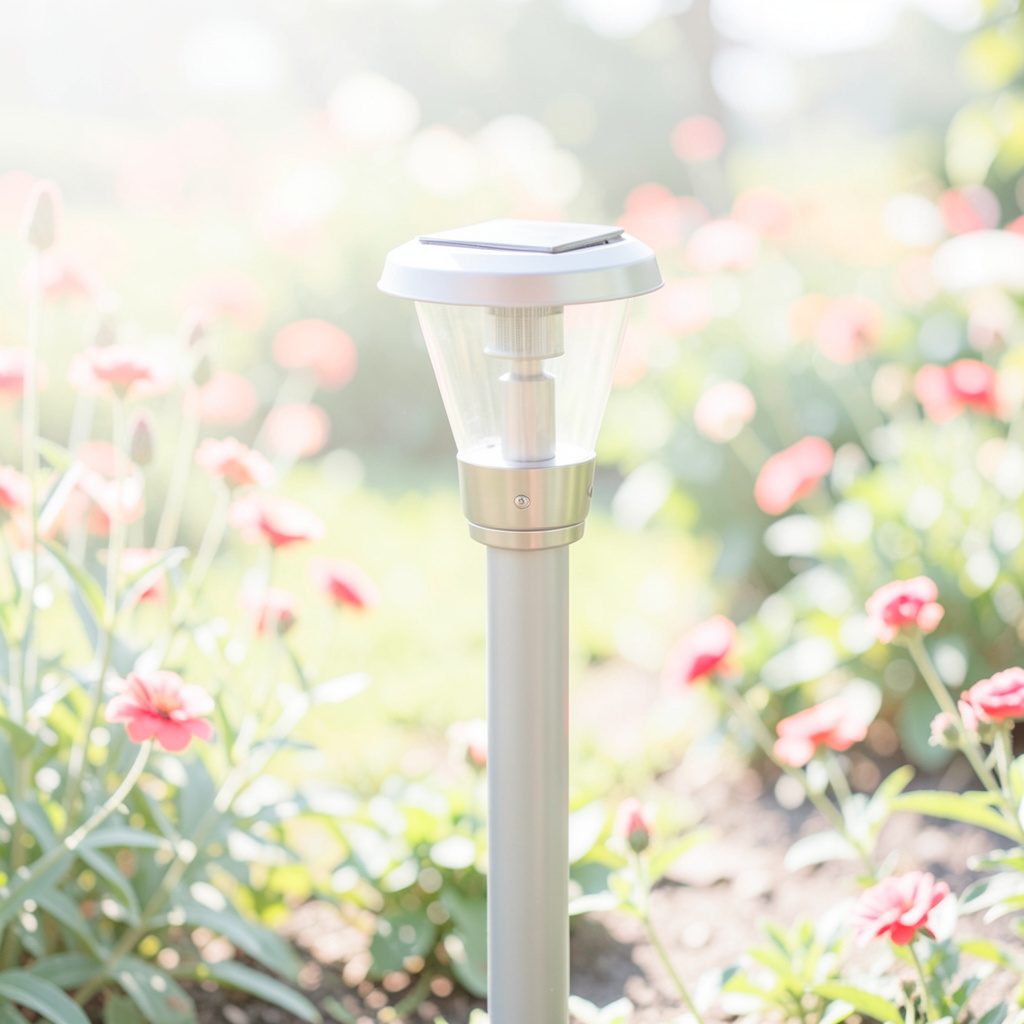
Pathway lighting should show where feet need to go, not flood the entire garden. Hooded bollards, compact stake lights and recessed step lights are effective choices for terraces and stairs. Aim light downwards and keep the fixture height modest, particularly beside seating areas where glare can spoil the view.
Retaining walls offer excellent opportunities for indirect illumination. Strip LEDs tucked beneath a cap or behind a ledge can create a soft floating effect, while small wall washers bring out stone, brick or timber texture. Leave enough space around drainage points and choose outdoor-rated fittings that will not trap moisture against the wall.
For garden beds, use accent lighting sparingly. A narrow beam can pick out the trunk of a gum tree, the shape of a bird of paradise or the texture of ornamental grasses. Wider beams work better for large shrubs and layered planting. Wildlife-friendly planning matters too, so information about a wild robin can prompt a broader look at how bright, poorly aimed lights affect nocturnal visitors.
Match Fixtures To The Conditions
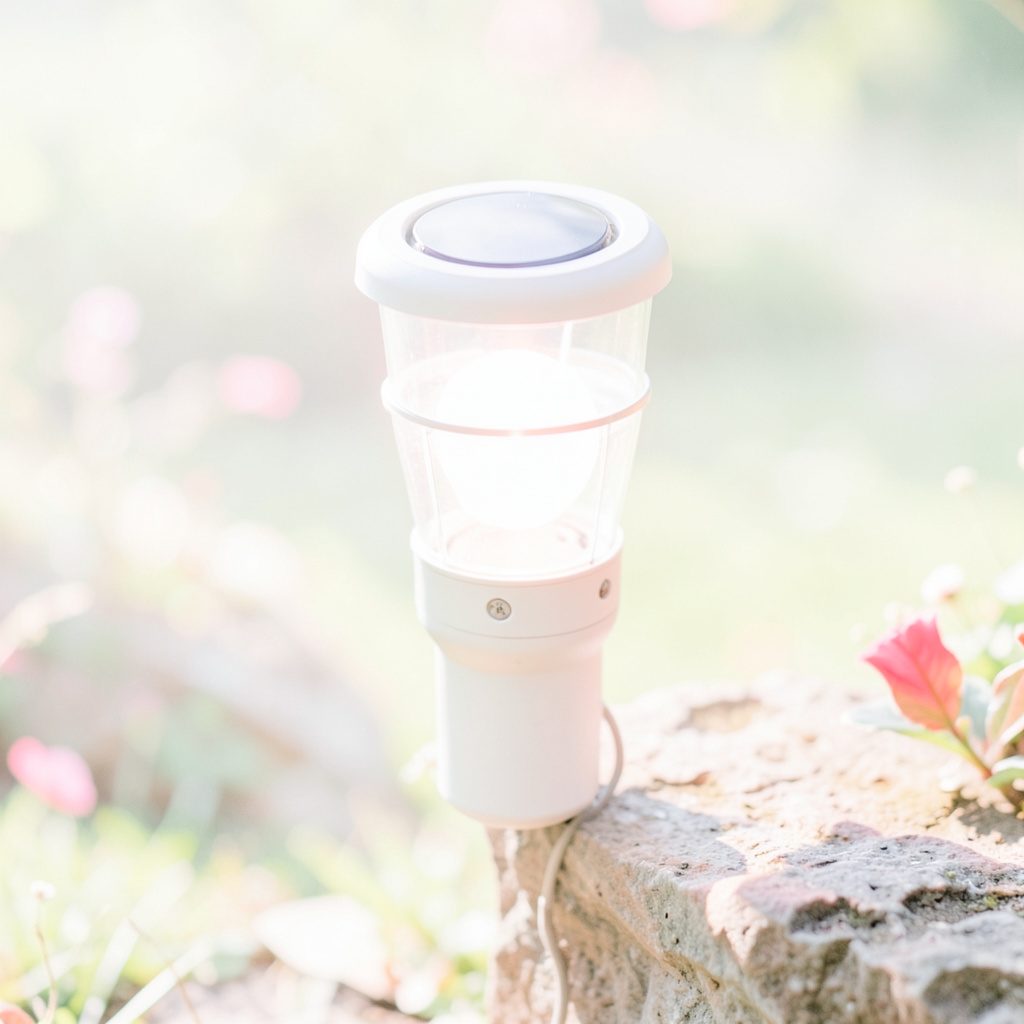
Solar garden lights are convenient for remote corners, rental properties and paths where trenching cable would be disruptive. Position panels where they receive several hours of direct sun, remembering that winter shadows from fences and trees can reduce charging. In a heavily shaded yard, wired low-voltage LEDs will usually be more dependable.
Check the IP rating before installing any fitting outdoors. A higher rating is valuable for exposed stairways, damp retaining walls and locations affected by irrigation. Look for strong housings, sealed connections and corrosion-resistant finishes. Stainless steel, powder-coated aluminium and durable plastic can all work well when matched to the site.
Colour temperature changes the character of the landscape. Warm white light around 2700K to 3000K generally suits timber decks, sandstone, brick and leafy planting. Cooler white light can help with task visibility near garages or side gates, but it may make a relaxed garden feel stark. Dimmable LEDs and timers allow the brightness to change between arrival, entertaining and late-night security.
A broadfork can help loosen compacted soil before planting around new cable runs or garden edges; a sturdy broadfork tool is particularly useful when working between established beds without turning over the entire area.
Plan For Australian Homes And Habits
Outdoor living is a major part of home life in Australia, so landscape lighting should support more than simple passage. A deck in Queensland may host an arvo barbecue, while a terrace in Victoria may be used for quiet evening drinks. Keep bright security lighting near entrances and driveways, then use warmer, lower-level illumination around dining and seating zones.
Bushfire-prone areas require extra care with plant selection, cable placement and maintenance. Keep dry leaf litter, mulch and dense branches away from hot components, transformers and fittings that could be damaged by heat. Follow local council guidance and the advice of a licensed electrician when installing permanent systems, especially on large or steep blocks.
Possums, insects and birds are common visitors in suburban gardens. Aim lights at surfaces rather than into trees or across neighbouring properties, and use timers or motion sensors where continuous illumination is unnecessary. Good shielding protects nearby homes from glare and keeps the garden more comfortable for wildlife.
Australian buying habits also influence product selection. Solar stake lights are widely available through local garden centres, Bunnings and Amazon Australia, while premium low-voltage systems may come from specialist landscape suppliers. Imported product descriptions can use different plug, transformer or weatherproofing standards, so check compatibility rather than relying on attractive photographs alone.
Build A Practical Lighting Scheme
A successful installation normally starts with the essentials and adds decorative effects later. Light the main stairs, the safest route between levels and any abrupt drop first. Once those areas are clear after dark, add accents to plants, water features or architectural details without allowing decorative lights to compete with navigation.
Test positions temporarily before fixing them in place. A solar light moved only 30 centimetres can avoid glare, reveal a better tree shape or make a bend easier to read. For wired systems, use a qualified installer and allow access to transformers, junctions and control equipment. A little serviceability prevents frustration when plants grow or fixtures need cleaning.
When researching online, separate genuine garden guidance from unrelated entertainment material; even a bonus machines guide can appear in a broad web search, but it should not replace checking electrical specifications and outdoor ratings. For a wider source of visual inspiration, this garden lighting site offers another place to compare styles before shopping.
Practical Choices For A Sloping Garden
- Mark every stair, edge, bend and change of level before buying fixtures.
- Use warm, shielded LEDs near decks, patios and entertaining areas.
- Choose solar lights for sunny remote spots and wired systems for shaded slopes.
- Check IP ratings, cable protection and corrosion resistance for exposed locations.
- Use timers, dimmers and motion sensors to reduce glare, energy use and wildlife disturbance.
- Compare Australian-compatible transformers, plugs, warranties and replacement parts.
A sloped yard does not need to be covered in lights to feel safe and inviting. The strongest designs reveal the land gradually: a softly lit step, a highlighted retaining wall, a tree rising from shadow and a pathway that remains easy to follow. Aim fixtures carefully, respect the local climate and let darkness remain part of the design.
What the reader should remember is simple: light the changes in level first, layer brightness gently, and choose outdoor equipment that suits the Australian site rather than the product photograph.