Featured Topics
InnoGear Solar Fence Lights: Installation Guide
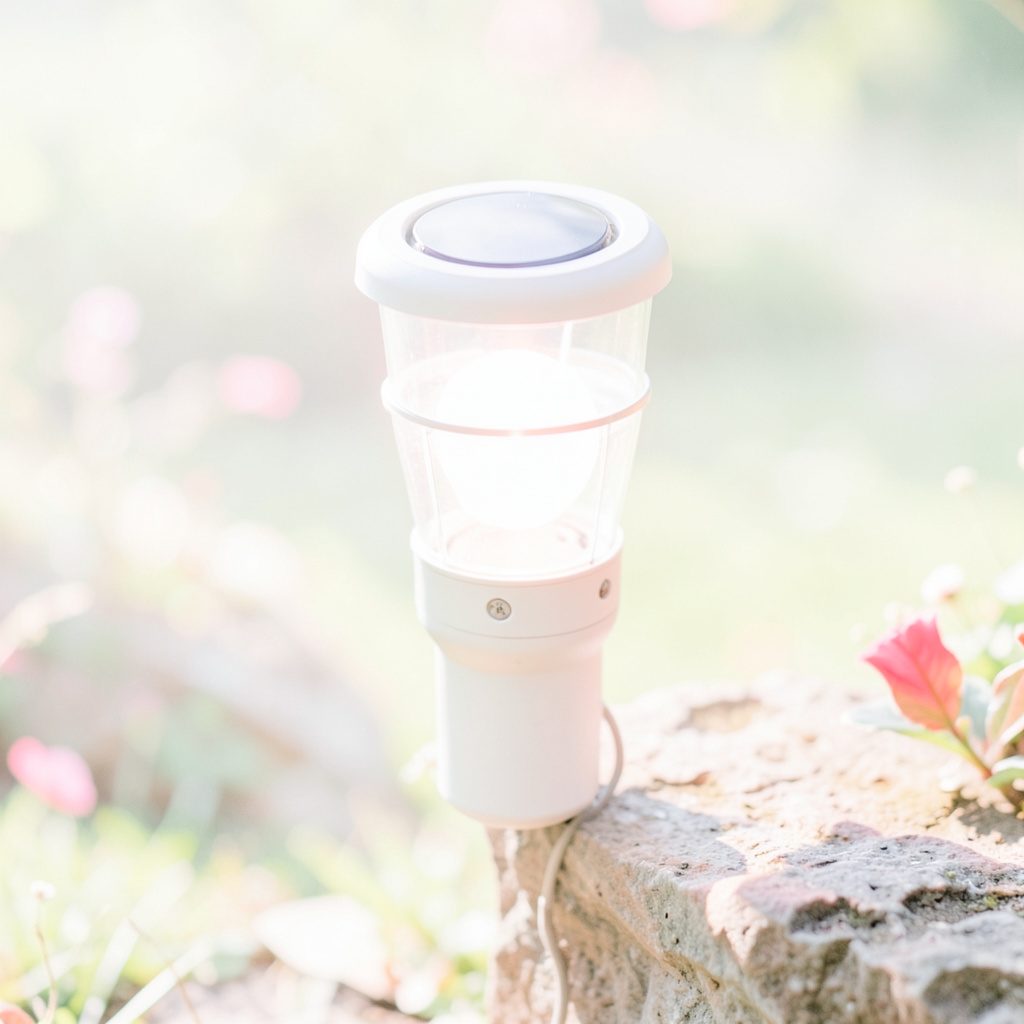
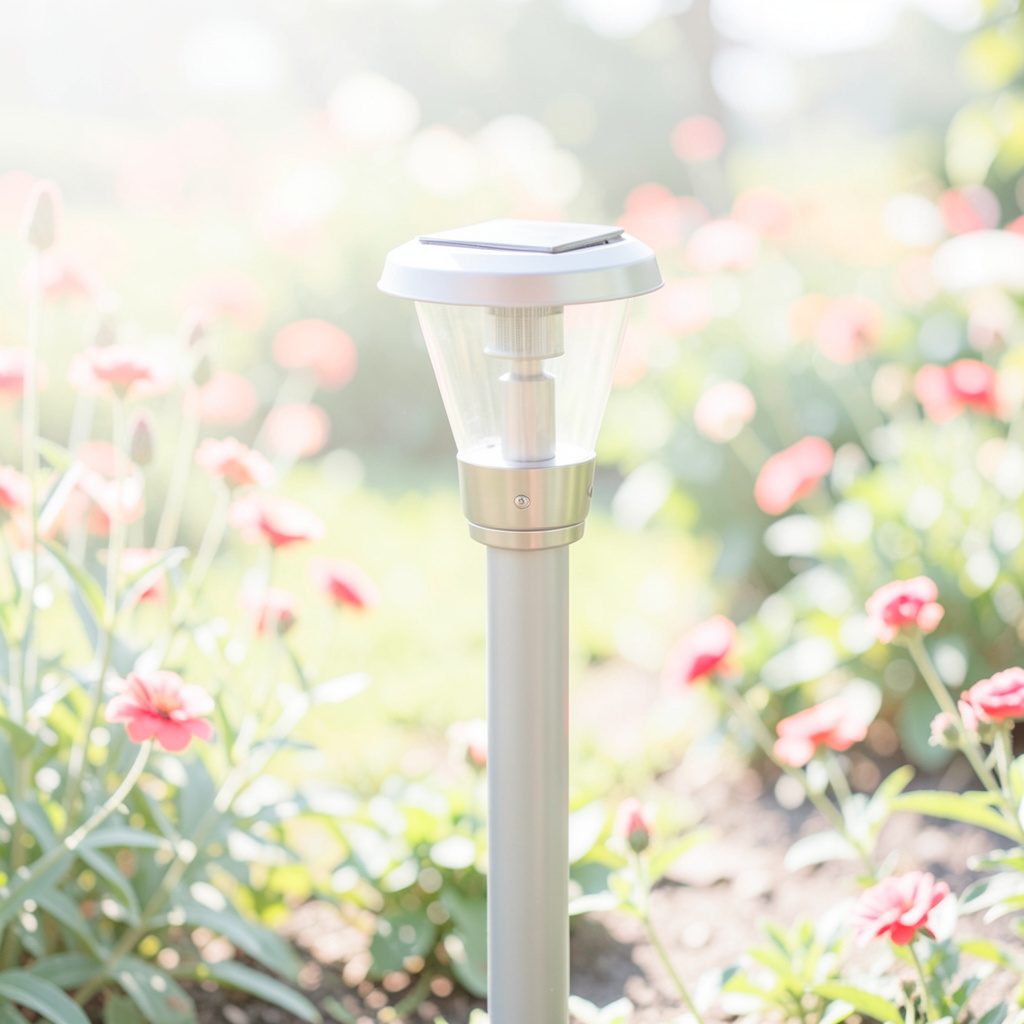
InnoGear solar fence lights are a practical way to add gentle illumination to boundaries, gates, decks, and garden paths without running mains cables through the yard. Their built-in solar panel charges during daylight, while an automatic sensor typically switches the light on after dusk. This makes them suitable for homeowners who want a cleaner fence line, improved visibility, or a small security benefit. Learn more about Kursiart.com.
A successful installation depends less on complicated electrical work and more on choosing the right position. Sun exposure, mounting material, drainage, spacing, and the direction of the light all affect performance. In Australian gardens, where bright summer sun can be followed by heavy rain, coastal salt, or intense heat, a little preparation helps the fittings last longer.
Choose the right location
Begin by observing the fence throughout a full day. The solar panel needs direct sunlight for several hours, so avoid areas shaded by eaves, tall shrubs, pergolas, neighbouring walls, or dense tree canopies. A south-facing section may receive limited winter light in much of Australia, while a north-facing position often provides stronger exposure, although the best location depends on surrounding structures and the season.
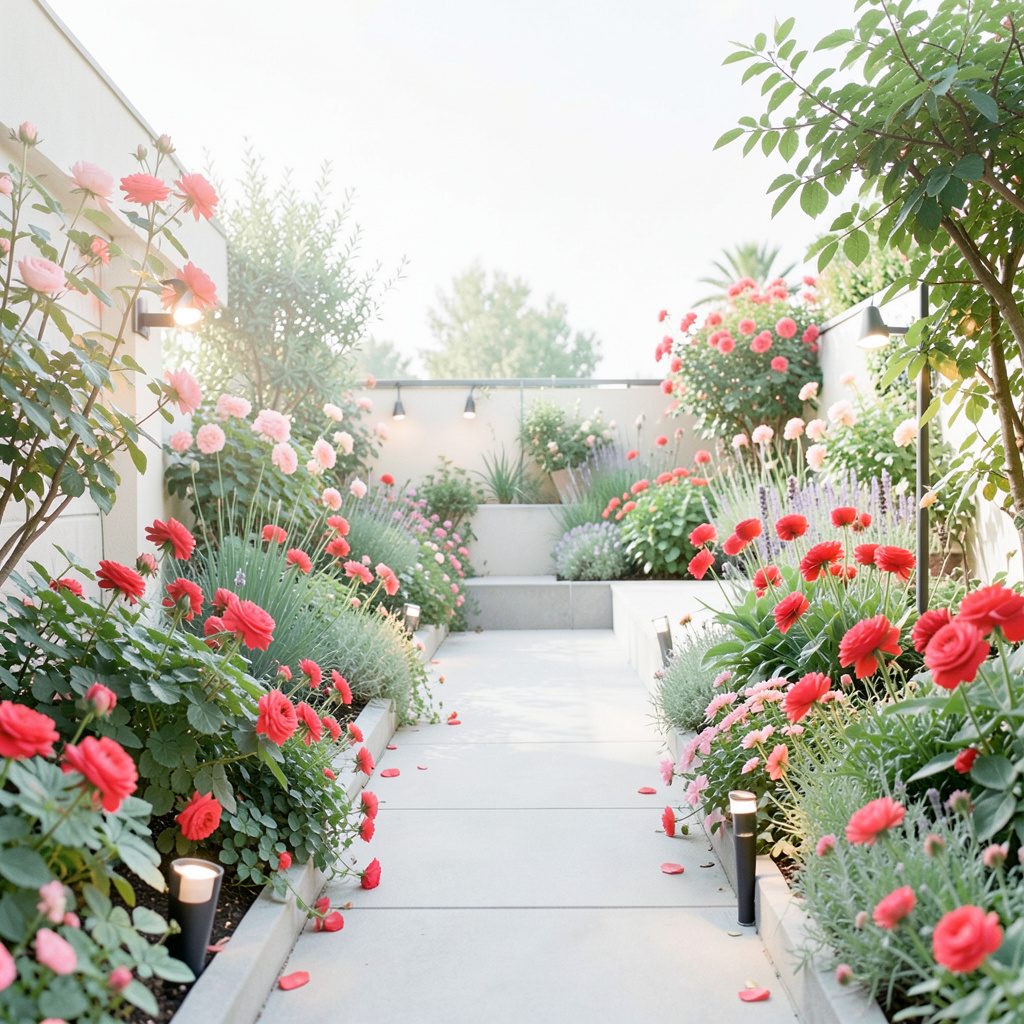
Think about what the lights need to illuminate. Mounting them along a boundary can create a neat wash of light across a lawn, while placing them near a gate improves wayfinding. For a narrow side passage, install them high enough to avoid shoulder contact but low enough to illuminate the walking surface. If the fence borders a productive garden, coordinate the placement with vegetable garden ideas so the light does not shine directly into sensitive plants or obstruct routine maintenance.
Avoid positioning the unit where vehicle headlights, porch lights, or street lighting can reach the sensor. Strong artificial light may prevent the fixture from activating at night. Also check that the light will not shine into a neighbour’s bedroom or across a shared boundary, since considerate illumination is especially important in closely spaced suburban homes in Sydney, Melbourne, and Brisbane.
Prepare the fence and equipment
Before drilling, unpack each InnoGear light and check the housing, solar panel, screws, wall plugs, bracket, and instruction sheet. Models can vary, so confirm whether the battery tab must be removed, whether the power switch needs to be set to “on”, and whether the light has separate modes for brightness or motion detection. Charge the unit according to the manufacturer’s instructions before judging its night-time performance.
You will usually need a pencil, tape measure, drill, screwdriver, spirit level, and suitable drill bits. Masonry fences require a masonry bit and appropriate wall plugs, while hardwood posts may need a smaller pilot hole to prevent splitting. For Colorbond or other thin metal fencing, do not rely on short screws alone if the panel flexes. Fixing into a solid post, rail, or backing block is generally more secure.
Mark every position before making holes. Measure the spacing between lights so the finished arrangement looks deliberate rather than irregular. A useful approach is to place fittings at equal intervals along a straight fence, then use a slightly closer rhythm near steps, gates, or changes in level. For design inspiration beyond functional lighting, browse outdoor lighting ideas before finalising the layout.
Mount the lights securely
For timber fences, hold the mounting plate level and mark the screw holes with a pencil. Drill shallow pilot holes, then drive the supplied screws until the plate is firm. Avoid overtightening, as this can distort the plastic bracket or crush softer timber. If the fence is old or weathered, use a sound post or replace the weakened section before mounting the light.
Brick and concrete require a different approach. Drill carefully with the correct bit, insert wall plugs, and keep the hole diameter consistent with the plug size. Clean out loose dust before fitting the screws. On rendered surfaces, check whether the render is firmly attached; a fixing that grips only a thin render layer may loosen after vibration, wind, or repeated temperature changes.
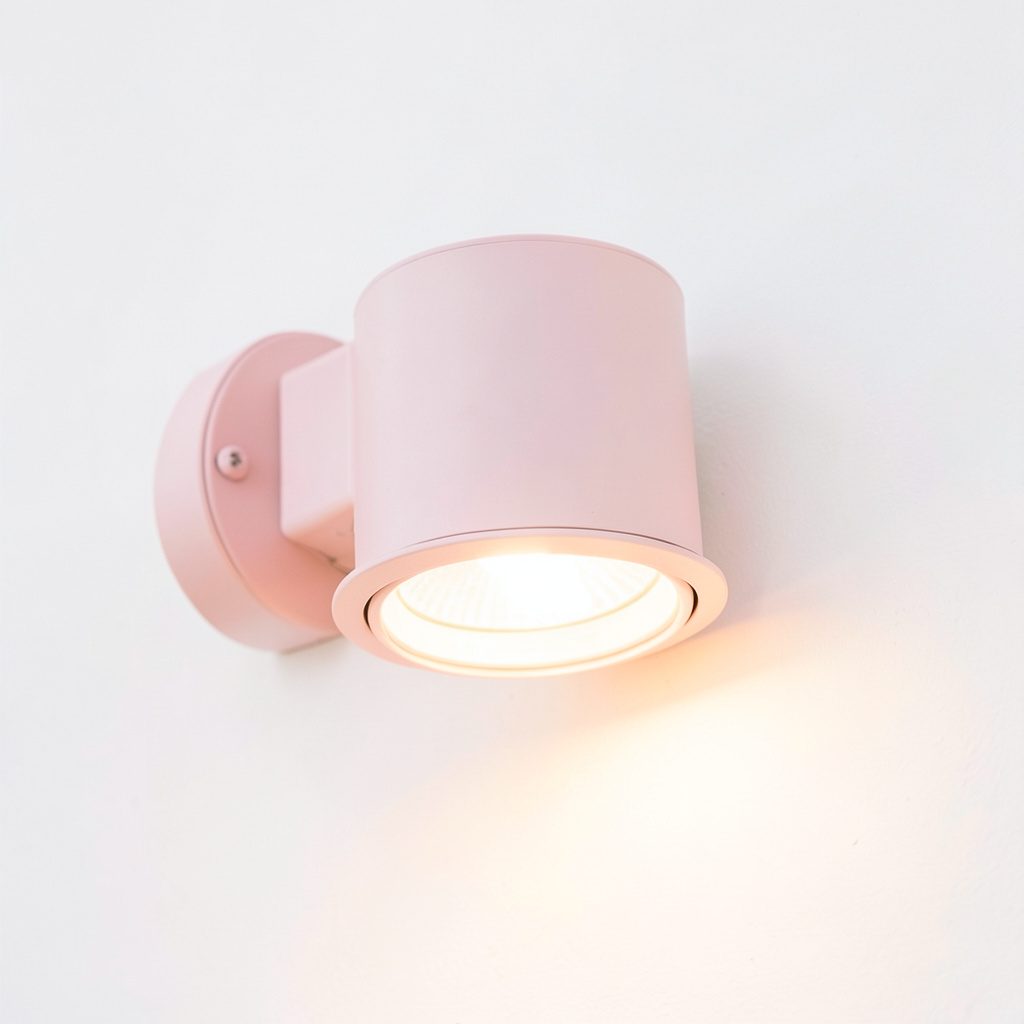
Once the bracket is fixed, attach the lamp body according to the supplied instructions and gently test for movement. The unit should remain stable when touched, but it should not be forced into an angle that puts pressure on the housing. Leave enough clearance around the solar panel for cleaning and around the lamp face so plants do not grow across the beam.
Set the angle for useful light
Solar fence lights work best when the panel faces the strongest available daylight and the lamp directs light where it is needed. On a horizontal or slightly sloping fence cap, the panel may already be positioned well. On a vertical fence, the fixture’s built-in angle determines how much sunlight it can collect, so choose the sunniest section rather than trying to compensate with an extreme tilt.
The light should generally point down or slightly outward. A downward angle reduces glare and creates useful illumination on paving, steps, or garden edging. It also limits the amount of light spilling into windows. For a decorative effect, aim the beam at a textured brick wall, timber screen, or leafy planting, but keep the brightness modest around entertaining areas.
Australian conditions make this adjustment especially important. In Perth and Adelaide, harsh summer sun can fade exposed plastics and dry out timber, while coastal locations such as Newcastle, the Gold Coast, and Fremantle may expose fittings to salt-laden air. Keep the panel unobstructed, but avoid placing the unit directly above sprinklers or in a spot where roof runoff repeatedly hits it.
Test the sensor and operating mode
After installation, switch the lights on and cover the solar panel with a cloth or wait until dusk. This simulates darkness and lets you check whether each fitting activates. Walk past the fence if the model includes motion detection, then observe the detection range. A light that remains off may simply need its battery charged or its power switch enabled.
Allow the system to operate through several nights before making changes. The first evening may not reflect normal performance if the day was cloudy or the battery was not fully charged. Check whether the lights stay on for the expected duration and whether one unit is noticeably dimmer than the others. Uneven brightness can indicate shade, a loose connection, a dirty panel, or a battery that needs replacement.
For outdoor entertaining, avoid placing every lamp on its brightest setting if the fence is close to a patio. Softer illumination is usually more comfortable for conversation and dining, while brighter output is more helpful near bins, stairs, and side access. Keep household entertainment accounts and other online activities separate from lighting controls; a resource for evening recreation is unrelated to the physical operation of a solar fitting.
Protect the installation from weather
Although outdoor solar lights are designed for exposure, their service life depends on installation quality. Keep screw heads seated firmly, make sure the housing is closed correctly, and do not drill extra holes through the casing. Extra openings can allow moisture or insects inside. If the light is mounted on a fence that moves noticeably in strong wind, reinforce the mounting point rather than tightening the screws repeatedly.
Inspect the fittings at the start of summer and before the wetter months. Wipe the solar panel with a soft, damp cloth to remove dust, pollen, bird residue, and salt. Do not use abrasive cleaners, and do not spray water directly into seams or around the switch. Trim branches and vines that cast shade or cover the lamp face.
Bushfire-prone areas require extra care with surrounding vegetation. Keep dry leaves, mulch, climbing plants, and fine branches away from the light and its mounting point. Solar lights should never be treated as a substitute for compliant security lighting, emergency lighting, or bushfire preparation. They are low-voltage decorative and pathway fixtures, not a complete safety system.
Troubleshoot common problems
When an InnoGear light does not turn on, check the simplest causes first. Confirm that the switch is in the operating position, remove any protective film from the panel, and ensure the fixture received enough direct sunlight. Cover the panel during testing, since checking the light in daylight without simulating darkness can make a functioning sensor appear faulty.
If the light is dim, clean the panel and inspect for shade caused by seasonal foliage. A battery may also be reaching the end of its useful life, particularly after several years of daily charging cycles. Replace it only with the correct type and specification listed for the model. Never mix old and new batteries or install a non-rechargeable cell unless the manufacturer expressly permits it.
Flickering may result from a loose battery connection, moisture, or movement in the mounting bracket. Turn the unit off before inspecting it, and allow any damp housing to dry completely. If the casing is cracked, the battery has leaked, or water is visible inside, discontinue use and replace the fitting rather than attempting an unsafe repair.
A well-installed solar fence light should sit firmly, receive clear daylight, and cast controlled illumination without disturbing nearby homes. Keep the panel clean, maintain the surrounding garden, and reassess the angle when plants or structures change. The key point to remember is simple: good placement and secure mounting matter more than adding extra lights.