Featured Topics

How to Use Ground Lights to Highlight Trees and Shrubs
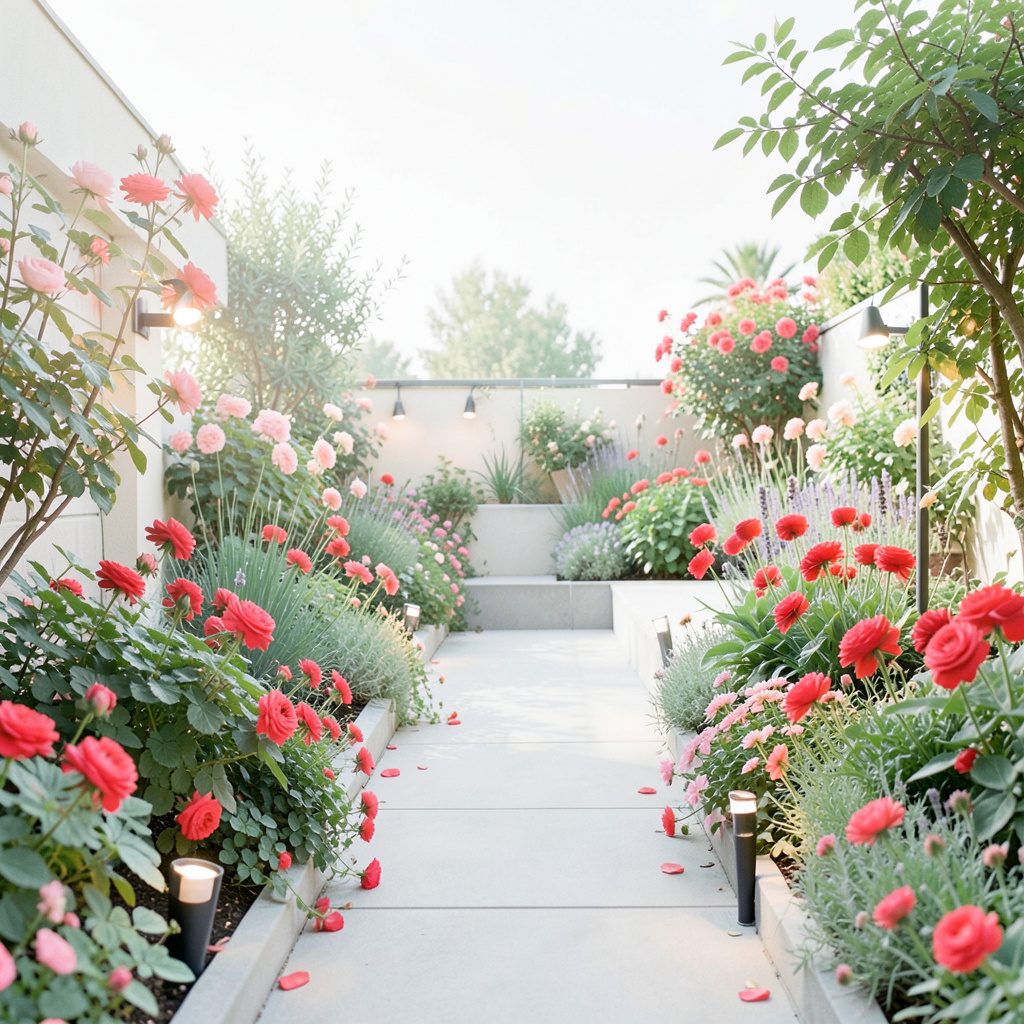
Ground lights can turn an ordinary garden into a layered evening landscape. Placed at soil level, these compact fittings wash trunks, lift foliage and draw attention to sculptural branches without taking over the view. The right beam angle can make a mature gum tree feel architectural, while a soft pool of light can give a small shrub a gentle presence beside a path or patio.
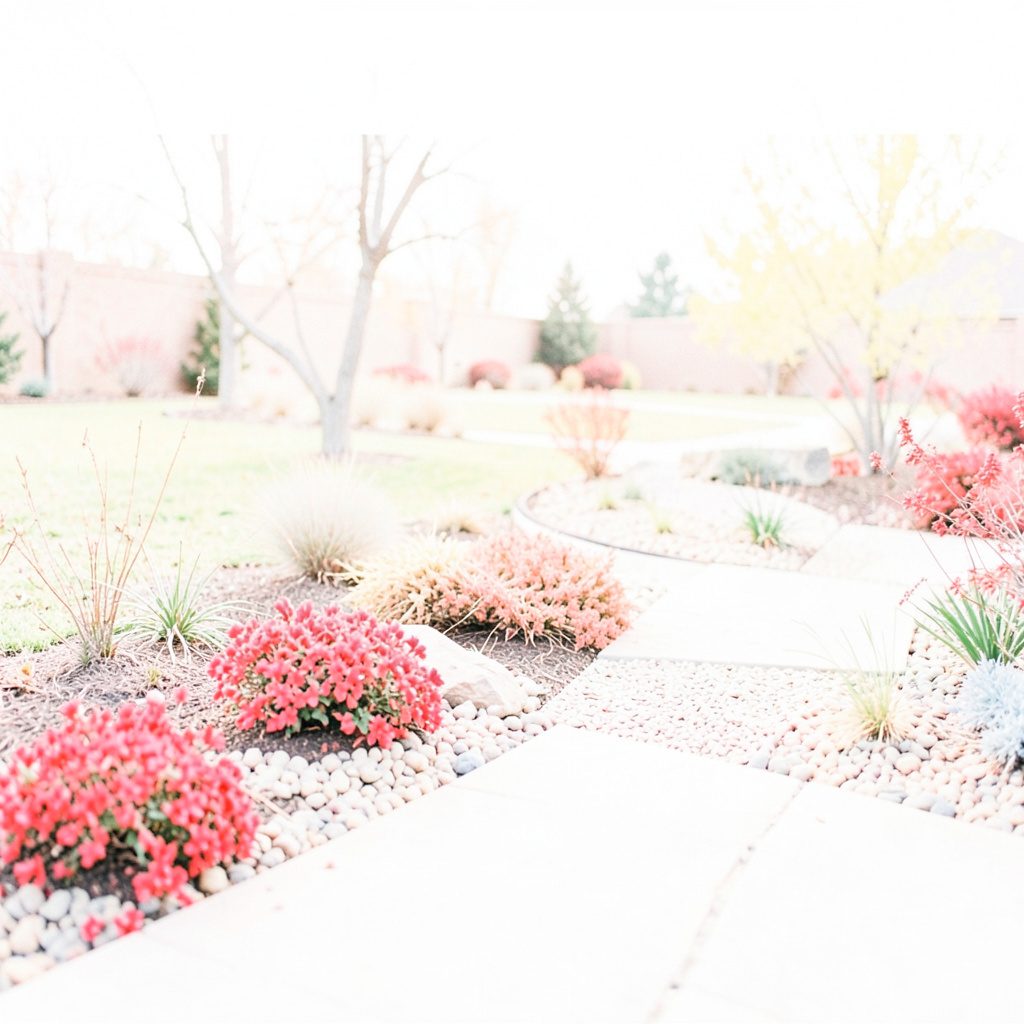
Good landscape lighting is less about making every plant bright and more about controlling contrast. Use shadow, distance and beam spread to create depth, then balance the illuminated planting with darker areas. In Australian gardens, this approach works particularly well around native plants, gravel beds, alfresco dining spaces and narrow suburban side gardens.
Choose the Position Before the Fixture
Start by viewing the garden from the places where people spend time, such as a deck, kitchen window, outdoor table or front path. A ground spotlight should support that view rather than shine directly into someone’s eyes. Place the fitting slightly away from the trunk, then aim it upwards so the beam travels through branches and catches the underside of leaves.
The ideal distance depends on the plant’s shape. A narrow spike light positioned close to a slim ornamental tree can create a strong column of light, while a broader canopy usually needs the fitting moved further away. For a large tree, two or three low-glare fixtures from different angles often look more natural than one very powerful lamp.
Before buying, test the position with a temporary torch after dark. Move it around the planting bed and check how the trunk, foliage and surrounding surfaces respond. This simple trial also reveals whether the light reaches windows, neighbouring properties or a frequently used walkway.
Match Beam Spread to Plant Shape
Narrow-beam uplights are useful for tall trunks, palms and columnar trees. They create a defined vertical accent and work well where space is limited. Medium beams suit rounded shrubs and small ornamental trees, while wide flood-style ground lights are better for spreading foliage, feature hedges and low planting that needs an even wash.
Colour temperature changes the character of the garden. Warm white light around 2700K to 3000K usually complements timber, sandstone, brick and natural foliage. Cooler light can make silver-leaved plants and contemporary concrete stand out, but too much blue-white light may feel harsh and can reduce the relaxed atmosphere expected in an Australian backyard.
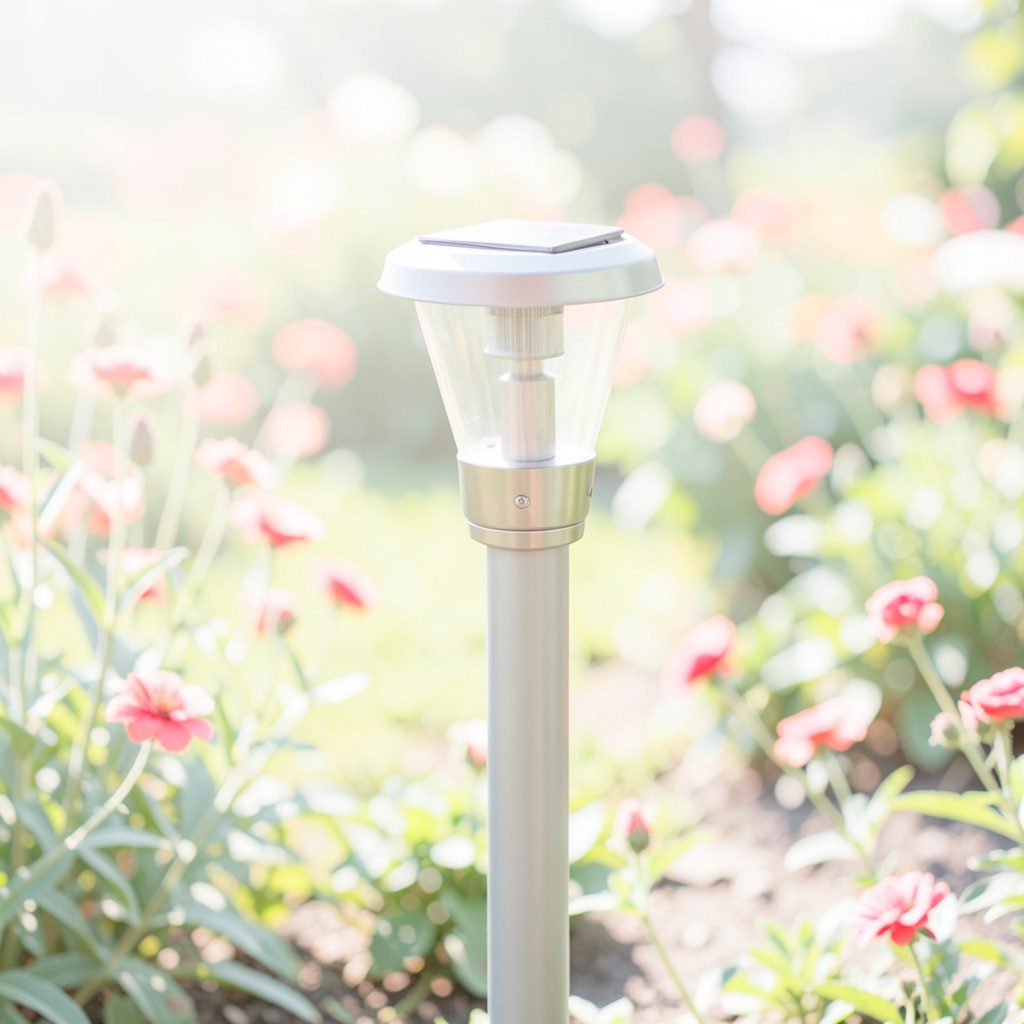
Avoid pointing every fitting straight at the centre of a plant. Grazing light across one side of a trunk reveals texture, while cross-lighting leaves produces a more dimensional effect. A Philips outdoor LED spotlight or a compact InnoGear solar light may suit different parts of the garden, provided the brightness, beam angle and finish work together.
Work With Australian Conditions
Australian gardens face strong sun, sudden storms and, in many regions, extended dry periods. Look for outdoor fittings with a suitable IP rating, corrosion-resistant materials and sealed connections. Stainless steel, powder-coated aluminium and durable plastics generally cope better with coastal air than inexpensive metal that can rust around the lens or stake.
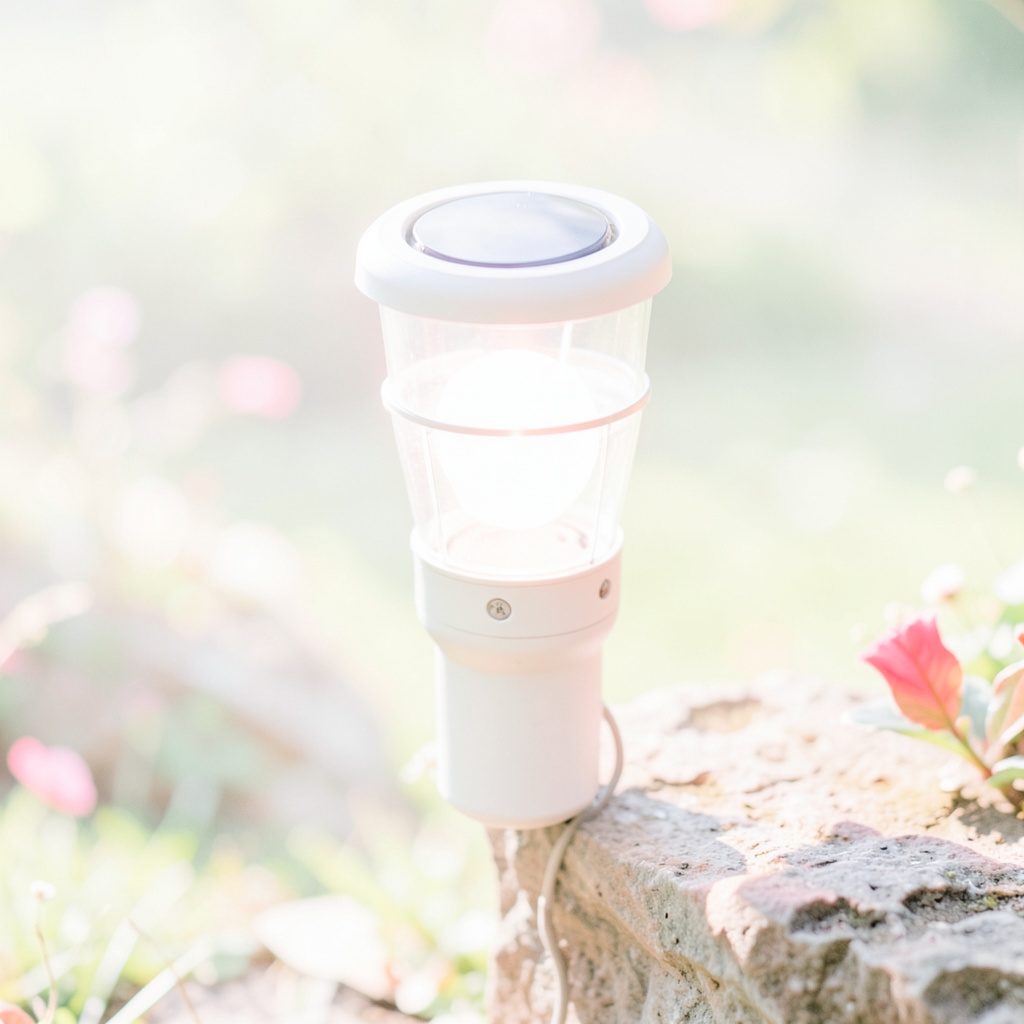
Solar ground lights are convenient for paths, garden beds and small shrubs because they avoid trenching and mains wiring. Their performance varies by location and season. A light in sunny Perth or Brisbane may recharge more reliably than one beneath dense canopy in Melbourne or Hobart, particularly through winter. Keep the panel clear of leaves and position it where it receives several hours of direct sunlight.
Mains-powered garden lighting must be installed according to Australian electrical requirements. Fixed outdoor electrical work should be handled by a licensed electrician, with equipment and cabling suited to wet locations and the relevant provisions of AS/NZS 3000. Low-voltage systems are often easier to manage, but they still need careful placement, protected connections and a suitable transformer.
Bushfire-prone properties require extra caution. Keep lights, cables and plastic components away from dry leaf litter, mulch and combustible vegetation, and check local advice in areas covered by bushfire planning controls or a Bushfire Attack Level assessment. Councils and state regulations can vary, so product instructions and local requirements should guide the installation.
Create Layers Around Trees and Shrubs
A successful lighting scheme combines several levels rather than relying on uplights alone. Use a soft ground wash beneath a tree, low path lights near the bed edge and a discreet accent on a nearby shrub. This creates a gradual transition between bright foliage and the darker garden, helping the space feel larger and more comfortable.
Place the brightest feature on the plant with the strongest form, such as a multi-stemmed crepe myrtle, a sculptural olive or a mature eucalyptus. Smaller shrubs should receive less intense illumination so they support the main composition. Too many equally bright fixtures flatten the garden and make every plant compete for attention.
Keep glare under control by using hooded fittings, recessed well lights or fixtures with adjustable heads. Do not install lights where mower wheels, pets or regular foot traffic can catch exposed cables. In homes around Sydney, Melbourne and Adelaide, where outdoor entertaining is a common part of warmer months, aim fittings away from seating and eye level so the lighting remains comfortable during dinner.
Placement Checks for a Balanced Effect
- Aim the beam at trunks, branch structure or the underside of foliage rather than directly at windows.
- Leave darker pockets between feature plants to add depth and preserve a natural night-time feel.
- Use two lower-output lights for broad canopies when one intense fitting would create harsh shadows.
- Conceal stakes and cables within planting beds, while keeping access points visible for maintenance.
- Check the view from indoors as well as from the patio, driveway and front gate.
Select, Install and Maintain With Care
When comparing products, focus on useful specifications rather than decorative packaging. Check lumens, beam angle, colour temperature, IP rating, battery capacity for solar models and the length of included cable. An adjustable head is valuable because young trees and shrubs change shape as they grow. Replaceable components can also extend the life of the system.
Australian shoppers can compare solar and low-voltage options through Bunnings, Mitre 10, Amazon Australia and specialist lighting retailers. Philips products may suit a coordinated, branded system, while InnoGear is commonly considered for affordable solar accents. Read reviews carefully, especially those mentioning winter charging, coastal corrosion, water ingress and battery replacement.
Maintenance is simple when it becomes part of the gardening routine. Wipe dust and salt from lenses, remove mulch from around fittings, trim branches that block solar panels and check cable joins after heavy rain. A light that appears weak may need a clean panel or new rechargeable battery rather than replacement.
Features Worth Checking Before Purchase
- Warm-white LED output for comfortable illumination around patios and living areas.
- A weather-resistant body with an IP rating appropriate for exposed garden conditions.
- Adjustable beam direction and a stable spike or recessed housing.
- Replaceable batteries or accessible parts on solar fixtures.
- A timer, dusk sensor or smart control option to prevent unnecessary overnight operation.
A short trial prevents most disappointing results. Place the chosen fittings loosely around the tree or shrub, switch them on after sunset and view the effect from the main living areas. Reduce brightness if the trunk looks flat or the foliage appears washed out, then shift the lights sideways until the natural form becomes the focus.
Keep the final arrangement modest around wildlife habitat. Excessive night lighting can disturb insects, birds and other garden visitors, while a lower-output, warm-colour scheme provides visibility without turning the whole yard into a floodlit space. Once the layout looks balanced, secure the fittings, protect the connections and set a timer that suits your household’s evening routine.
Mark two possible light positions around one feature tree tonight, test them with a torch after dark, and choose the angle that reveals the most texture with the least glare.