Featured Topics

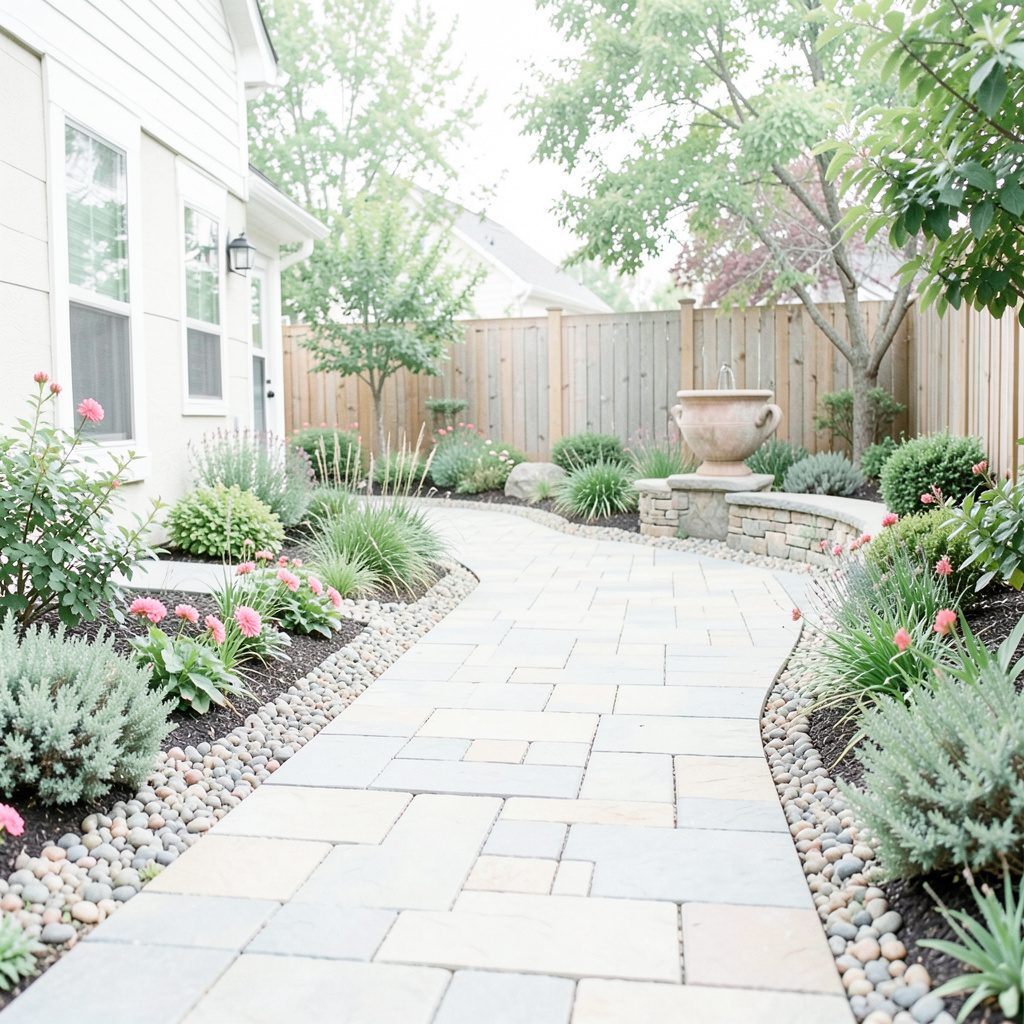
Low-voltage lighting for a sloped lawn
Installing low-voltage landscape lighting on sloped lawns can turn an awkward patch of turf into a safe, welcoming route after dusk. LED markers and spotlights suit this task because their low power draw lets one transformer serve several fixtures without the expense of mains cabling. The slope still needs careful planning: runoff, soil movement, mower traffic and long cable runs can undermine an otherwise neat installation.
A 12-volt or 24-volt system is the usual choice for an Australian garden, but the better voltage is the one that keeps light output consistent at the furthest fixture. Work from a measured plan, choose weather-rated equipment, and test the circuit before burying anything. Anything connected to the 230-volt supply must follow AS/NZS 3000 and relevant state requirements; leave the mains side to a licensed electrician.
Map the slope and plan the circuit
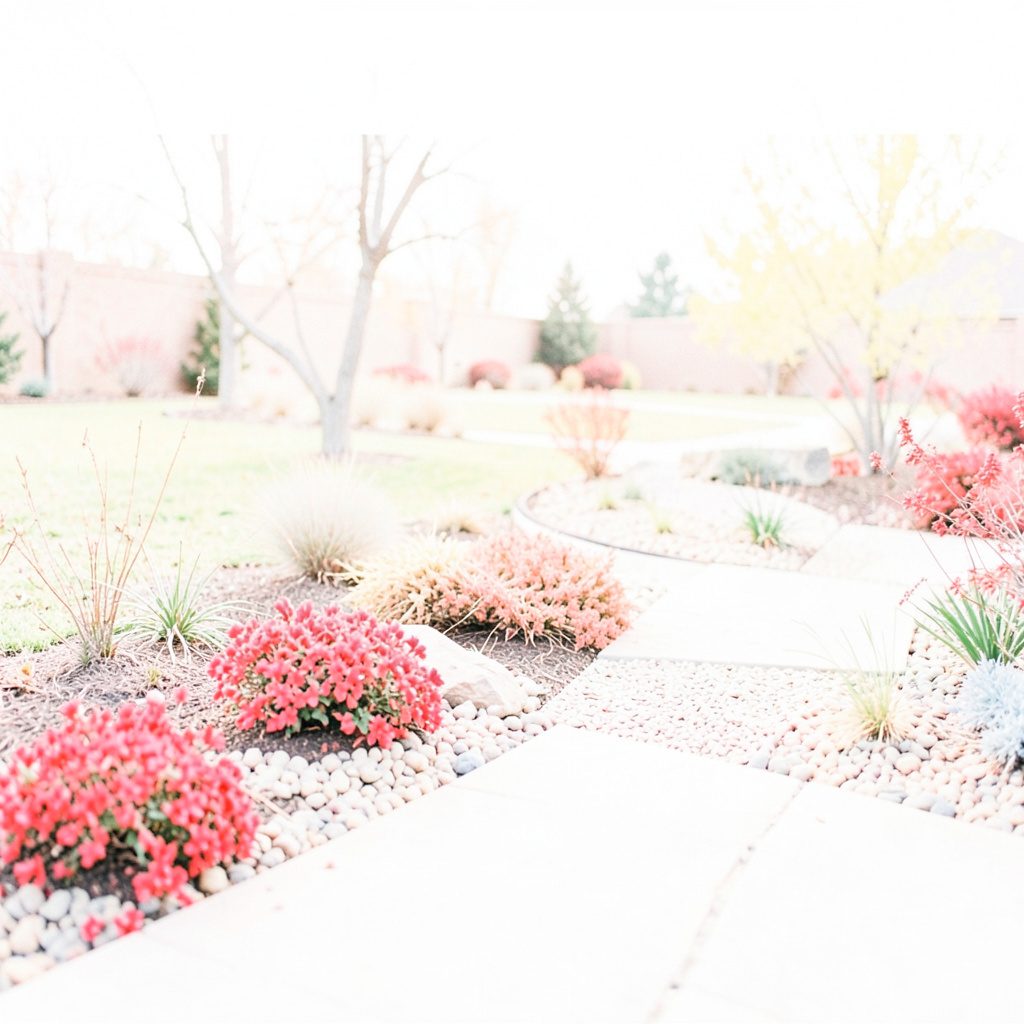
Begin with a daylight survey of the slope. Note where water collects, where turf is thin, how people move between patio and path, and where a mower can reach. Decide where the transformer will sit before selecting lights: it needs a protected outlet but must remain accessible and above the main runoff path. A scaled sketch, plus browsing sloped-garden design ideas, can help balance lighting coverage with a believable layout.
Measure the proposed cable route rather than relying on the straight-line distance from outlet to light. Feeds, branches and the position of each fitting all add length, and extra voltage drop can make distant LEDs dim or flicker. Mark the transformer, fixtures and any crossings on the plan, then calculate each branch against the transformer's voltage-drop guidance.
Use several smaller circuits if one long run would spread the load too thinly. A central 24-volt system can suit a large garden, while a compact 12-volt system may be simpler for a patio edge or short path. Keep the transformer ventilated, out of irrigation spray, and near the house where extension leads and maintenance access are safe.
Select fixtures for uneven ground
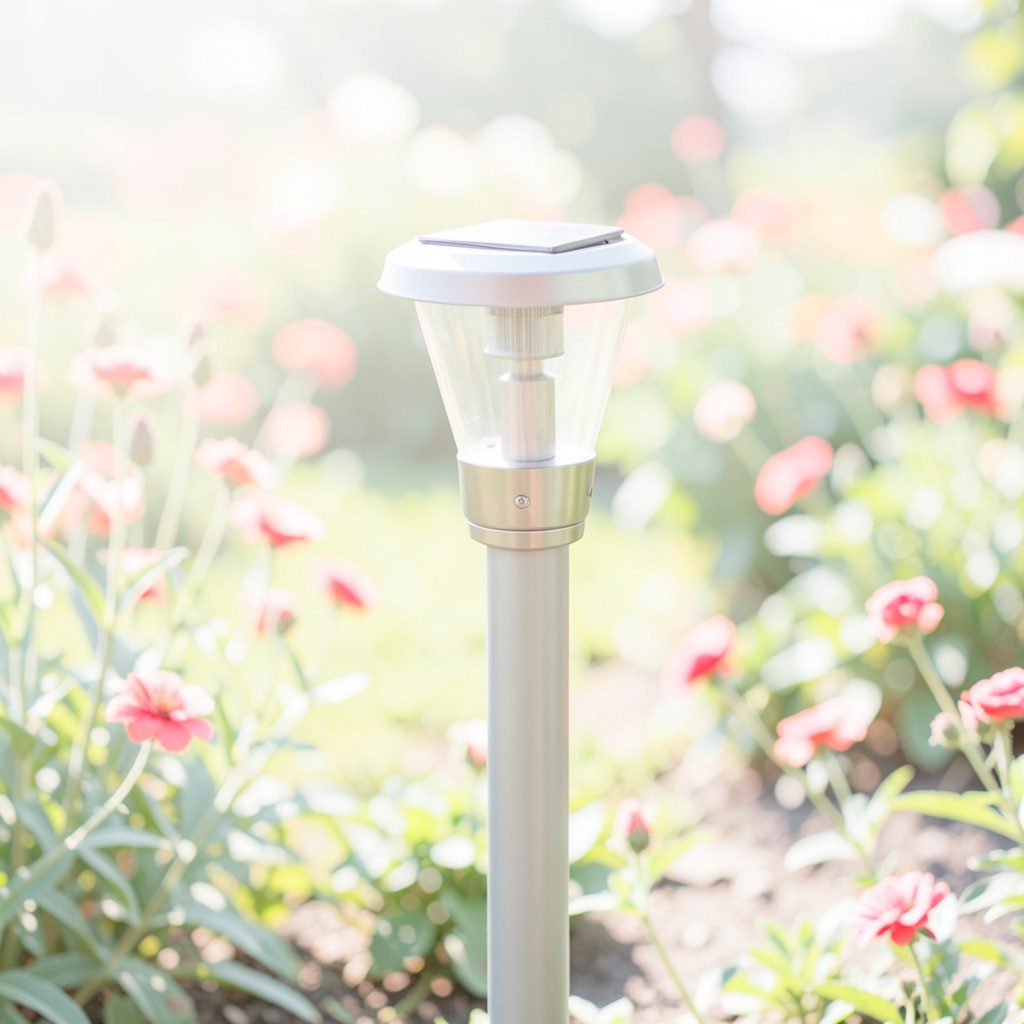
On a slope, choose the light's job before its style. Path markers should shield glare; uplights aimed at a tree or wall can reveal the fall of the land without leaving bright dots in the lawn; wall and deck fittings can illuminate a terrace without fragile stakes.
Useful fixture choices include:
- Shielded path lights for the main route, with lenses that direct light downward.
- Adjustable stair lights for visible edges and gentle step illumination.
- Directional spotlights aimed at trees, retaining walls or sculptural plants.
- Puck lights only where the housing is rated for outdoor installation.
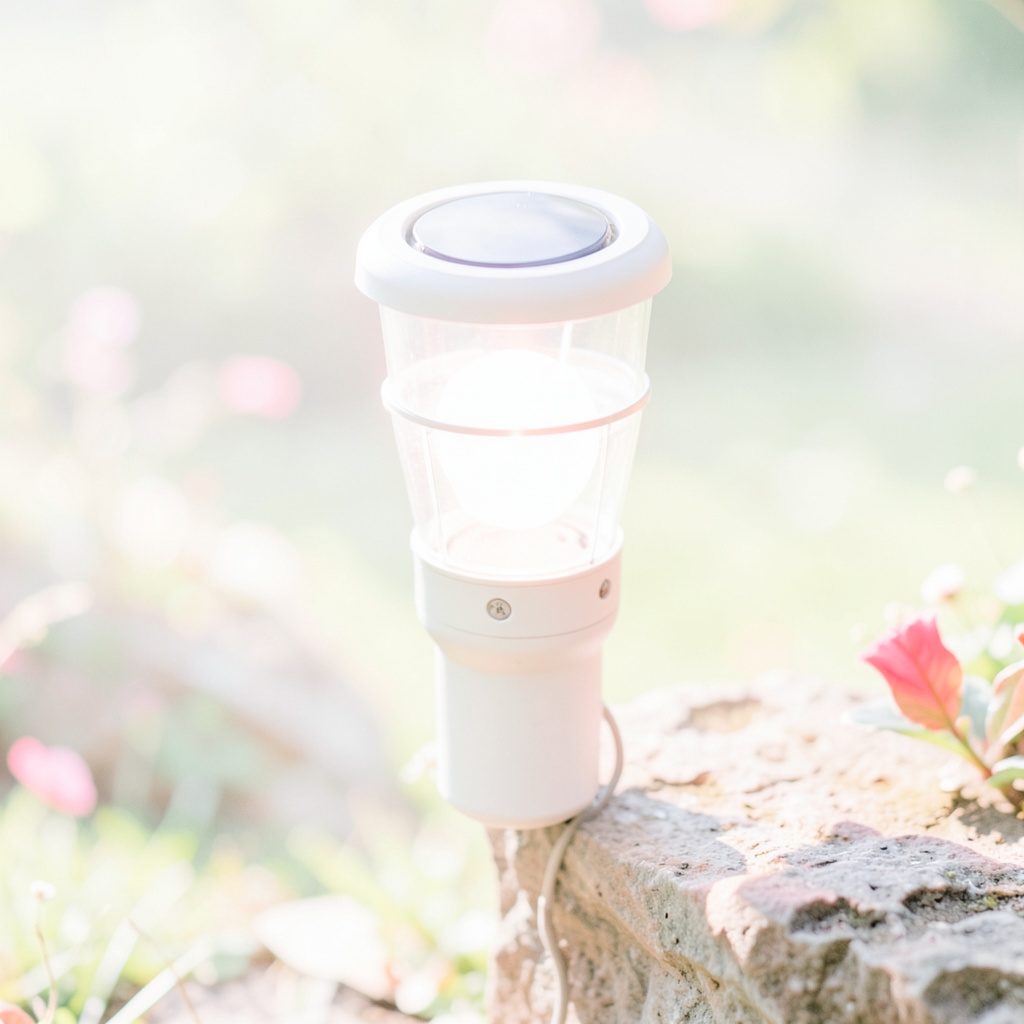
- Solar markers for isolated corners where a buried cable would be excessive.
The supporting equipment needs equal attention:
- Low-voltage cable with the gauge and insulation specified by the transformer maker.
- A matching transformer with enough spare capacity for future fittings.
- Outdoor fittings rated at least IP65, or IP67 where spray is likely.
- Coated stakes, cable clips and glands suited to the soil and climate.
- A photocell, timer or smart controller matched to the lighting use.
Philips Hue outdoor products offer a useful benchmark for app-controlled low-voltage fixtures, while InnoGear solar spotlights can serve isolated paths without trenching. Compare prices and stock at Amazon.com.au or Bunnings, and use Home Depot pages mainly to check dimensions and IP ratings; overseas availability, 230-volt compatibility and warranty terms may differ. For further comparison, the EPI lighting range offers another place to assess outdoor fitting styles.
Route the cable safely across the lawn
Plan cable routes around the way the slope drains and the way people walk. Follow an established path or switch back along contours when a direct route down the fall line would be exposed to runoff. Avoid tree roots, drip lines and drainage channels, and keep crossings short enough to be clearly visible.
Where turf allows, bury the cable at the shallow depth approved by its manufacturer rather than assuming a universal figure. Protect every exposed section with conduit or a robust cable protector, and mark the route so future aerators or landscaping work do not cut it. The goal is a system that survives mower strikes and seasonal soil movement.
Do not leave slack cable stretched between fittings on a steep bank; movement can pull a terminal loose. Add a small service loop at each stake and leave enough spare at the transformer for repairs. When comparing complete projects, the Grenada lighting collection can help with scale and fixture placement before those practical details are settled.
Make weatherproof connections
Outdoor connections fail when water, dirt and metal touch. Use only the connectors specified for the cable and fitting, tighten them fully, and keep ordinary terminals above the soil inside a suitably rated enclosure. A drip loop at each fitting helps water run clear instead of travelling along the cable into a joint.
Australian conditions make that discipline essential: Sydney can deliver intense summer storms, Melbourne has persistent winter rain, and Brisbane gardens often face high humidity. Coastal salt air also corrodes cheap metal. Select UV-resistant cable, sealed lamps and coated fixings, and inspect for water ingress after severe weather rather than waiting for a dark evening.
Keep mains equipment and plug connections above ground, away from sprinklers and standing water, and use a protected outlet with an RCD where required. Low voltage reduces shock risk but does not excuse poor insulation or an unsafe transformer lead. If the installation crosses a retaining wall, paved area or existing underground service, consult a qualified installer before making the connection.
Install and test the system
Install the transformer first, then lay each branch without its final lamp so you can check polarity and continuity. Keep temporary connections off wet ground. Stake fixtures firmly, with the body above the likely mowing height, and restore soil around the stake in small amounts so the turf is not left uneven.
Before covering the cable, energise the circuit and walk the whole route. Check brightness from the transformer to the last fixture; a meter will reveal unacceptable voltage drop, while a visual check can expose reversed polarity, flickering or a poorly seated connector. Correct faults while every part is still accessible, then photograph the completed route for future reference.
Finish by aiming each beam at night. Shield path lights from eye-level glare, trim uplight spill away from neighbouring windows, and angle solar panels toward the strongest sun rather than following the slope. InnoGear solar units work best in open, unshaded positions, and a photocell or timer keeps the system predictable without leaving lights on all night.
Leave room for maintenance
A sloped garden needs occasional attention because erosion can expose a buried cable and runoff can loosen a stake. Walk the route after heavy rain, check that lamps still sit firm, and clean solar panels and lens covers. If the layout changes, extend with the same voltage and cable specification rather than mixing unmatched components.
For fresh ideas, outdoor lighting project ideas can support a future extension, while your own notes should record transformer capacity, cable routes and lamp positions. Replace a failed fitting with the same ingress rating and connector type, and keep spare cable, glands and stakes in a dry box.
The most dependable result comes from a circuit that remains within the manufacturer's voltage-drop limit, keeps every joint accessible and places each fixture where its light has a clear purpose. In practice, measure the slope in daylight, secure the cable against runoff and mowing, and test the entire system before the final layer of turf is replaced.