Featured Topics

How to Create a Moonlit Effect with Garden Spotlights
A moonlit garden has a quiet, silvery quality rather than the bright, evenly lit appearance of a sports field. The effect comes from placing small spotlights high in trees, pergolas, or elevated garden structures so their beams fall gently across foliage, paths, lawns, and textured planting beds.
Good outdoor lighting should feel discovered rather than announced. In an Australian garden, that means balancing soft illumination with intense summer sun, sudden storms, native wildlife, water restrictions, and local expectations about protecting neighbours from glare. With the right beam angle, colour temperature, and installation height, ordinary LEDs can create convincing lunar shadows after dark.
Plan the Light from Above
Begin by observing the garden at night without any lights switched on. Look for the places where natural shadows already have character: the trunk of a gum tree, a layered shrub border, ornamental grasses, a stone retaining wall, or the edge of a lawn. These areas will give the spotlight something interesting to reveal.
A moonlit effect works best when the source is concealed above eye level. Mount a compact fixture in a strong tree branch, under a pergola beam, or on a tall post. Aim it down through leaves so branches break up the beam and cast irregular shadows. A light positioned too low will look like a conventional floodlight and may shine directly into windows or seating areas.
Sketch the garden before buying fixtures, marking trees, entertaining zones, pathways, and nearby homes. This is also a useful stage for collecting visual garden inspiration and comparing how different landscapes use contrast, negative space, and shadow. A simple drawing can prevent the common mistake of adding lights everywhere instead of choosing a few persuasive viewpoints.
Select a Soft, Natural Fixture
Choose LED spotlights with a narrow or adjustable beam, robust outdoor housing, and a warm colour temperature between 2700K and 3000K. Cooler white LEDs can make foliage appear flat and harsh, while very warm amber light may distort green leaves and timber. Dimmable models are especially useful because the ideal brightness is usually lower than expected.
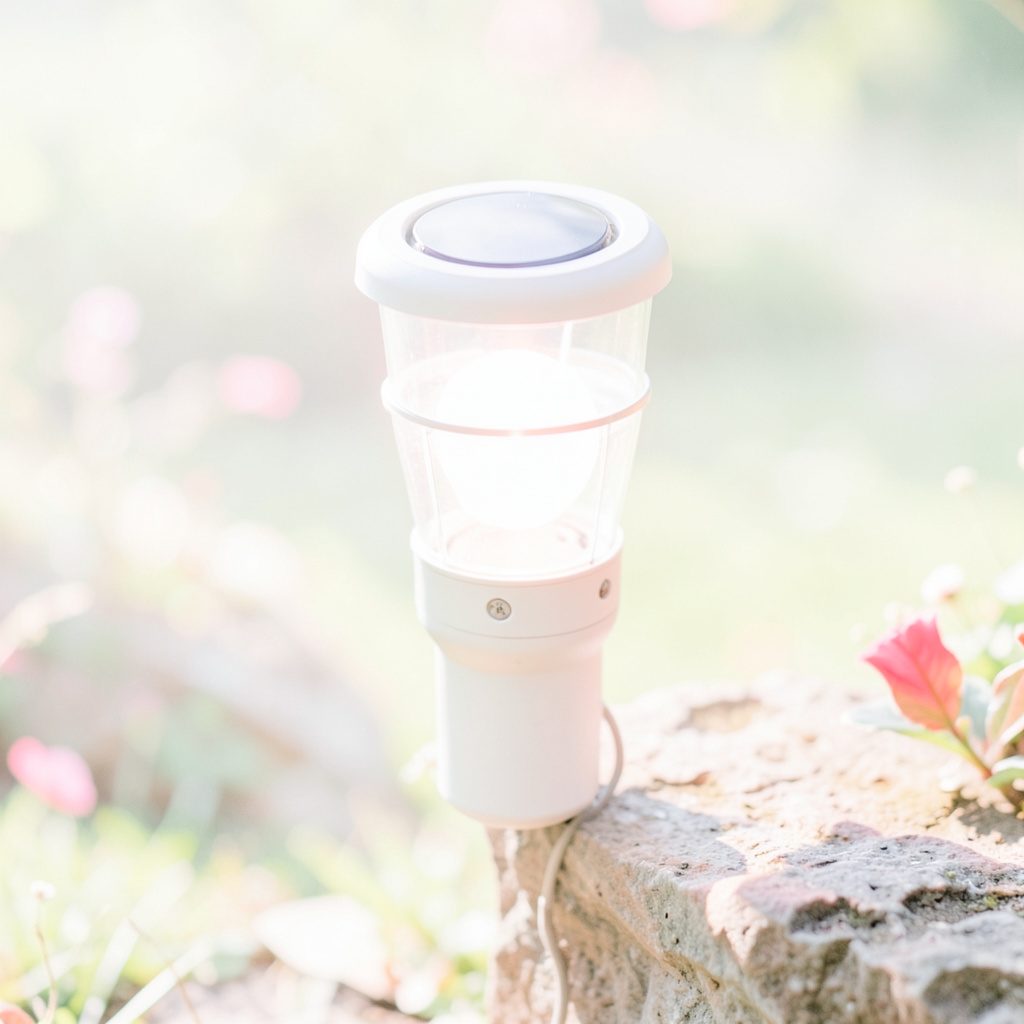
A low-voltage wired system offers reliable performance around large trees and distant garden beds, while solar spotlights suit smaller areas where trenching is inconvenient. Solar performance varies widely in Australia: a panel in a shaded Melbourne courtyard will behave differently from one in an open Adelaide or Perth yard. Position panels away from roof shadows and check that winter sun still reaches them.
Look for fixtures with suitable weather resistance, sealed cable connections, and sturdy spikes or brackets. Philips outdoor LEDs are widely recognised for consistent colour and construction, while InnoGear solar spotlights can be practical for renters or quick decorative updates. Retailers such as Amazon and Bunnings make comparison easy, although specifications matter more than a product photograph.
Shape Shadows Through Foliage
The most convincing beam passes through a canopy before reaching the ground. Place the fixture several metres above the target area if possible, then angle it so the light lands beyond the tree rather than directly beneath it. This creates a broad pool with broken shadows that move gently when leaves shift in the breeze.
Start with one spotlight per feature. Two small lights aimed from different branches can produce more depth than one powerful unit. Avoid pointing beams straight across the garden, since horizontal light exposes every object and creates glare. Downward lighting, sometimes called moonlighting, keeps the source discreet and makes the illuminated surface appear naturally reflective.
Fine-leafed trees create delicate patterns, while dense evergreen foliage produces deeper pools of darkness. Native plants such as westringia, lilly pilly, bottlebrush, and ornamental grasses can look especially sculptural under a soft beam. Take care with wildlife habitat, however; avoid shining intense light into nesting hollows or directly across areas used by nocturnal animals.
Balance Illumination Across the Garden
A moonlit scene needs darkness around the main pools of light. Treat the garden as a composition with a foreground, middle distance, and background. Light a path edge or low planting in the foreground, a tree trunk or sculpture in the middle, and perhaps a distant canopy very lightly. This layered approach gives a small yard greater depth.
Use the following placement guide when testing the first fixtures:
- Put elevated spotlights above seating areas only when the source is fully screened from view.
- Aim beams across leaves, branches, or pergola slats to create broken shadow patterns.
- Keep lawn lighting lower than tree lighting so the canopy remains the visual focus.
- Highlight one or two structural plants rather than every bed.
- Leave some corners unlit to preserve contrast and a sense of distance.
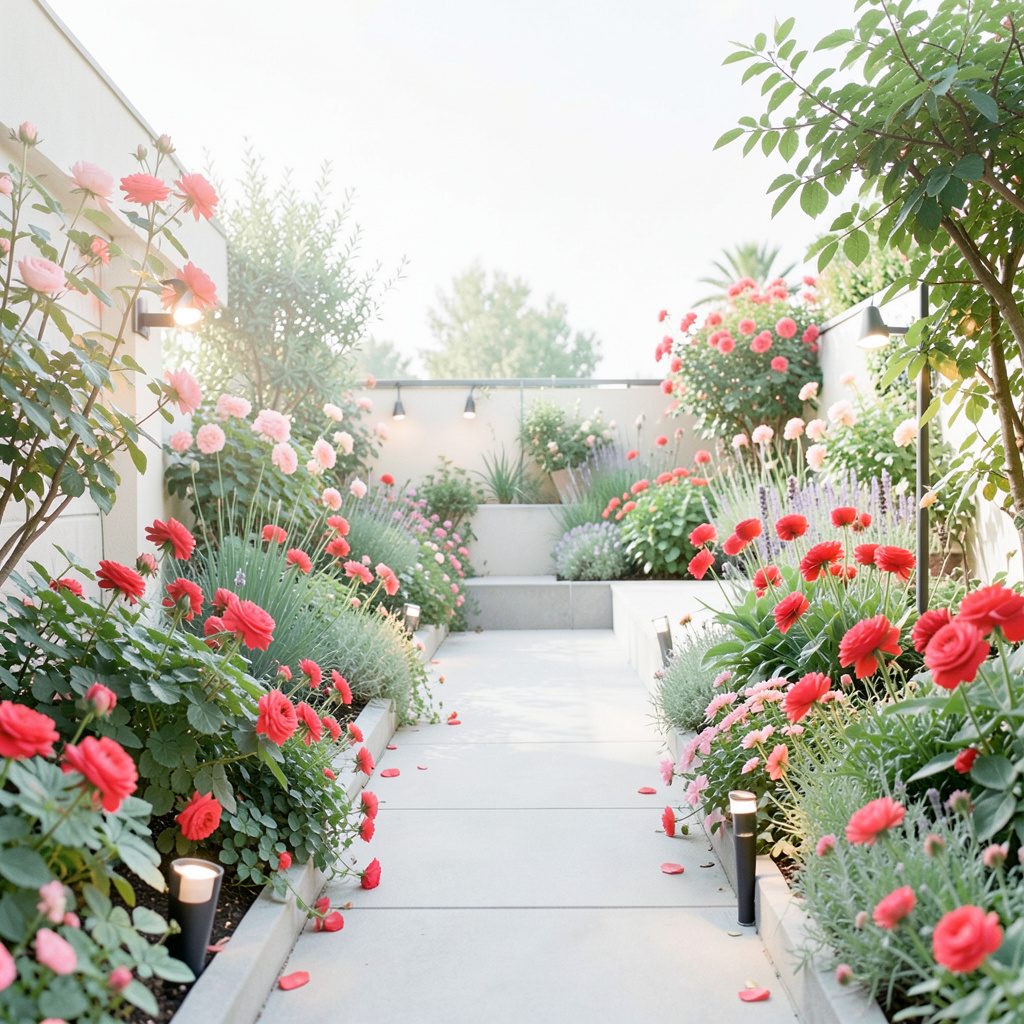
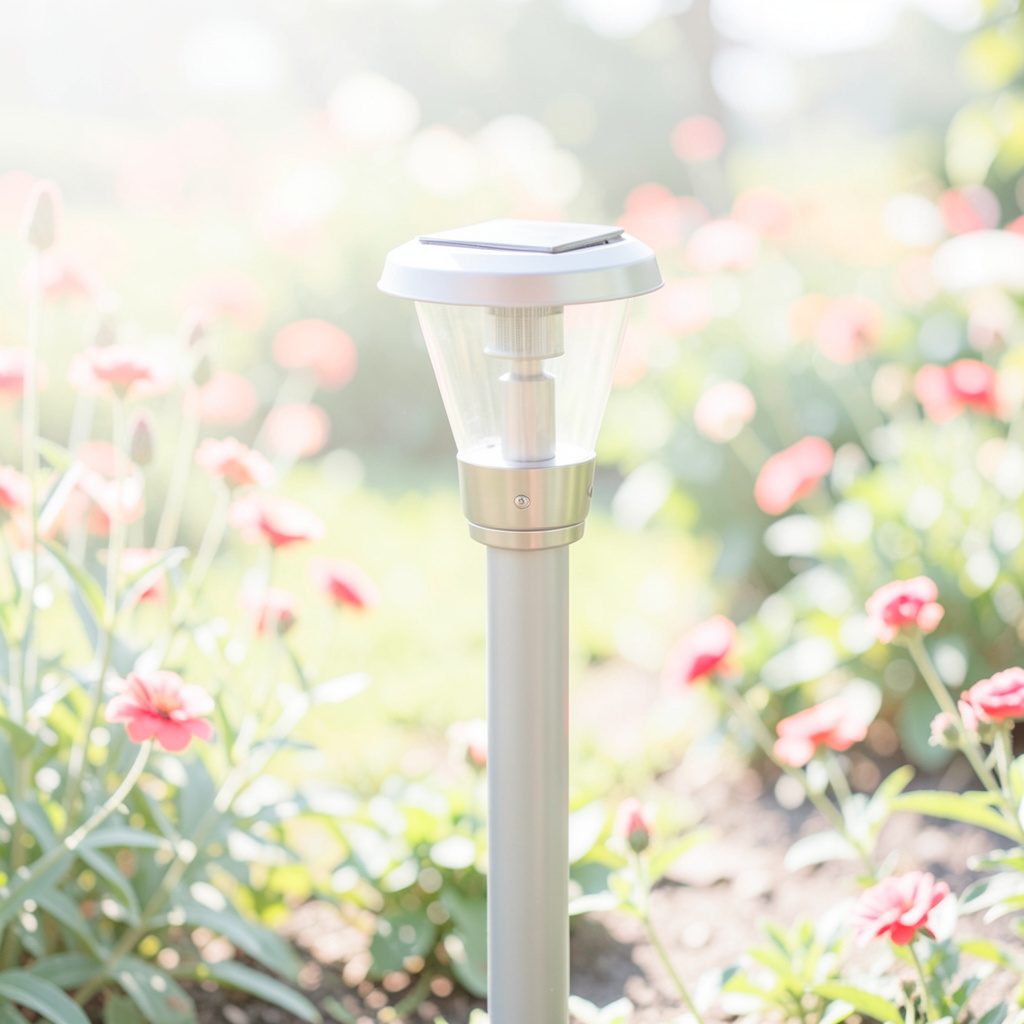
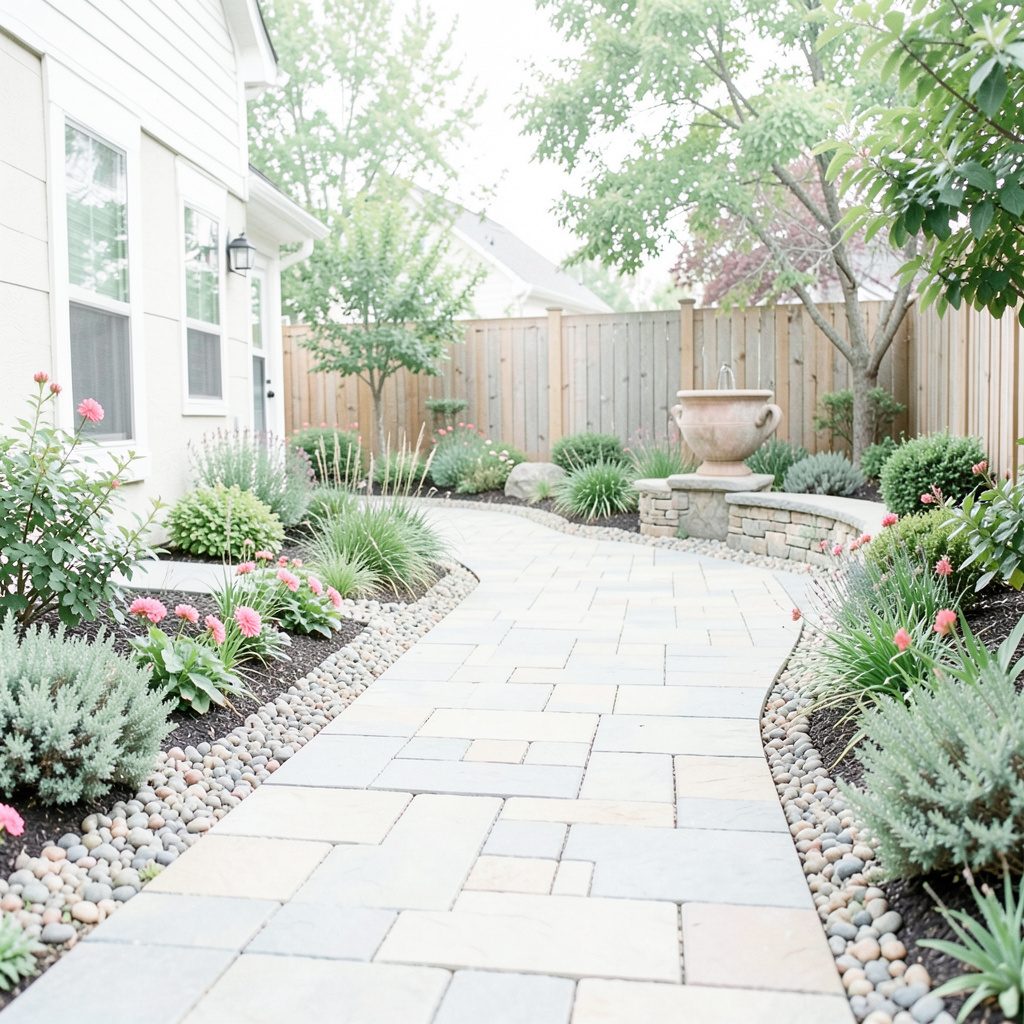
Path lights can support the scheme, but they should remain dimmer than the overhead spotlights. Choose fixtures with shielded tops or downward-facing optics so the pathway is visible without producing a row of bright dots. In a narrow side passage, a wall-mounted wash or reflected light may be safer and less cluttered than multiple bollards.
Account for Australian Conditions
Outdoor lighting in Australia must withstand strong ultraviolet exposure, heat, dust, heavy rain, and, in some regions, salt air. Coastal homes around Sydney, the Gold Coast, or Perth should use corrosion-resistant fittings and rinse exposed fixtures periodically. In tropical Queensland, sealed connections and drainage around ground-mounted lights are particularly important during the wet season.
Bushfire-prone areas require extra care with dry leaf litter, combustible mulch, and cabling near vegetation. Keep fixtures clear of accumulating debris, follow relevant state and council requirements, and use a licensed electrician for mains-connected work. Solar lights reduce wiring but still need stable placement and regular cleaning after dusty weather.
Garden preparation can improve the installation as much as fixture choice. If cables need to pass through compacted beds, consult a practical soil depth guide before loosening or trenching the area. In Australia, shallow disturbed soil can dry rapidly, while heavy clay in parts of Melbourne or Canberra may hold water around poorly drained connections.
Tune the Scene After Dark
Install fixtures temporarily before burying cables or tightening brackets. Watch the garden from the house, the patio, and the street-facing side. A beam that looks subtle beside the tree may appear glaring from the kitchen window. Walk through the space as you would during an evening gathering and check that steps, changes in level, and slippery surfaces remain clearly visible.
Use timers, smart plugs, or dusk-to-dawn sensors to avoid leaving lights on through the entire night. A shorter schedule is considerate to neighbours and helps preserve darkness for local wildlife. For an entertaining area, lights can come on around sunset and dim later, while security lighting should remain a separate system with motion detection rather than being mixed into the decorative scheme.
Keep this final adjustment list nearby:
- Lower brightness before changing the fixture position.
- Shield any beam that reaches a neighbour’s window or passing road.
- Clean solar panels and lenses after dust, pollen, or coastal salt settles.
- Check branches and cables after storms or strong winds.
- Reassess the scene as plants grow and seasonal foliage changes.
The best result is usually less dramatic when viewed in a product catalogue and more atmospheric in person. A professional-looking garden relies on restraint, and editorial sources such as garden lighting ideas can help clarify the difference between purposeful layering and excessive brightness. For readers interested in the person behind that perspective, the author background offers useful context on the approach to home and garden recommendations.
A moonlit effect should make the garden feel deeper, calmer, and slightly mysterious without compromising movement or safety. Conceal the source, let foliage shape the beam, keep the colour warm, and preserve generous areas of shadow. The key thing to remember is that convincing moonlight comes from controlled contrast, not from filling every corner with light.