Featured Topics

How to create a focal point with a brightly lit tree
A single illuminated tree can become the strongest feature in an evening garden. The effect comes from shaping light around the trunk, branches and canopy, rather than washing every leaf in glare. A focused uplight creates depth, while darker surrounding areas make the illuminated tree appear brighter by comparison.
The best scheme begins with the main places people gather. In many Australian backyards, the tree is seen from a kitchen, deck or path during evening meals, weekend barbies and parties, so the lighting must work from several angles without spilling into neighbouring properties. Plan for standing eye level, seated views and brief glimpses from the street.
Choose a tree with a sculptural silhouette
Choose a tree with a clear trunk and branching structure, not necessarily the largest one on the property. A multi-stemmed jacaranda, bottlebrush or ornamental flowering tree can work where a dense evergreen would become a dark mass. Deciduous trees offer seasonal change, and their branching is often easier to reveal with an upward beam.
Local conditions shape that choice. Sydney’s humid, salt-exposed coastal gardens favour tough species and sheltered fittings; Melbourne’s windier, cooler evenings reward a stable focal tree with well-defined limbs; Brisbane’s subtropical growth can quickly obscure the trunk; and Adelaide’s dry summers and watering restrictions make drought-tolerant planting practical. Select a tree that can thrive without constant irrigation beneath the lights.
Keep the foreground low so light can travel towards the trunk. For a small lawn under the canopy, this guide to corded electric mowers explains practical options without extension leads. Trim surrounding shrubs and avoid placing tall pots against the tree, where they can block the beam and create competing shadows.
Plan the light from the viewer’s position
Stand at the main viewing spot before choosing fixtures. A tree that looks dramatic from the deck may disappear from the street, so identify the angles from which it should read. Place ground uplights about 0.5–1.5 metres away from the trunk, offset them slightly and aim the beam upward through the branches.
Keep fixtures outside the root flare and never fasten them to bark. If a new island bed will frame the tree, a comparison of manual tillers can help break sod without deep excavation that damages roots. Shallow cultivation, mulch and a clear ring around the trunk will preserve soil structure while giving the beam a clean path.
Check council rules before pruning or digging. Some Australian councils protect significant trees through tree preservation orders or require permits for major work, and a heritage overlay may change what can be altered. Mark underground services before excavation and use the national 8114 referral service where applicable.
Layer the scene around the tree
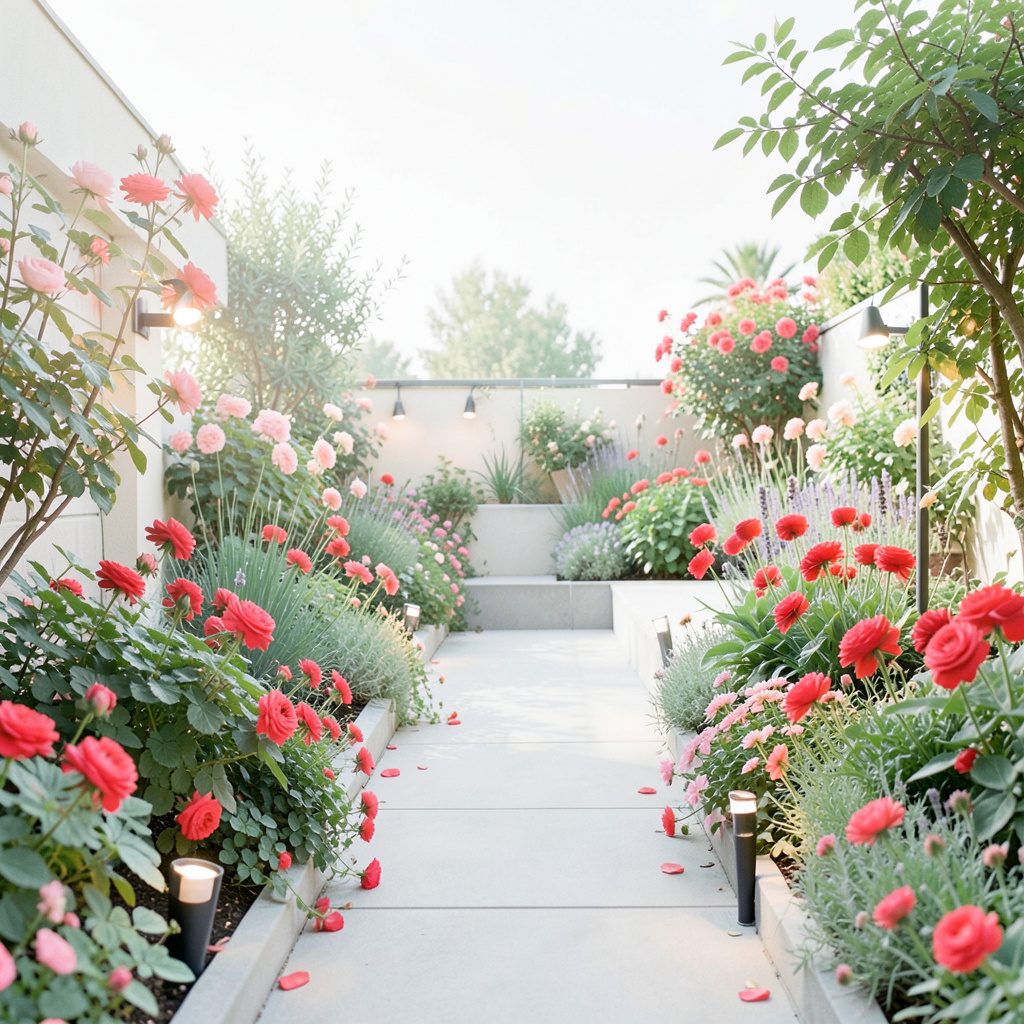
Use three simple layers rather than lighting every part of the garden equally. Make the tree the key light, use softer lights for paths and patio edges, and add a very low ambient level for navigation. This creates visual hierarchy and makes the illuminated tree feel brighter without requiring excessive output.
Colour and contrast are as important as brightness. Warm white light between 2200 and 2700K usually complements bark, foliage and timber decking, while cool blue-white light can make living vegetation look stark. Shield the fixture faces and aim the beam into the canopy rather than across neighbouring windows. A darker background preserves the dramatic effect and reduces unnecessary skyglow.
Product pages rarely show how a fitting behaves in a real garden, so judge beam spread, glare and colour in person or in clear photographs. The author profile provides context behind the recommendations, while Australian warranty coverage, replacement parts and local support should carry equal weight when selecting equipment.
Match fixtures to the light you need
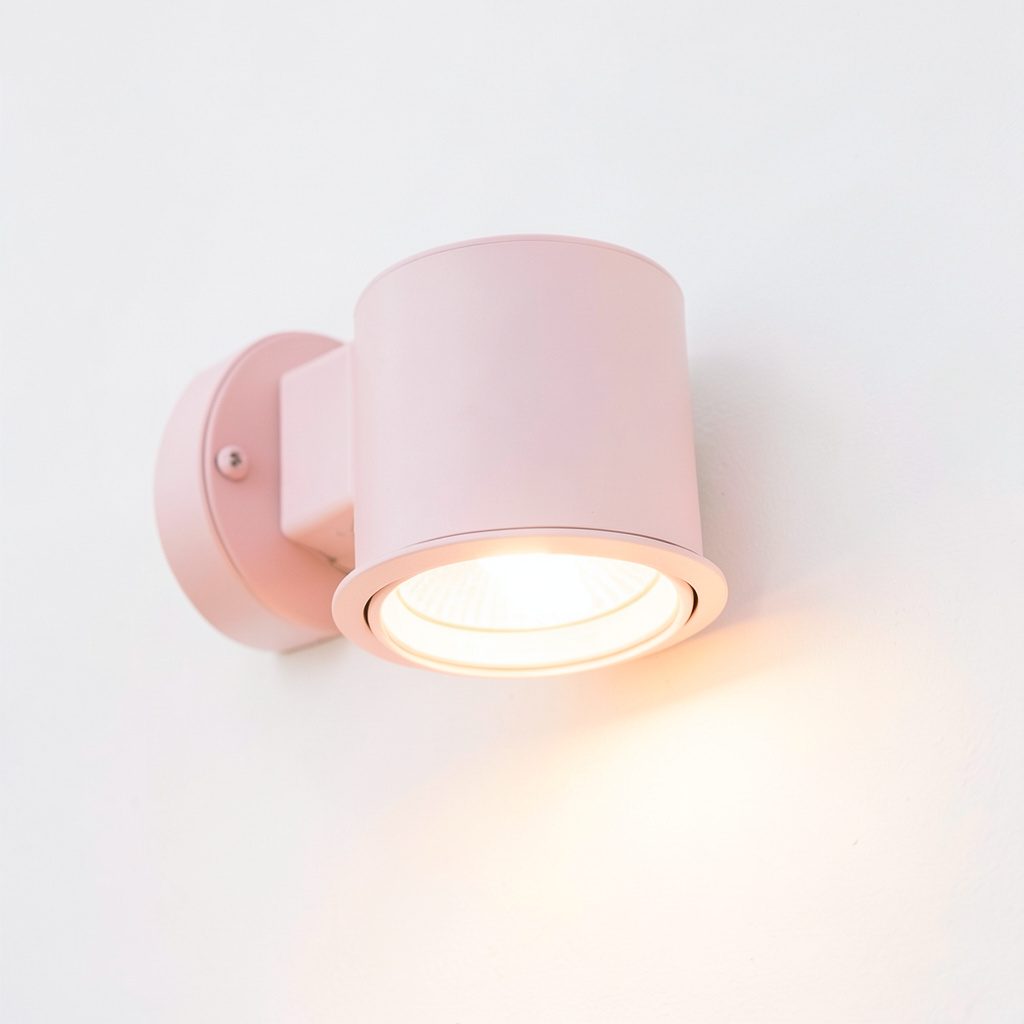
For the tree, begin with one or two outdoor-rated LED spots, usually around 400–800 lumens each, then adjust rather than installing several high-output lamps. Narrow 15–30-degree beams reveal the trunk and branching, while wider 35–60-degree floods suit broad canopies. A high colour-rendering index keeps bark texture visible instead of flattening it into a pale shape.
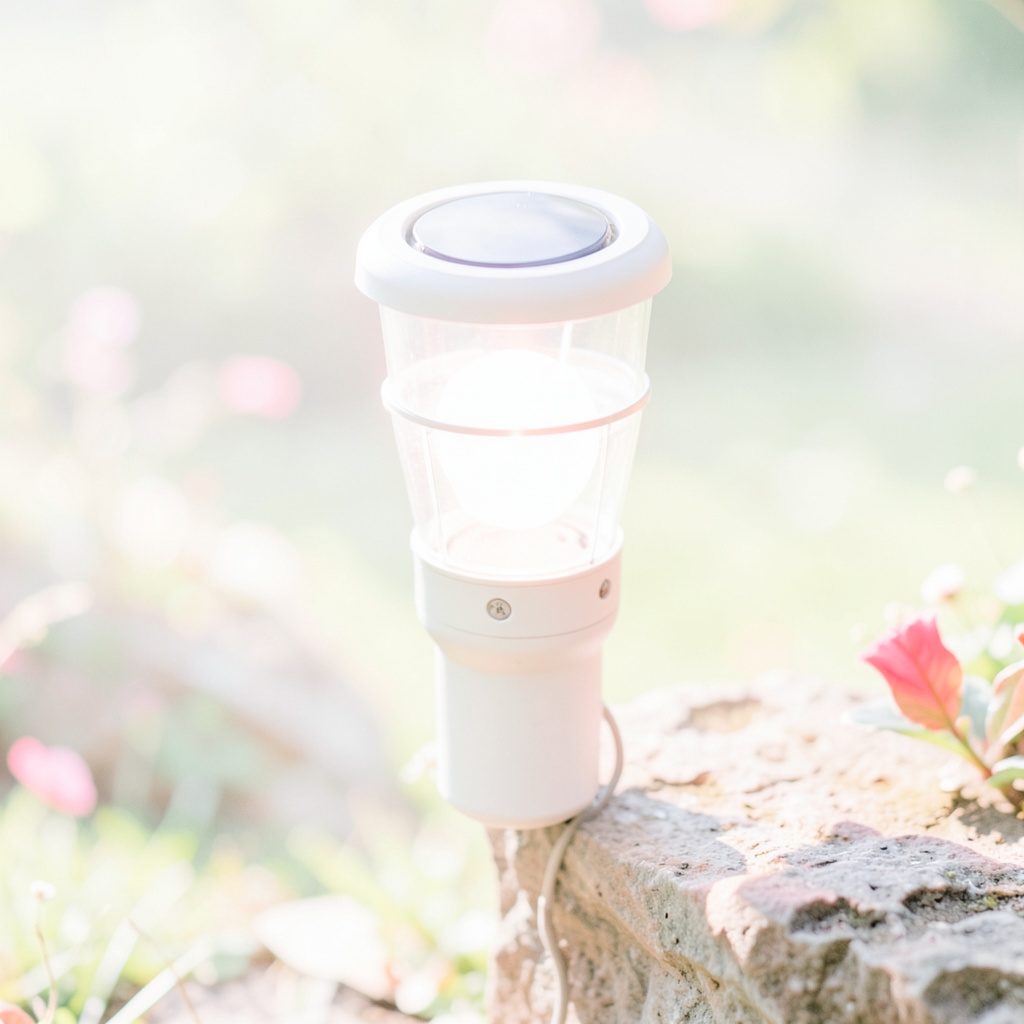
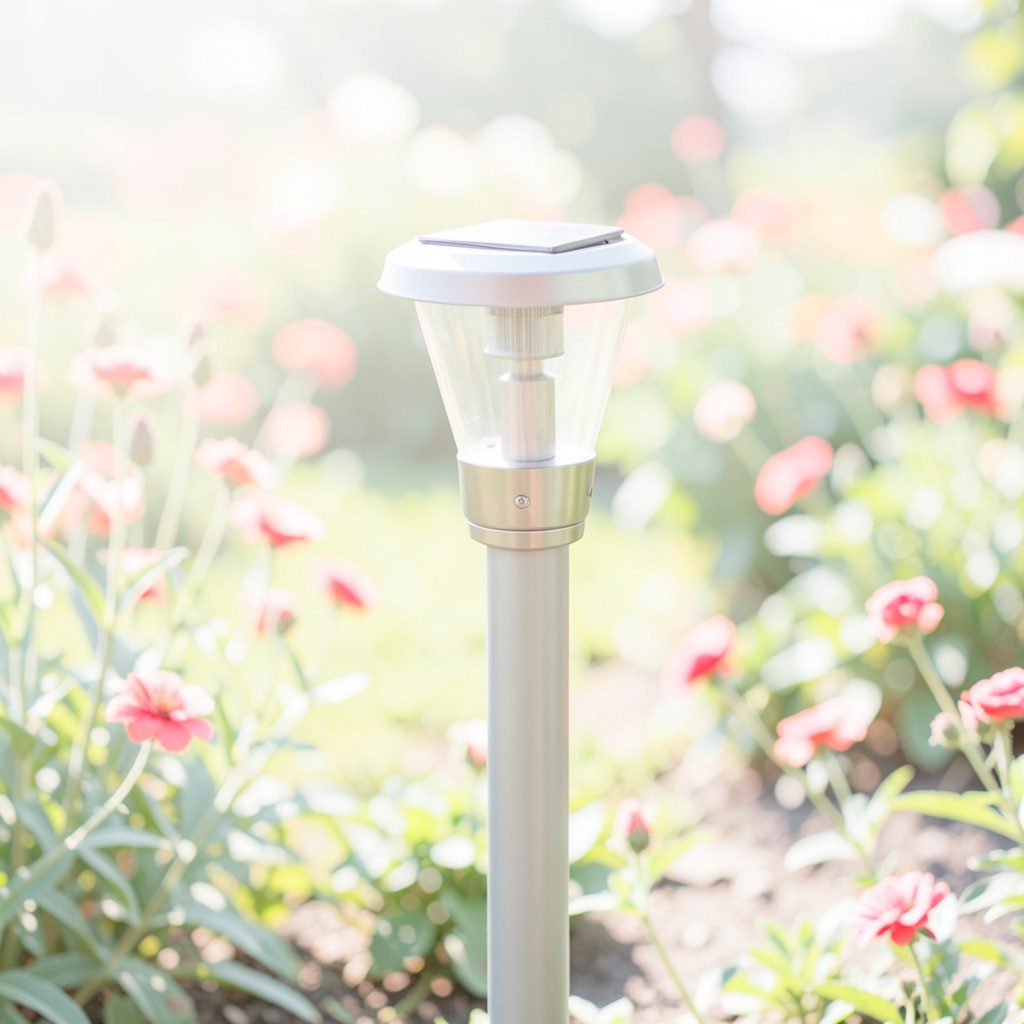
Solar units suit gardens without nearby sockets, but position panels where they receive direct sun and are shielded from irrigation. InnoGear solar landscape lights are useful for paths and secondary accents, although a shaded tree usually needs a separate mains-powered uplighter or a higher-output solar model. A guide to LED string lights can help when a soft canopy glow is wanted over a patio rather than a sharply defined tree.
Philips Hue outdoor fittings suit colour-changing and app-controlled schemes, while simpler fixed-output LEDs are often easier to maintain. Australian shoppers can compare specifications through Amazon and Home Depot listings, then verify local stock, 230-volt compatibility, warranty service and Regulatory Compliance Mark documentation rather than relying on a marketplace badge alone.
Install outdoor lighting safely in Australia
Outdoor equipment needs an appropriate ingress-protection rating; IP65 or higher is a sensible choice for fixtures exposed to rain, irrigation and dirt. Mains fittings should connect through residual-current device protection and be installed to Australian wiring standards. Electrical work and fixed wiring are regulated across states and territories, so use a licensed electrician for new circuits.
Route cables away from mower paths, drip lines and planting edges, and protect exposed runs with suitable outdoor conduit. Australia’s 230-volt, Australian-plug electrical market means imported fittings may need an appropriate plug or hardwired connection. In regions with intense summer storms, secure solar batteries and fixtures so wind cannot dislodge them.
Control the scene with a photocell, timer or app schedule, then use motion activation only where people actually walk. Aim spill downward along paths rather than into neighbouring windows, and shield faces to reduce glare. Limiting the brightest output also reduces attraction to insects around outdoor dining areas.
Test the composition and care for it
Check the effect at dusk, not in daylight. Wait ten minutes for the eye to adapt, then view the tree from the house, path and street. One tree should dominate without becoming a white silhouette; if the leaves clip to pale white, lower the intensity, reposition the spot or aim it higher into the canopy.
Adjust the composition as the tree grows. Re-aim fixtures after major pruning, clean solar panels regularly, replace rechargeable batteries when output falls and keep lenses free of leaf litter. Avoid herbicide and excess irrigation around the root zone, since stressed trees lose the branching detail the lighting is meant to reveal.
One clearly uplighted tree, a restrained supporting layer and carefully shielded beams create a focal point that still feels part of the garden. The practical test is simple: from the usual viewing area, the trunk should be legible first, the branching second and the surrounding garden third.